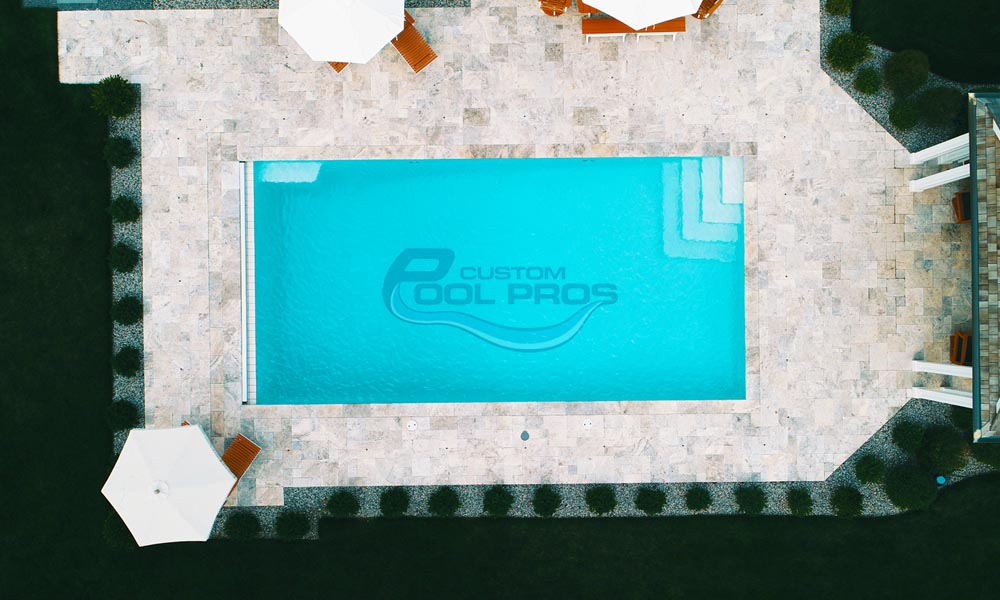
Deciding which type of pool to install in your backyard can get difficult. However, if you’re looking for a combination of durability and affordability, then a fiberglass pool installation may be your best bet. Anymore, fiberglass shells are fabricated in a wider variety of shapes and sizes, and they pair well with many outdoor features. So read on to learn more about the process of installing a fiberglass pool. You might be surprised at how little time it takes from start to finish. Before you know it, you’ll be diving into your brand new swimming pool.
Planning and Site Preparation
The first and most important step in fiberglass pool installation includes finding the best location in your backyard for the pool, the decking, and other patio amenities. Once you have chosen the location, the crew will clear the area of tree stumps and any other objects that would hinder the excavation.
Excavation and Ground Preparation
Afterward, the digging begins. As this process moves forward, the crew will ensure that the ground is stable enough to house the fiberglass shell. Also, keep in mind that the hole will have some extra space to allow for the components that surround the pool. The bottom of the hole will be leveled and then covered with sand, gravel or a concrete plate. This base can measure about two inches deep, and its construction can take two to four days, depending on how much dirt the crew needs to haul away.
Installing the Pool Shell
Once the site is excavated and prepared, the pool’s shell will be delivered. A crane will lift it and then position it into the hole. During this part of the process, the installation team will check the surface to make sure it’s level. They’ll also measure around the spaces around the pool to make sure there’s ample room for the plumbing and all other necessary parts.
Plumbing and Filtration System
Next, the plumbing and filtration systems are installed. This system consists of a network of PVC pipes that lead in and out of the pool. Additionally, the return piping and output jets are carefully placed as well as the pool’s pump. At this time, the crew will also run the wiring needed for the electrical system that’ll power the filtration system and lighting (if included).
Backfilling and Compacting

The backfill is then added in the space that surrounds the shell. This mixture consists of gravel, sand, or crushed dust that’s mixed with cement and is then compacted, which adds stability to the pool’s structure. At the same time, the pool is being filled with water in order to balance the pressure inside and out and to protect the shell from collapsing.
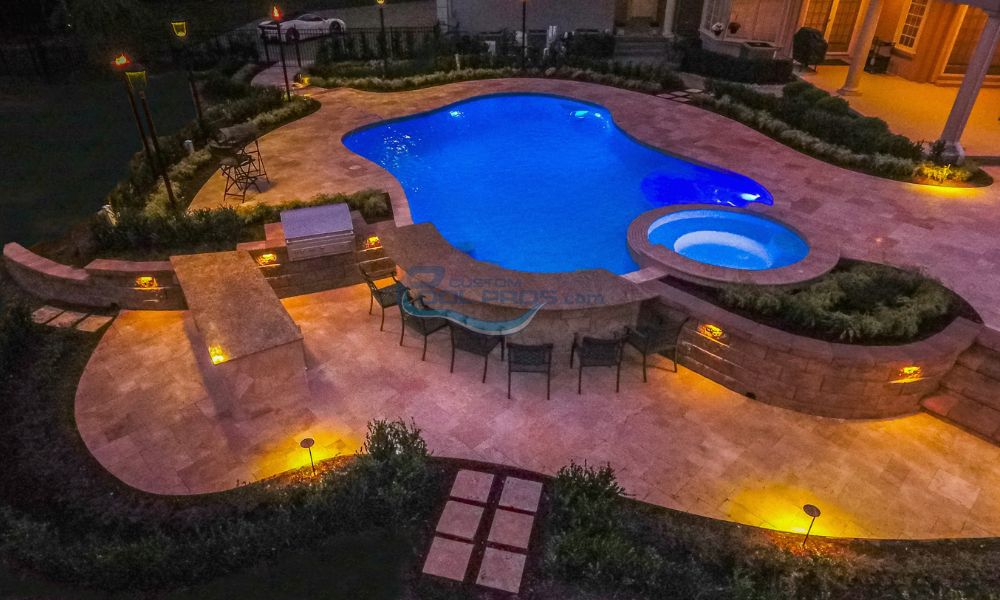
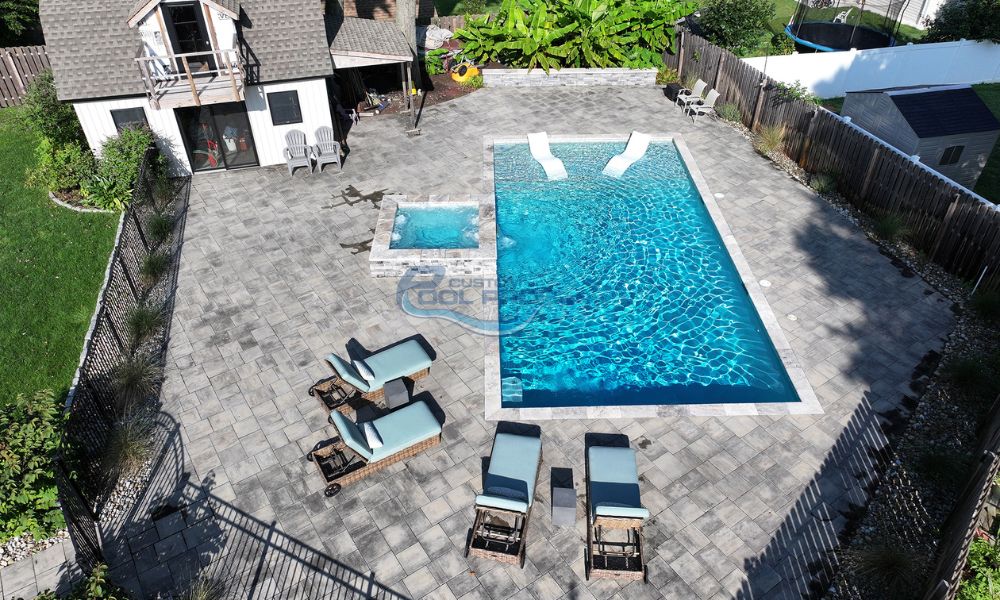
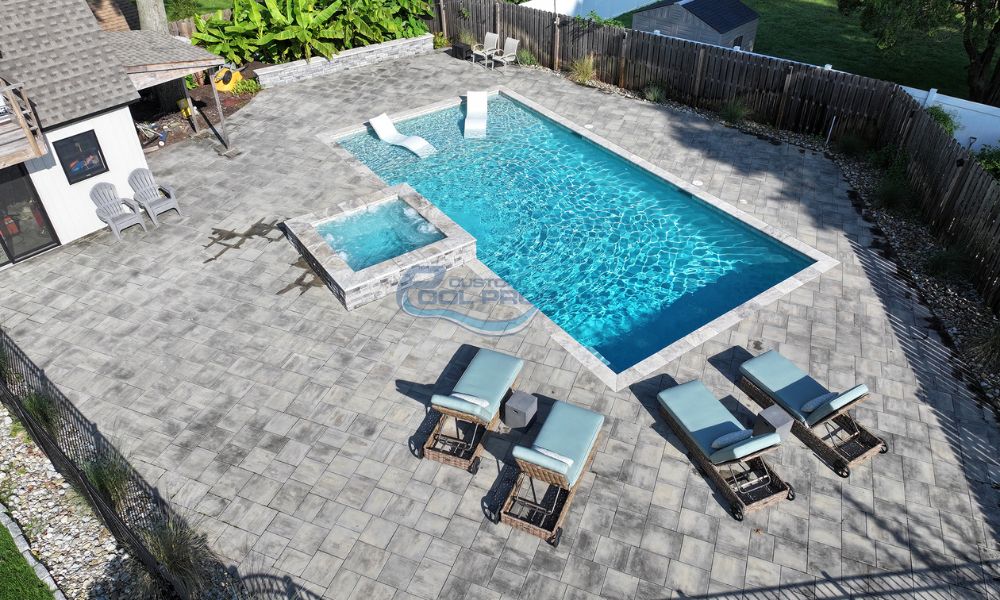
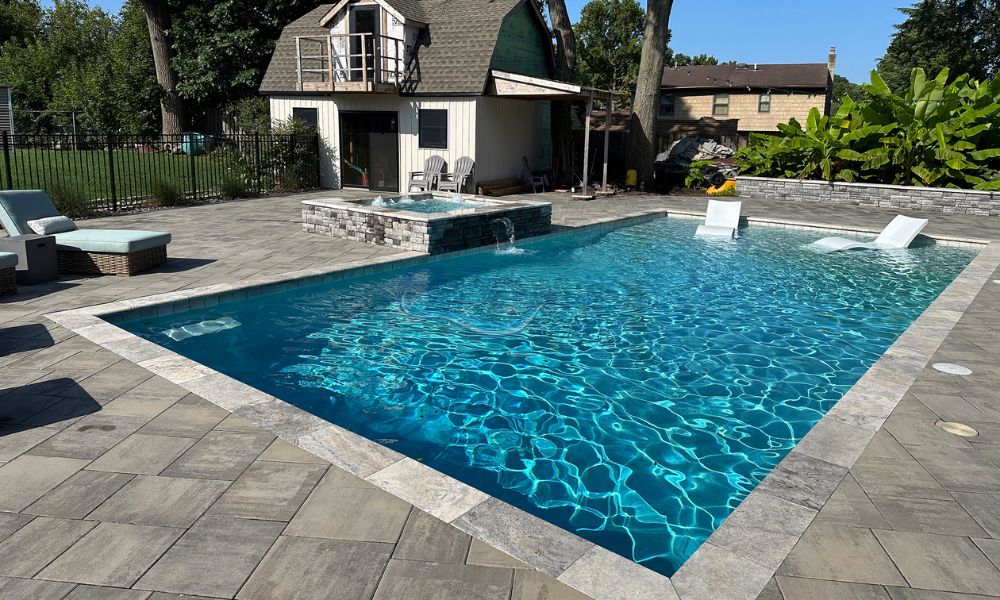
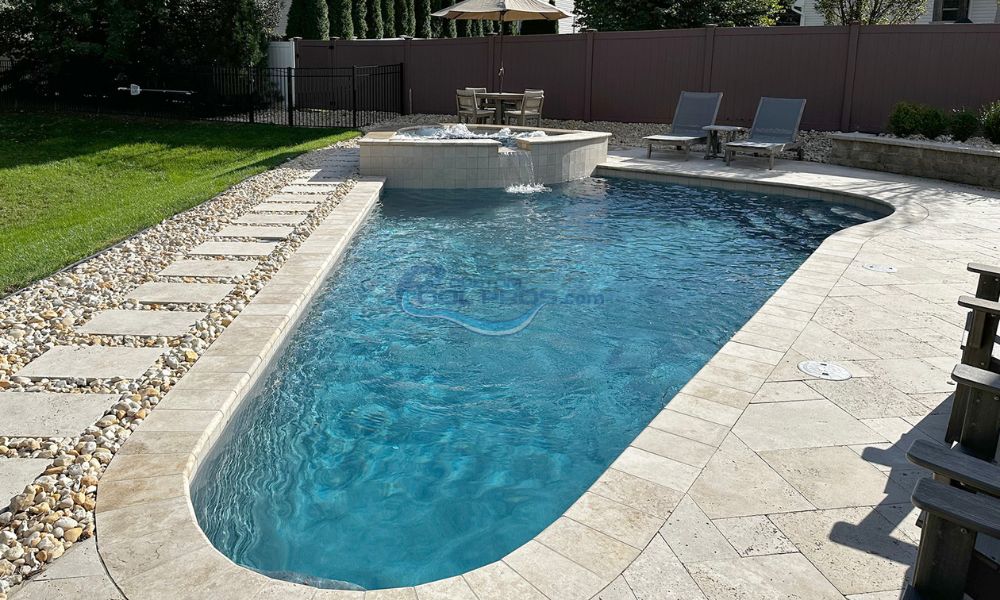
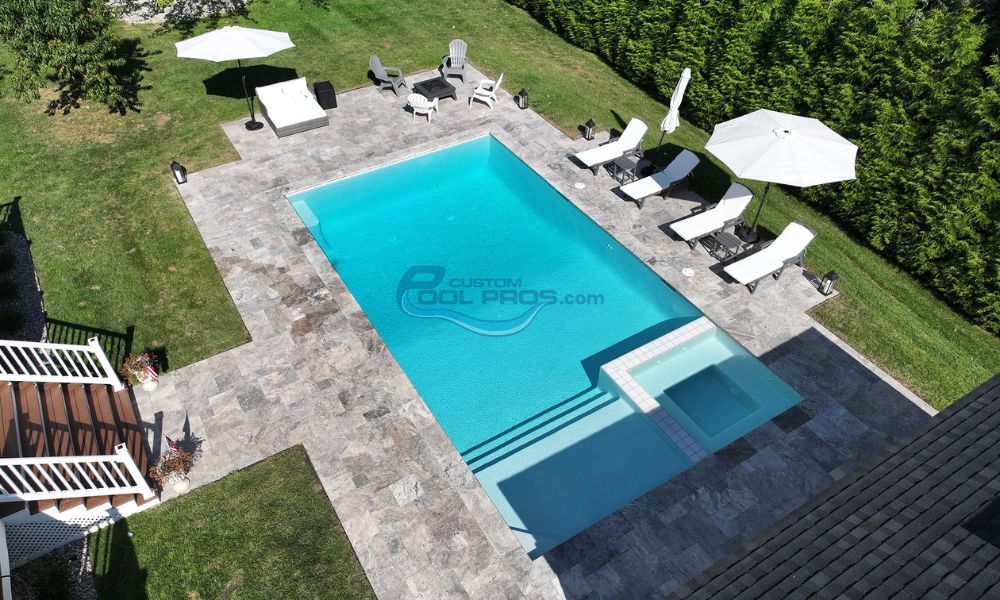
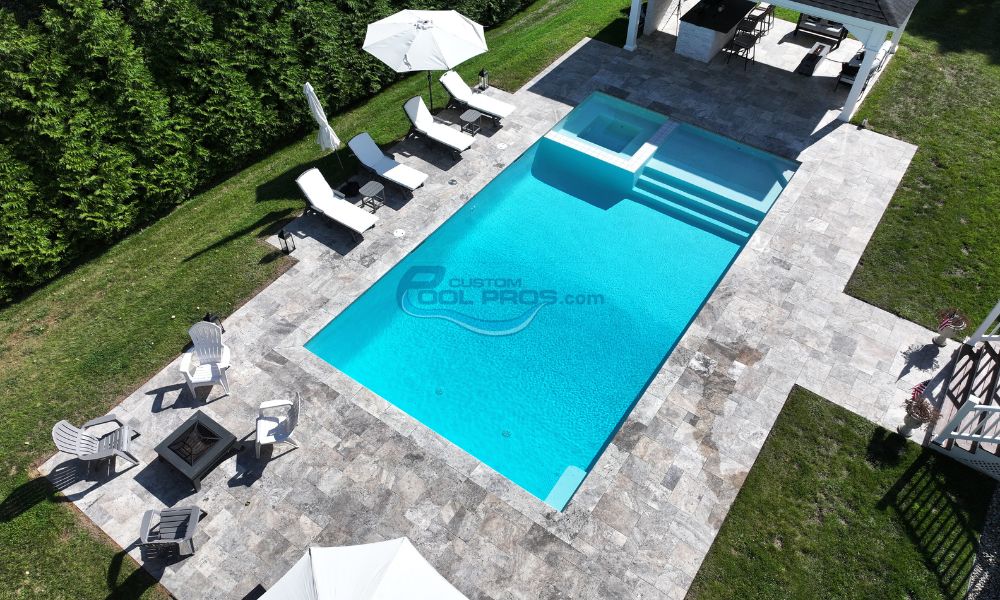
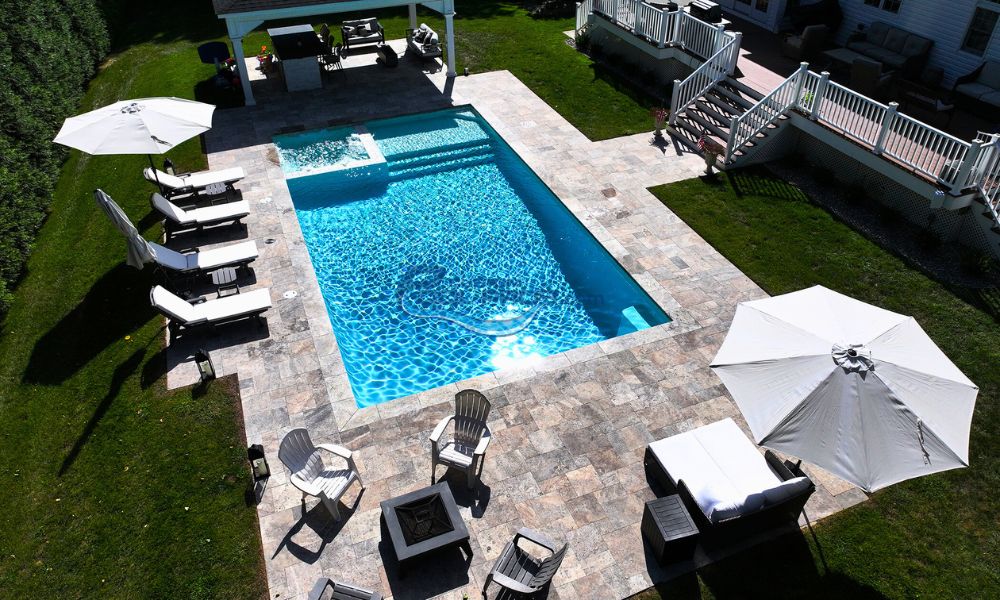
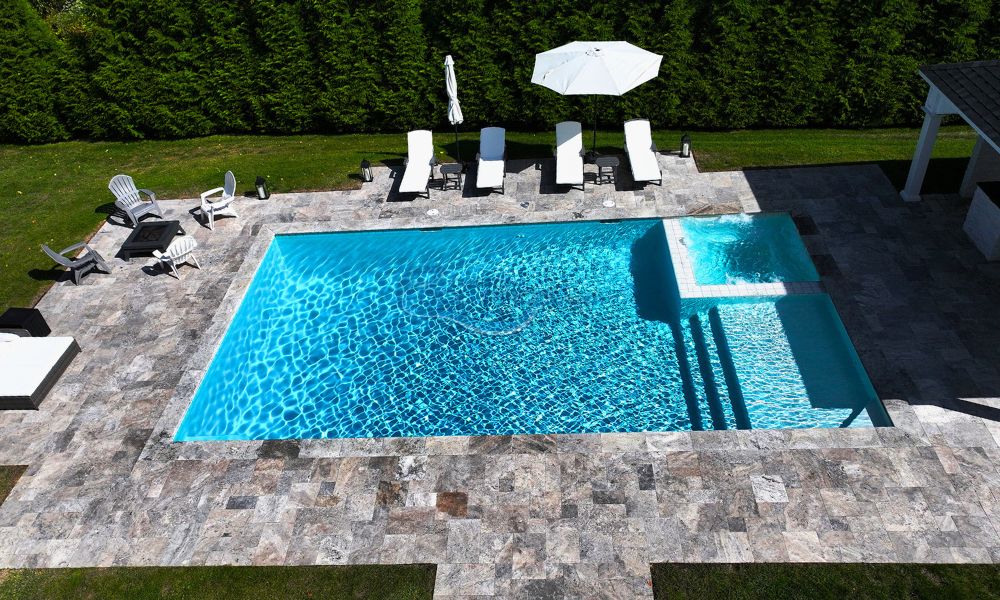
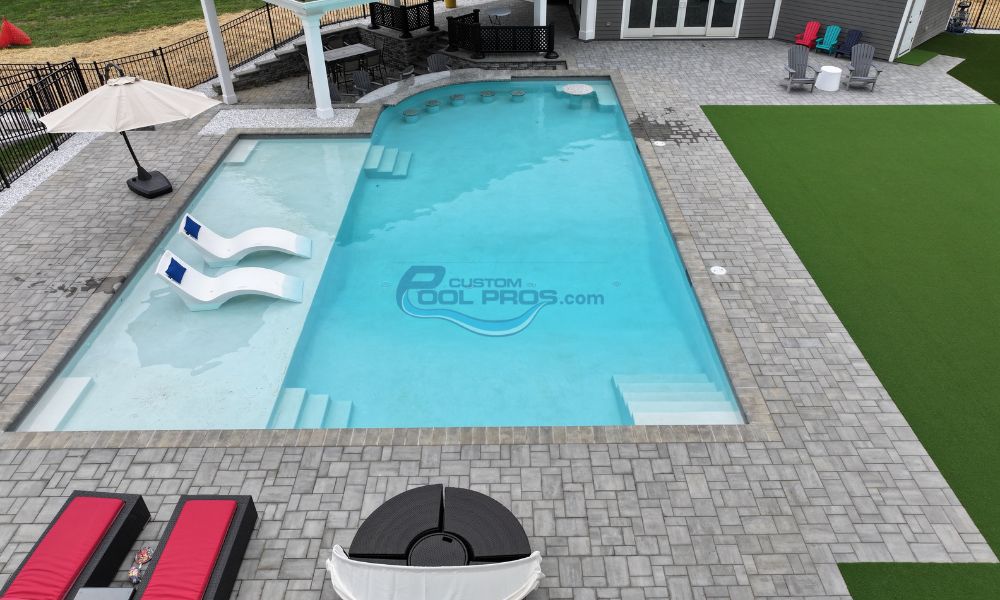
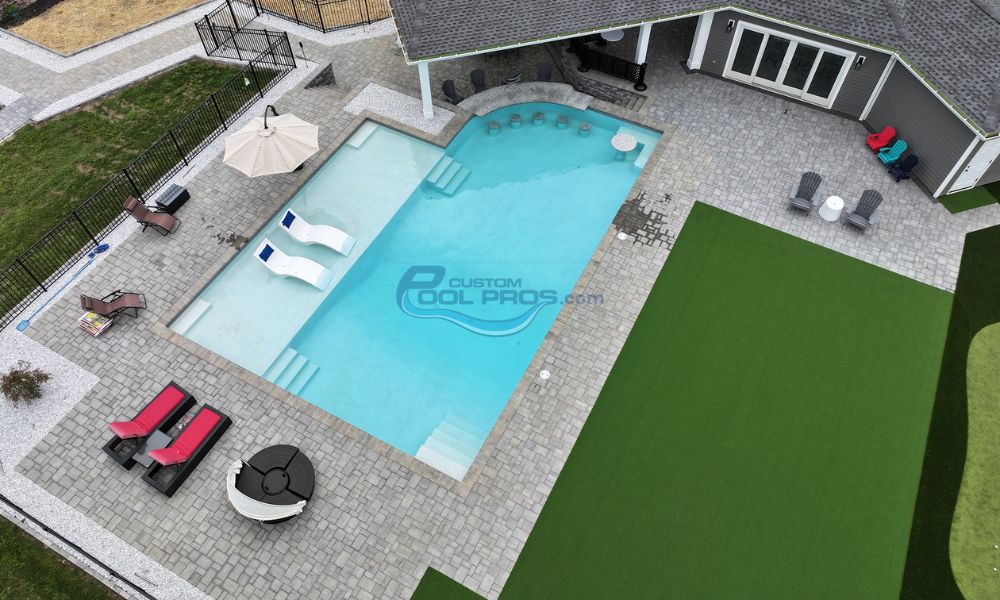
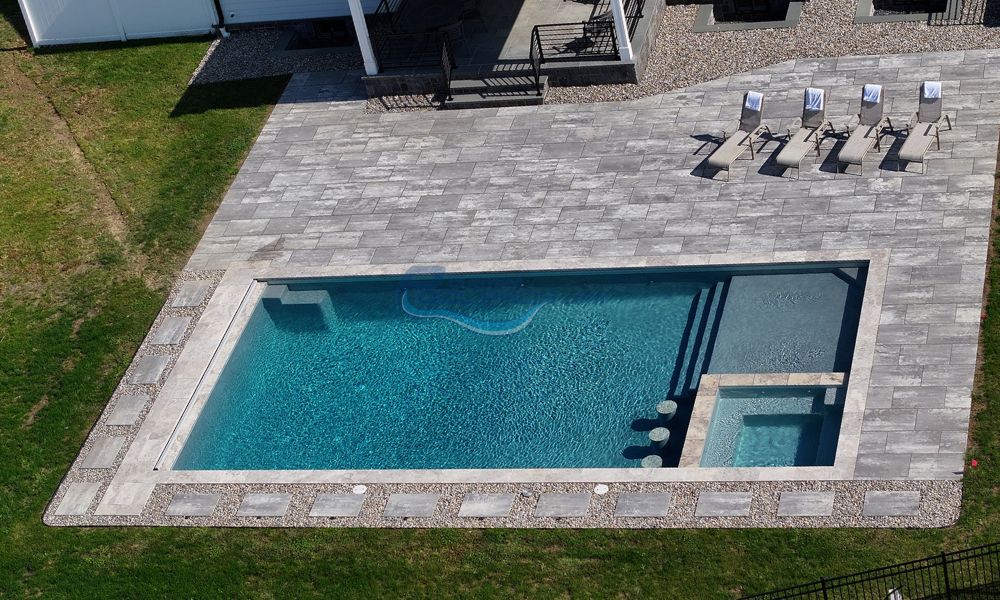
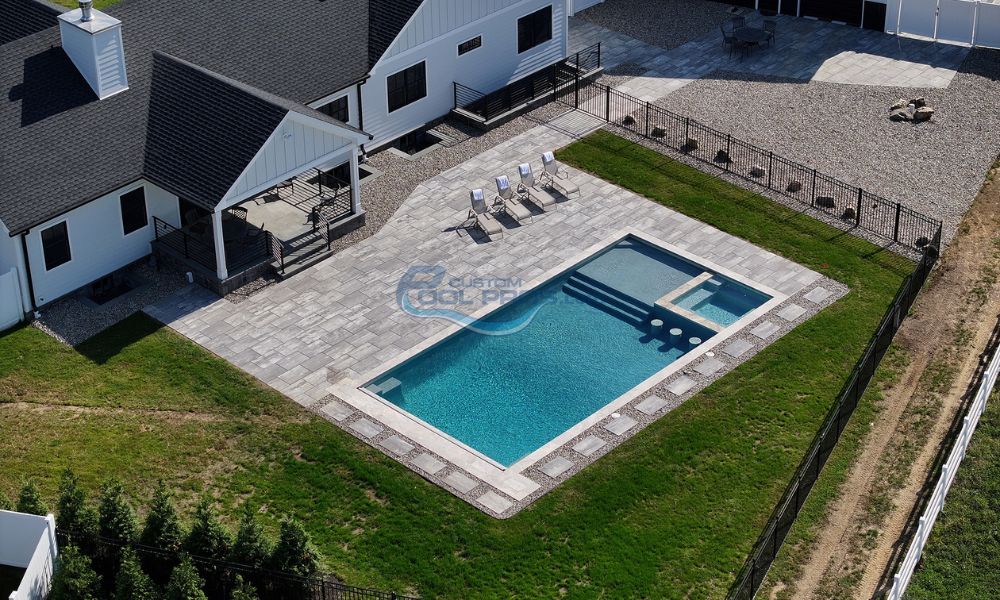
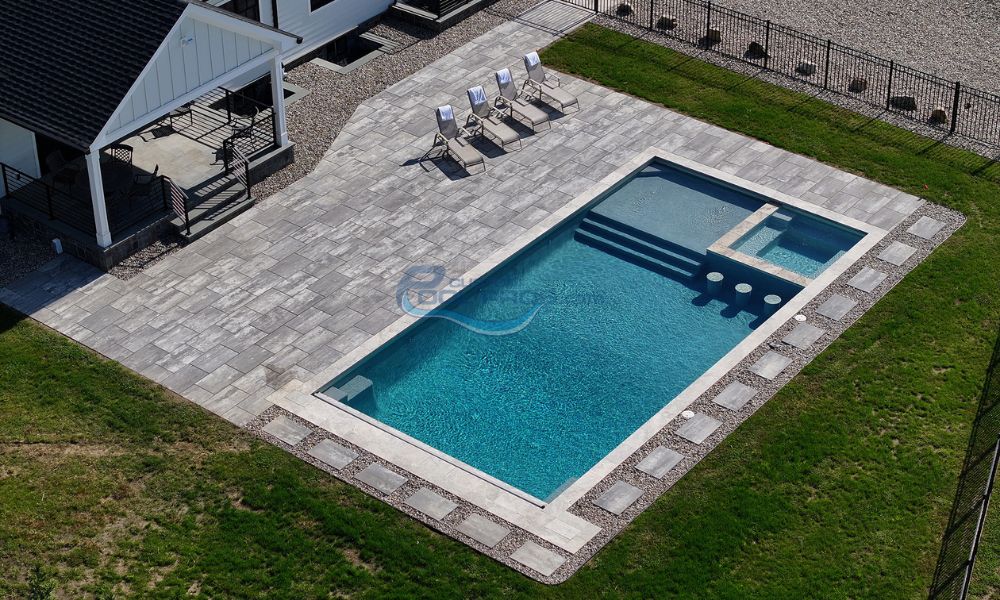
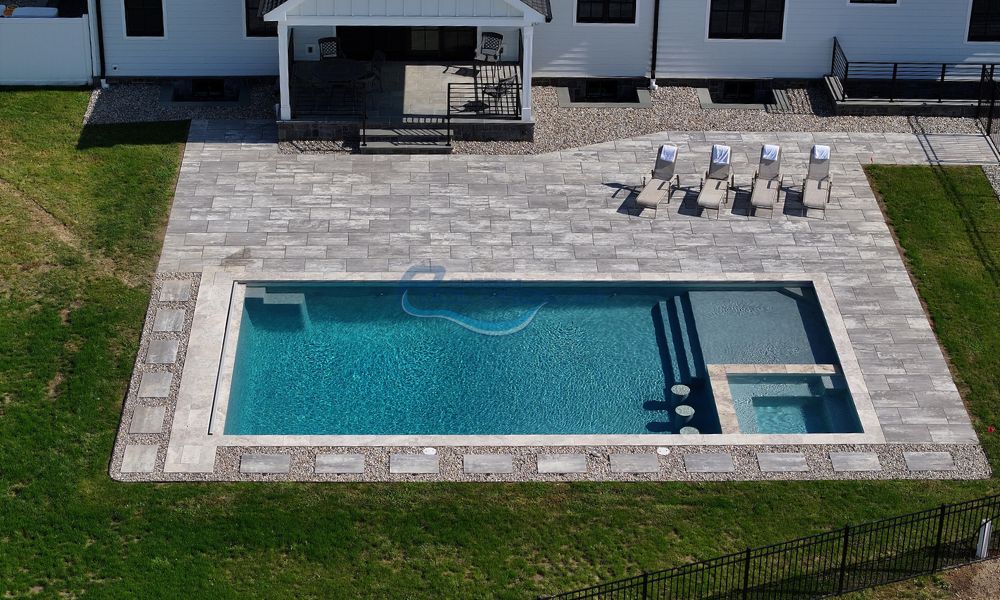
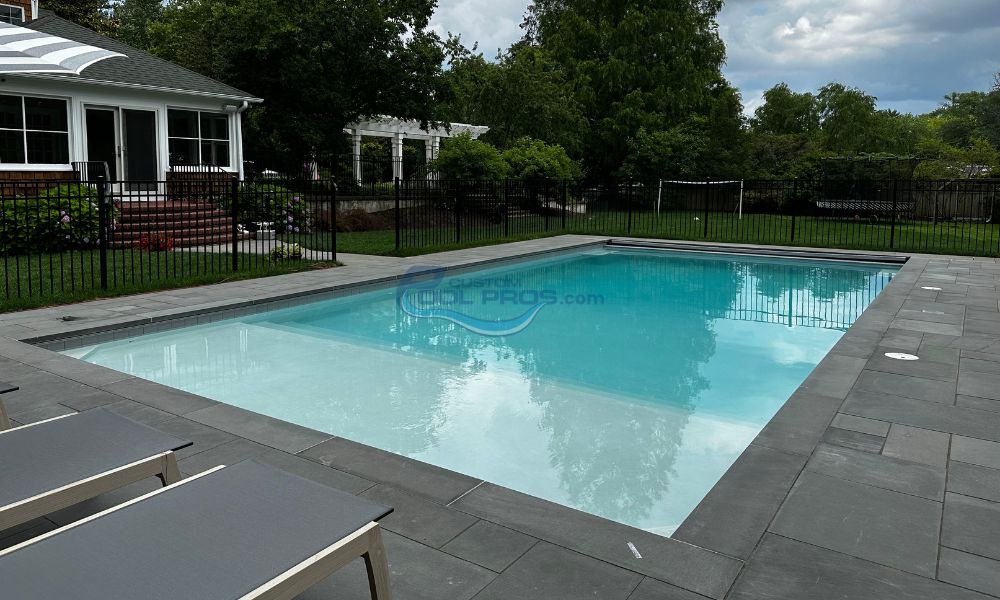
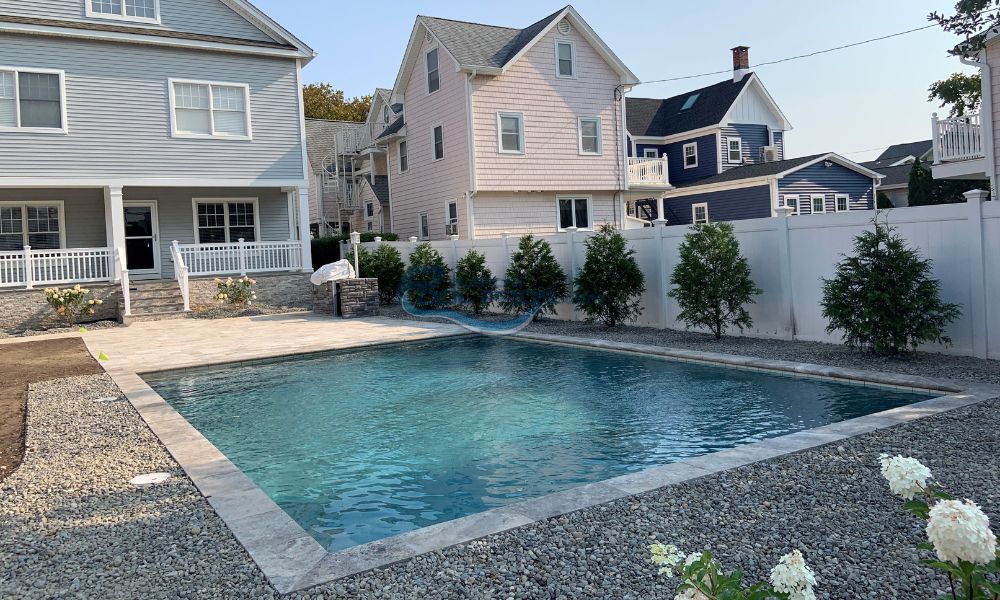
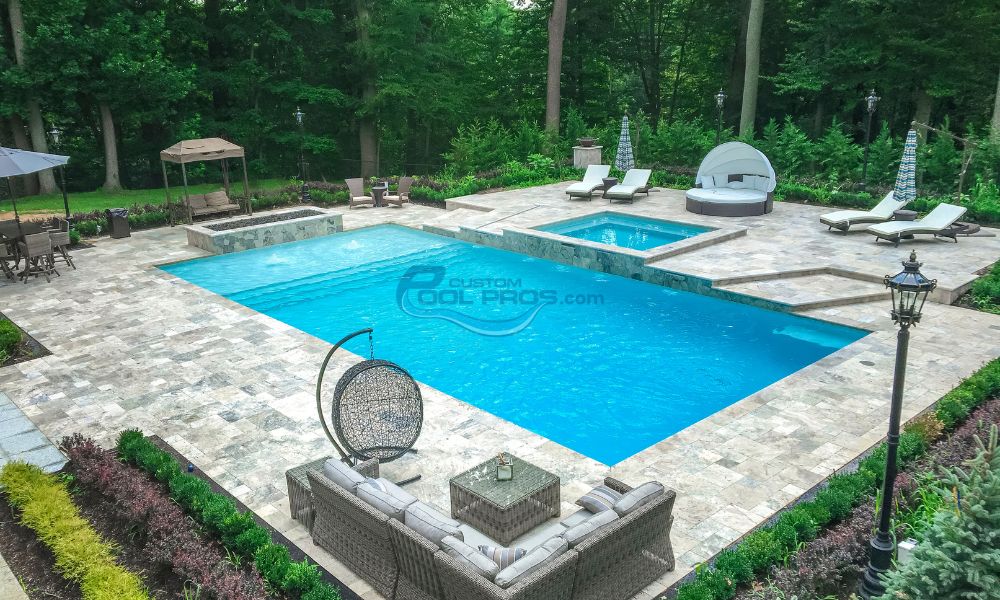
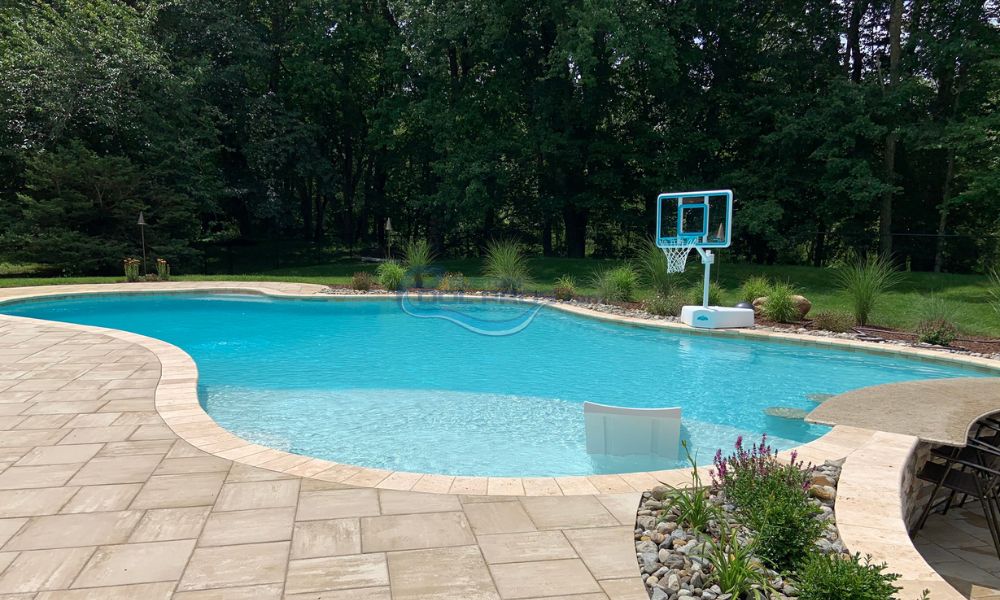
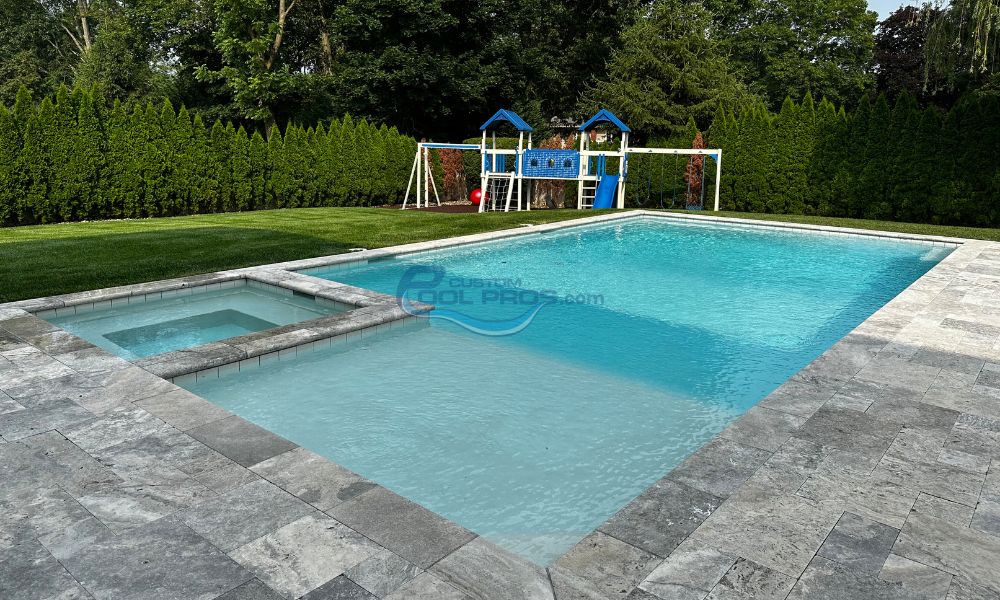
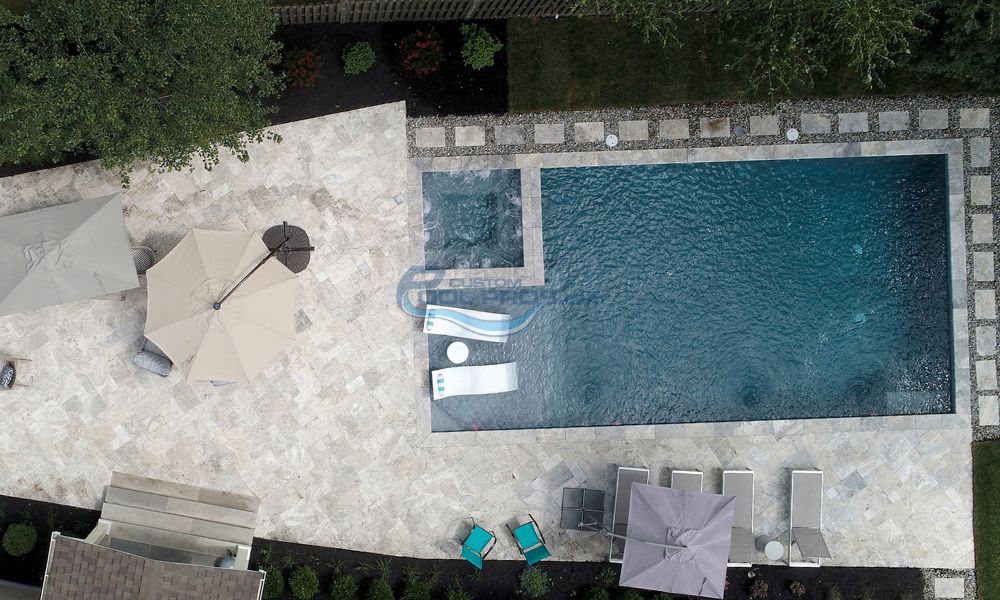
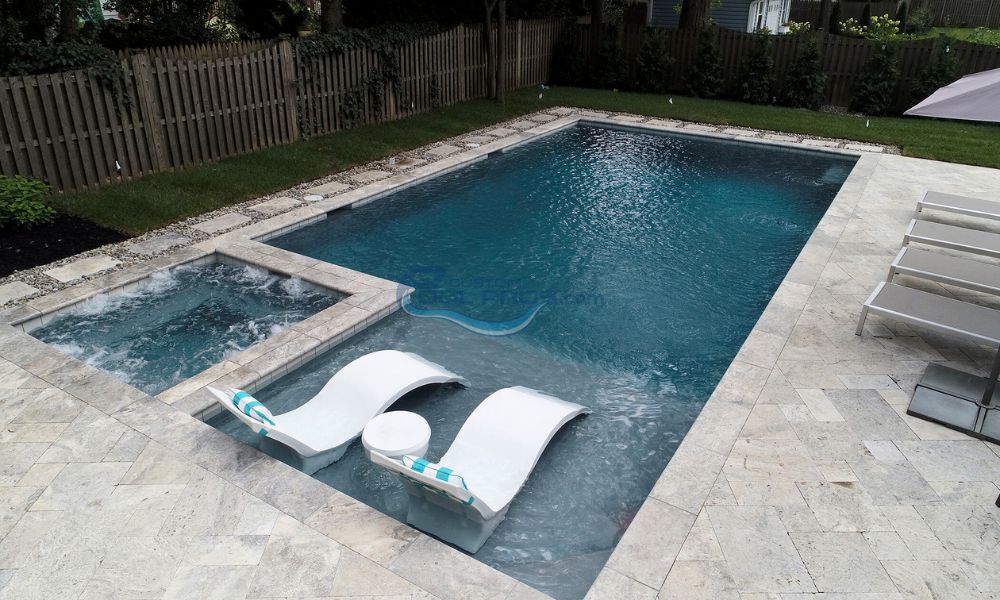
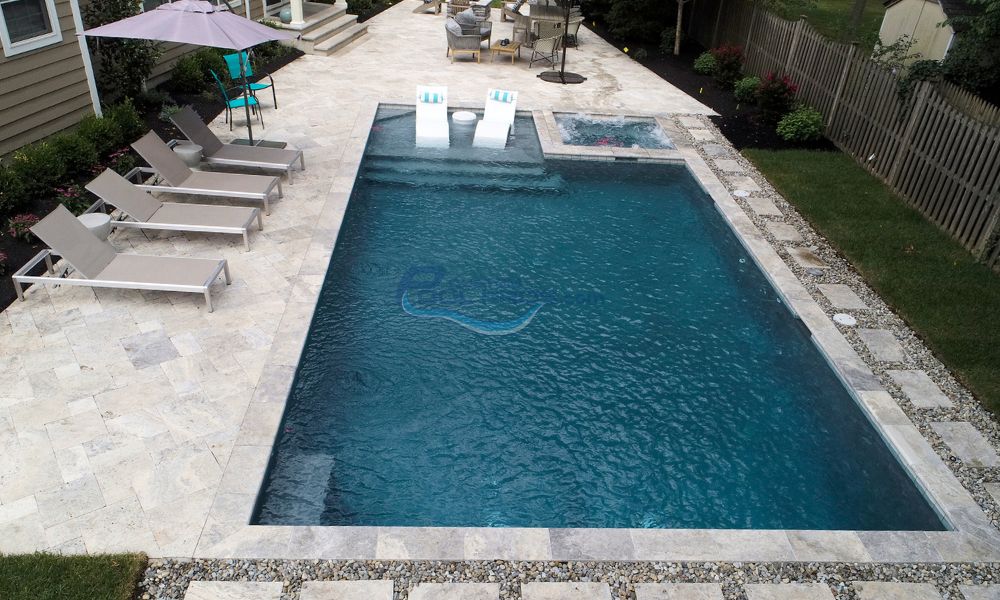
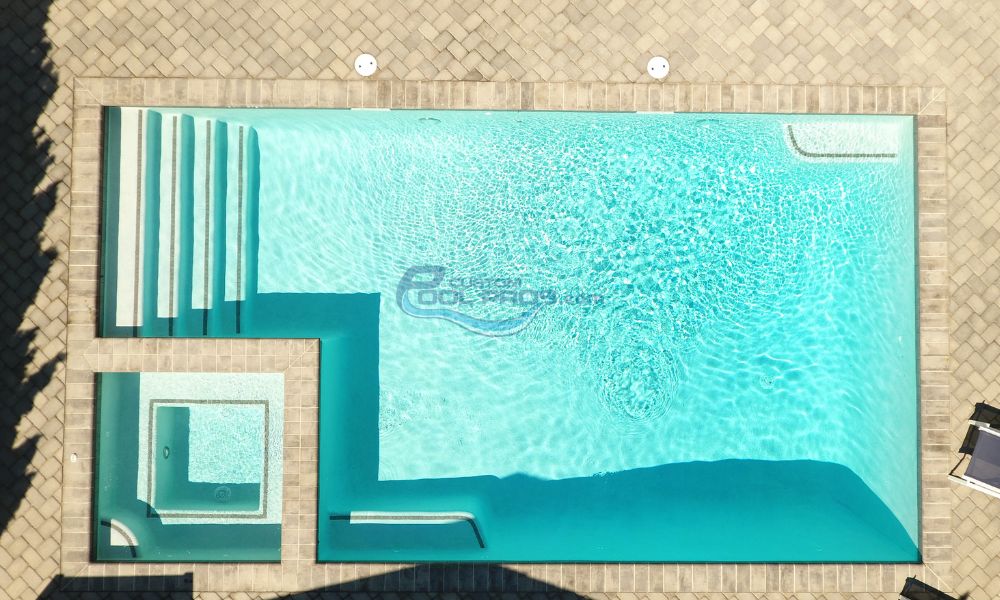
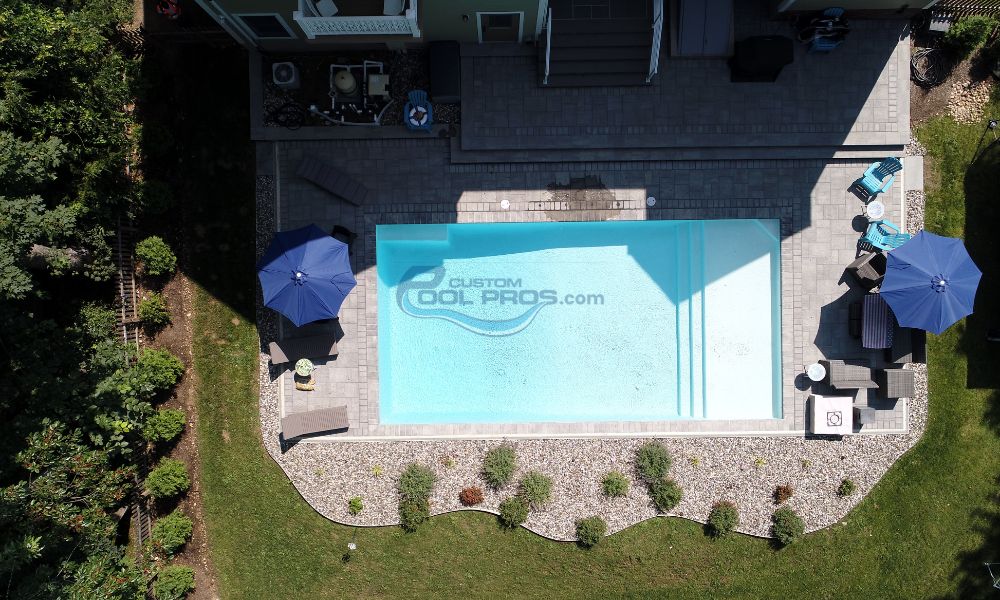
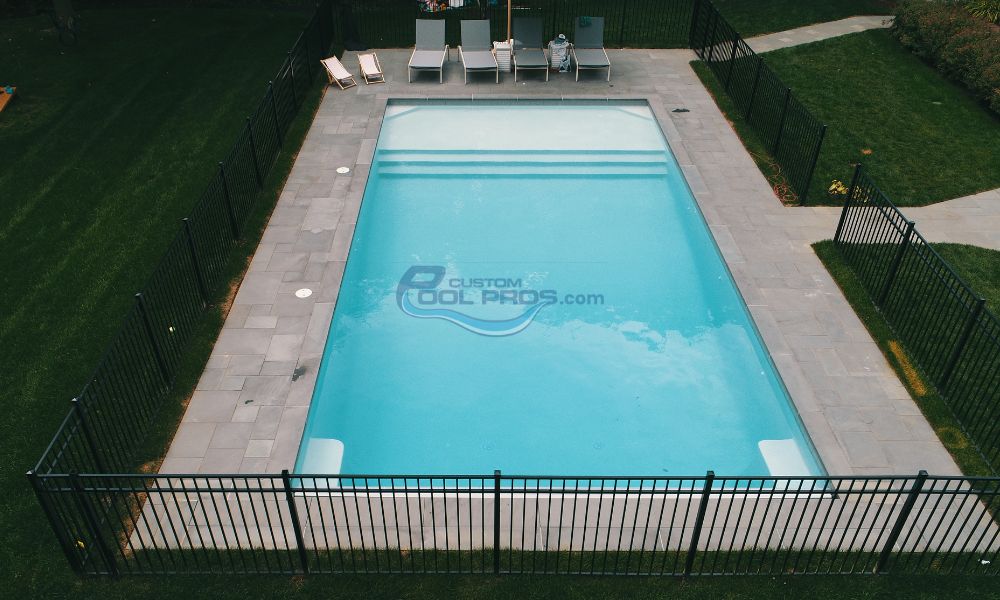
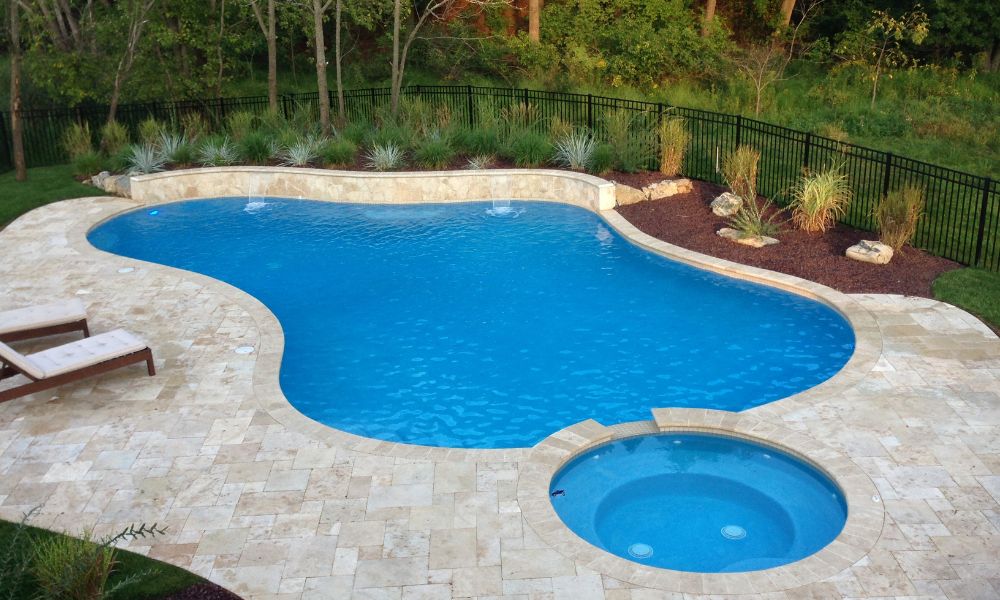
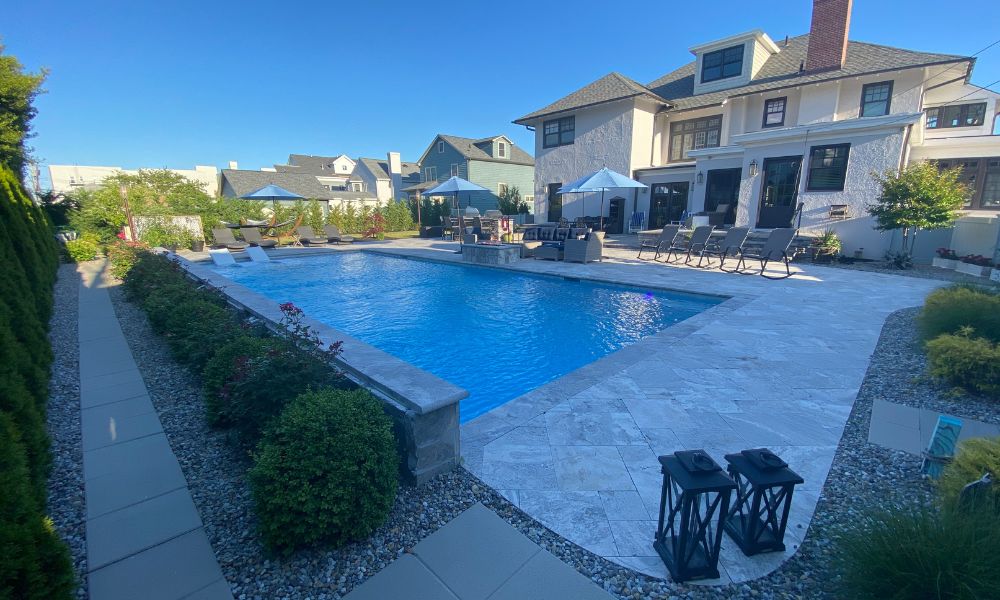
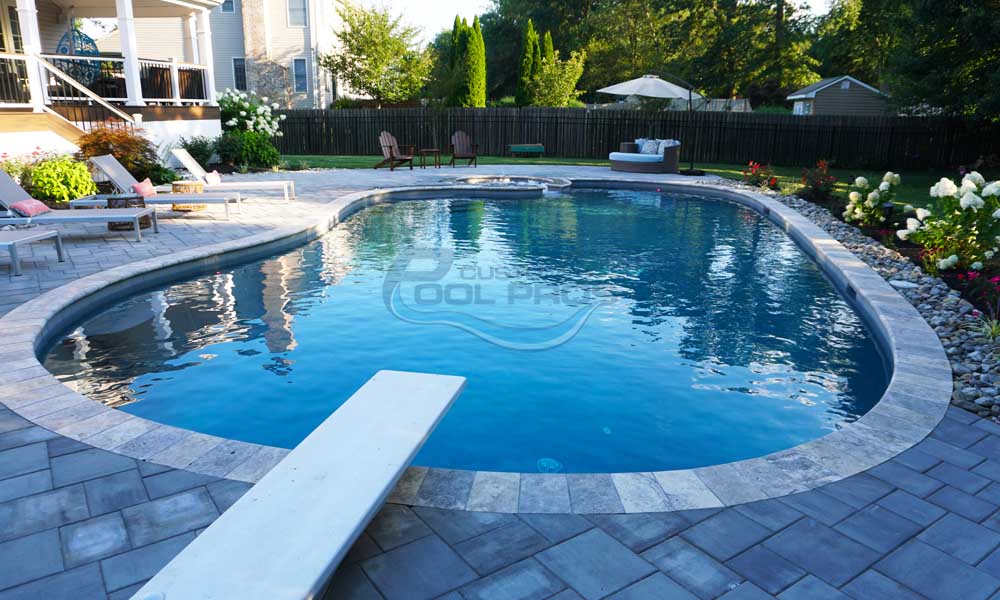
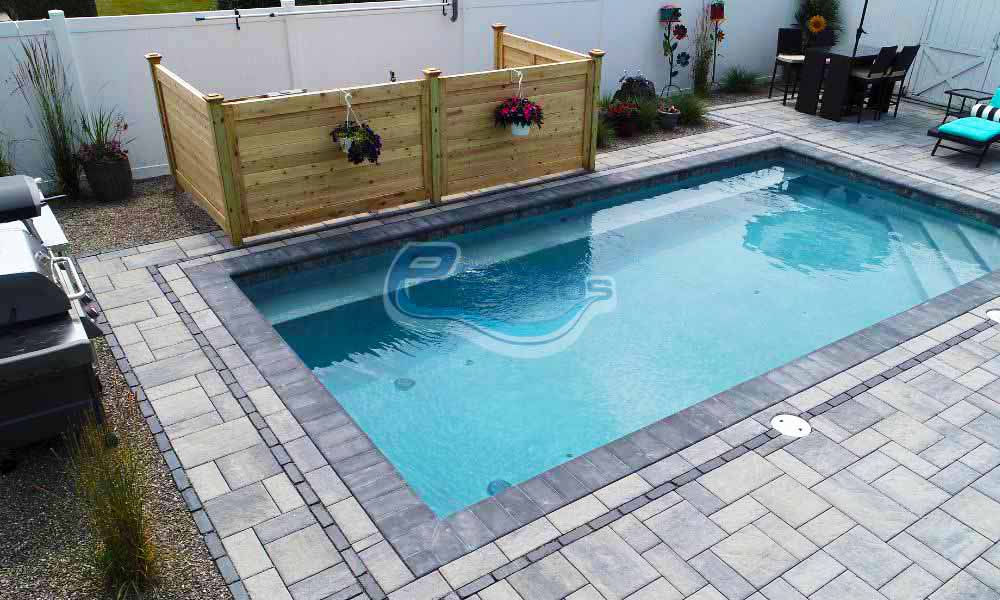
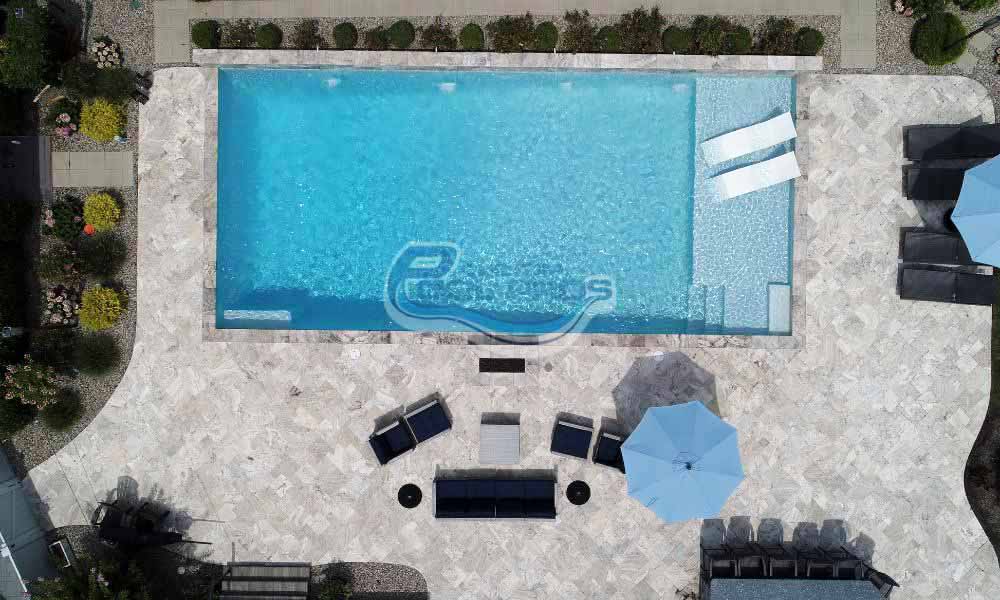
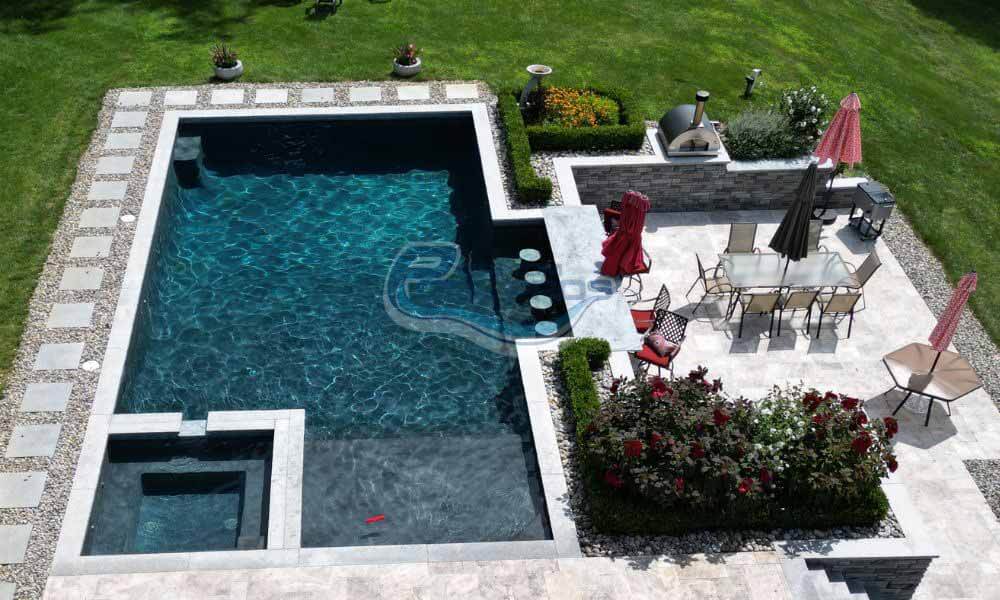
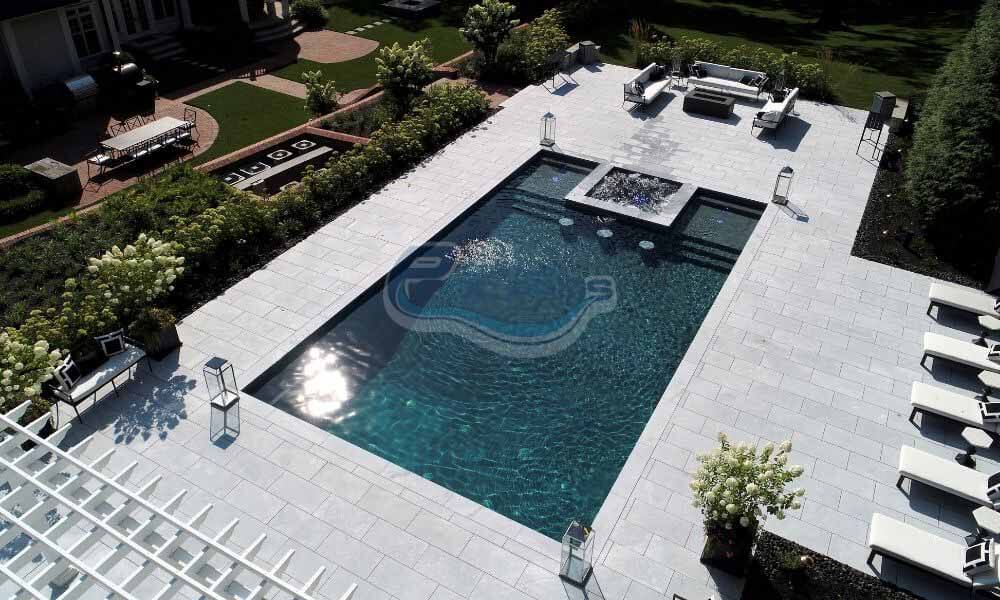
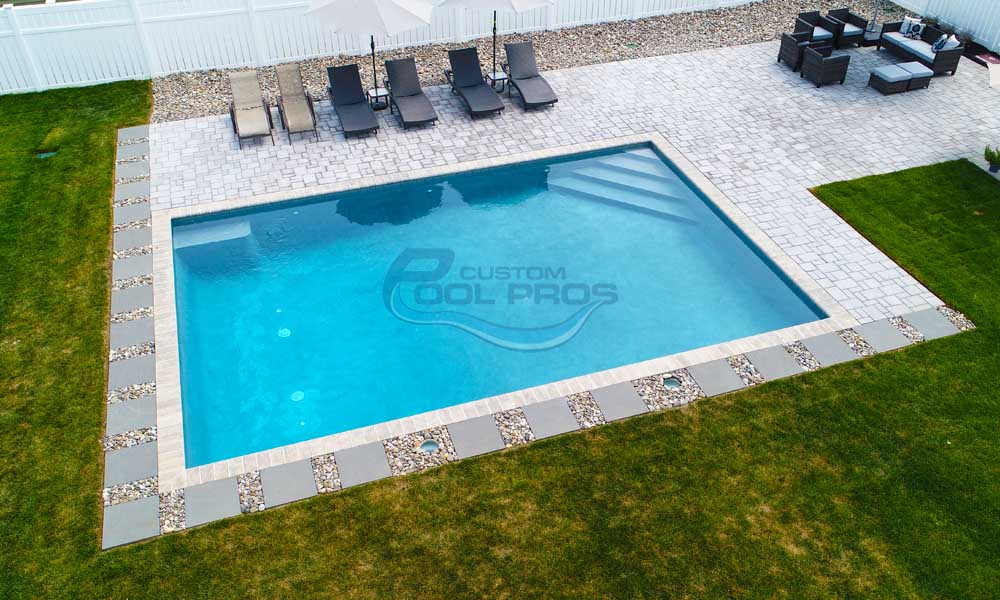
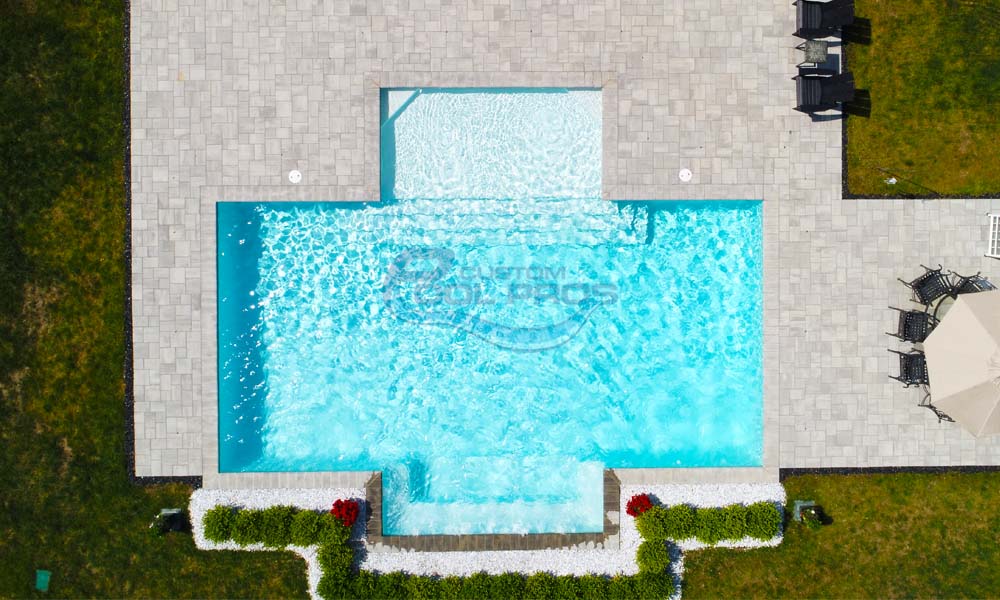
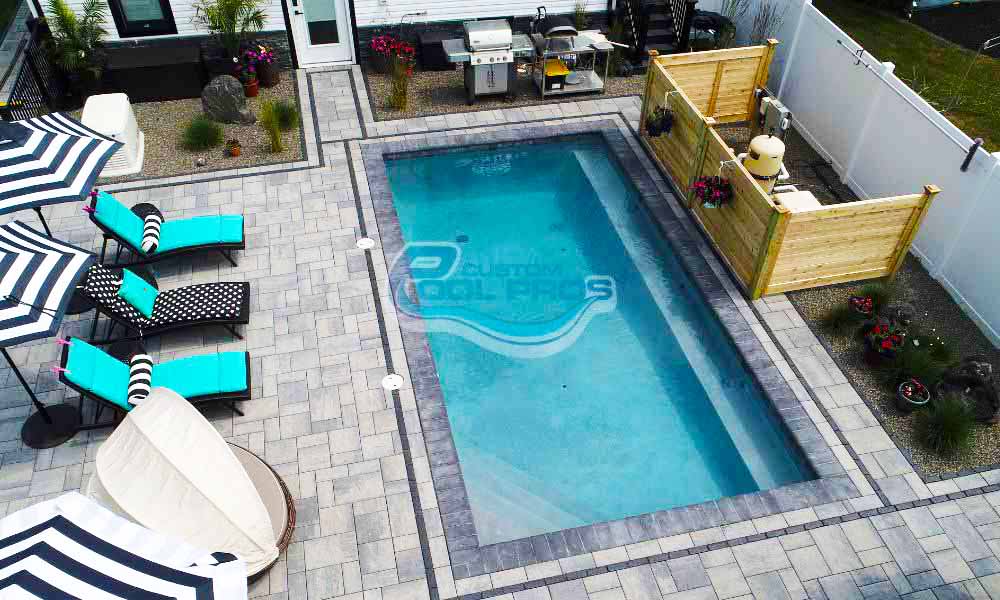
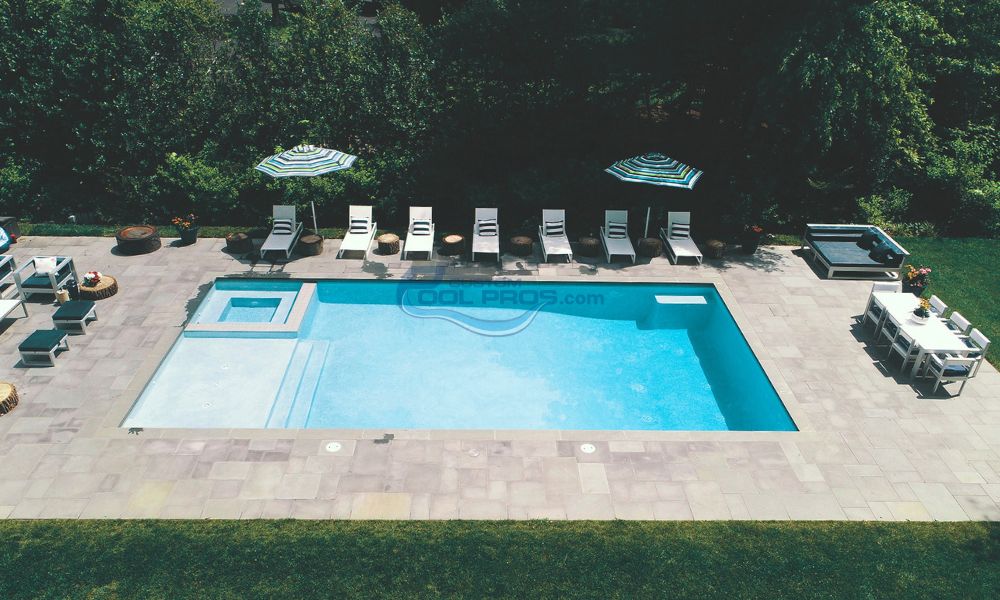
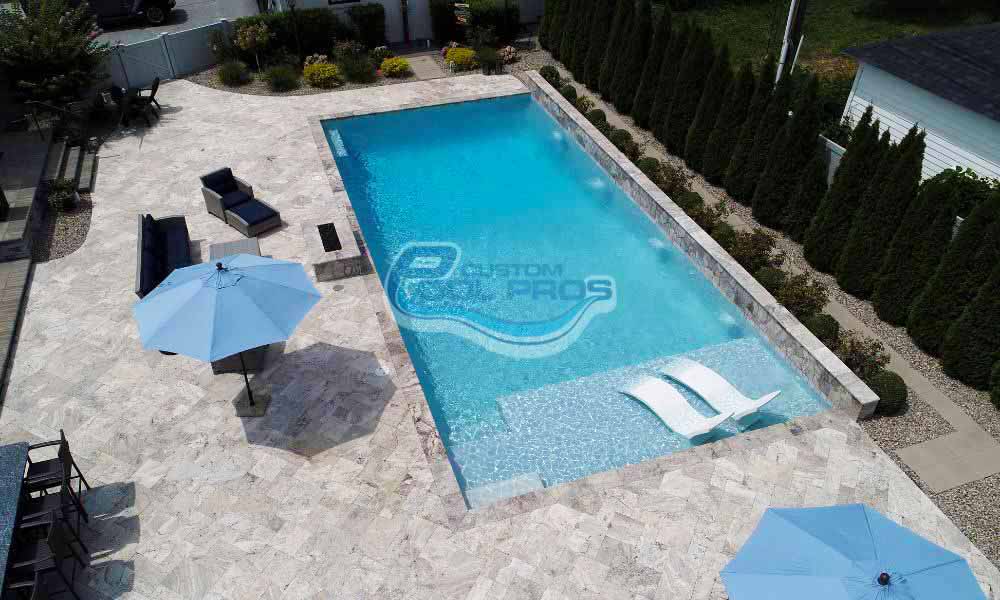
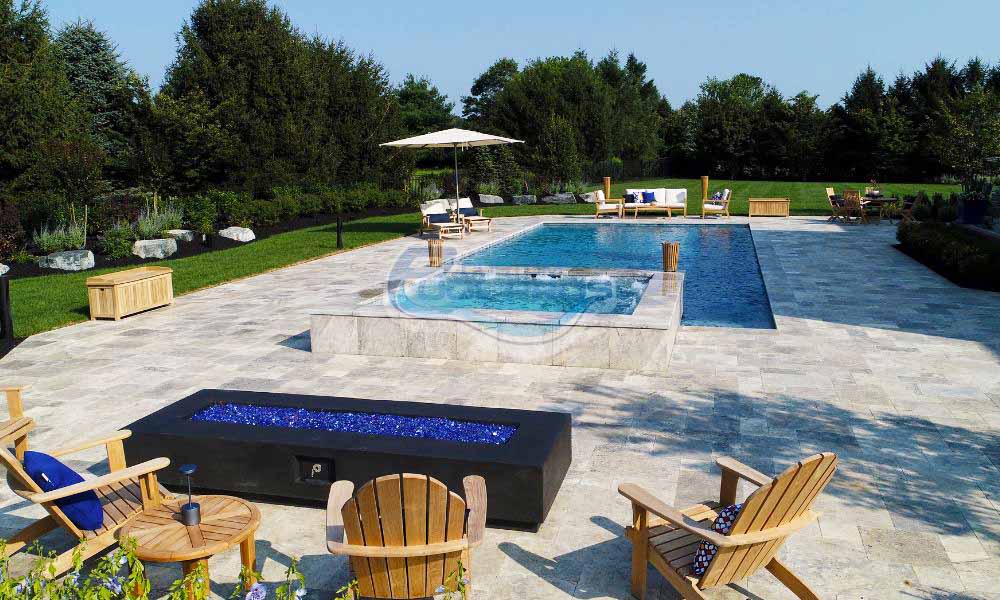
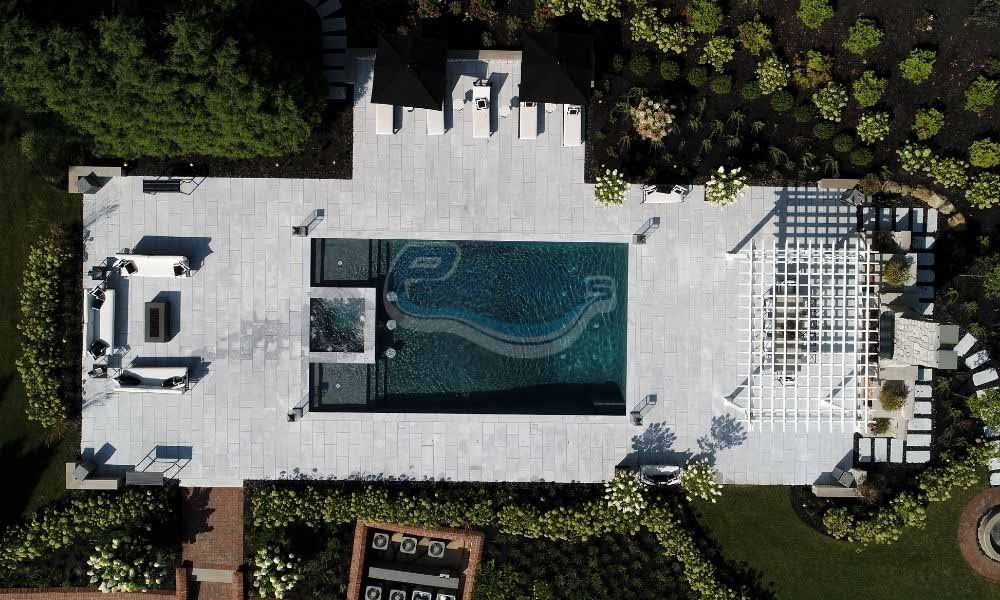
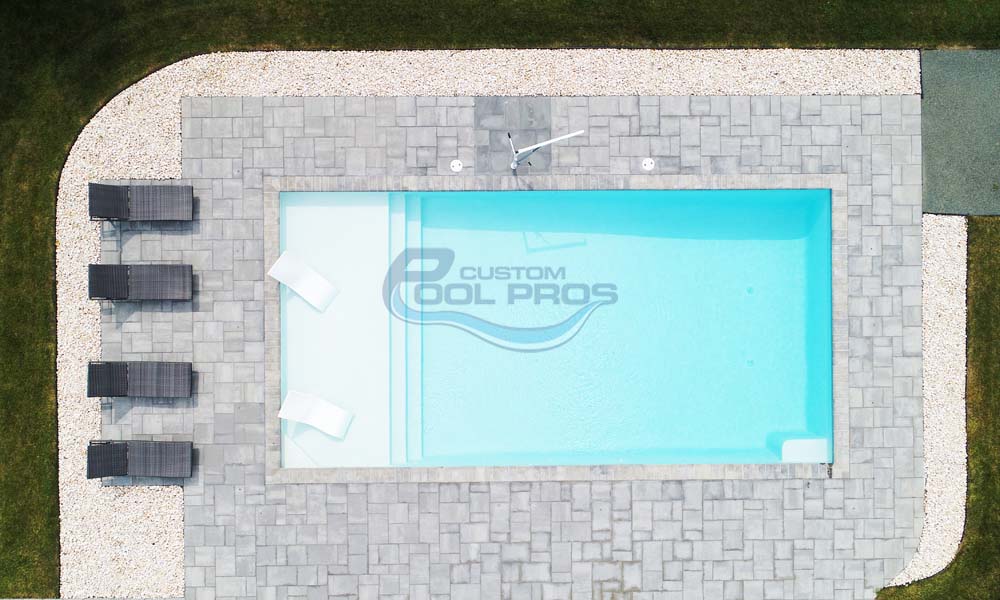
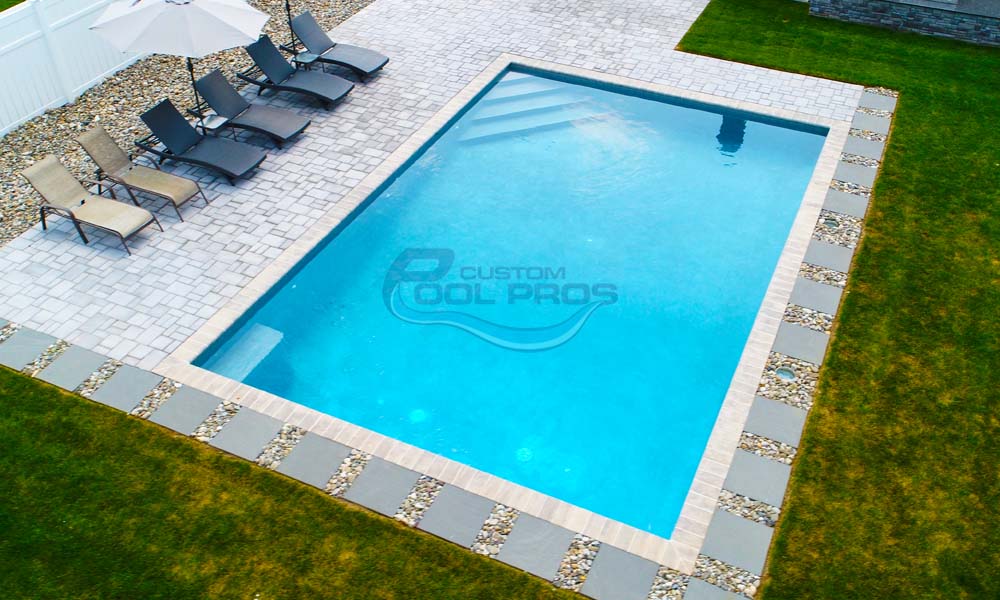
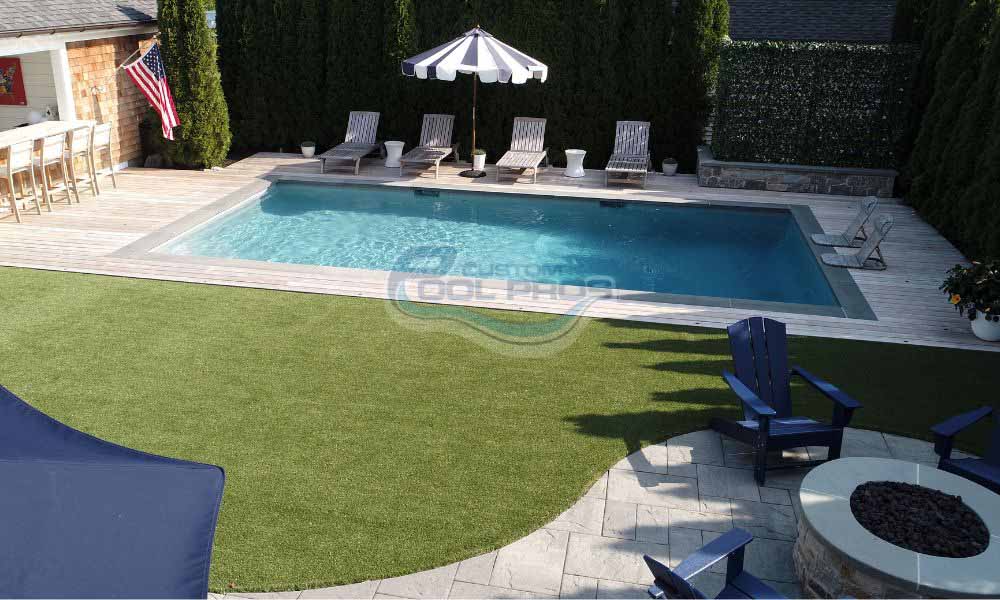
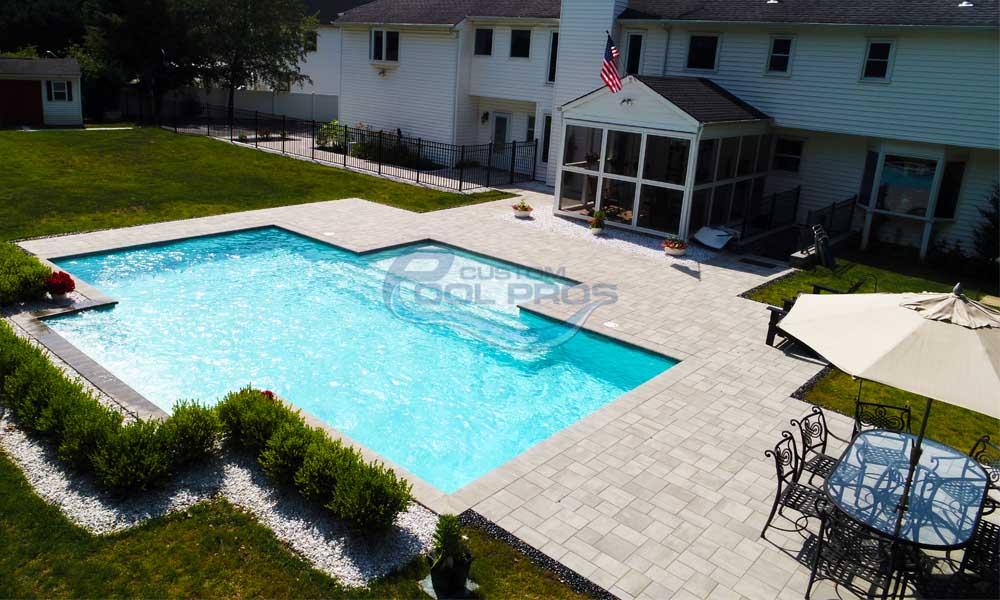
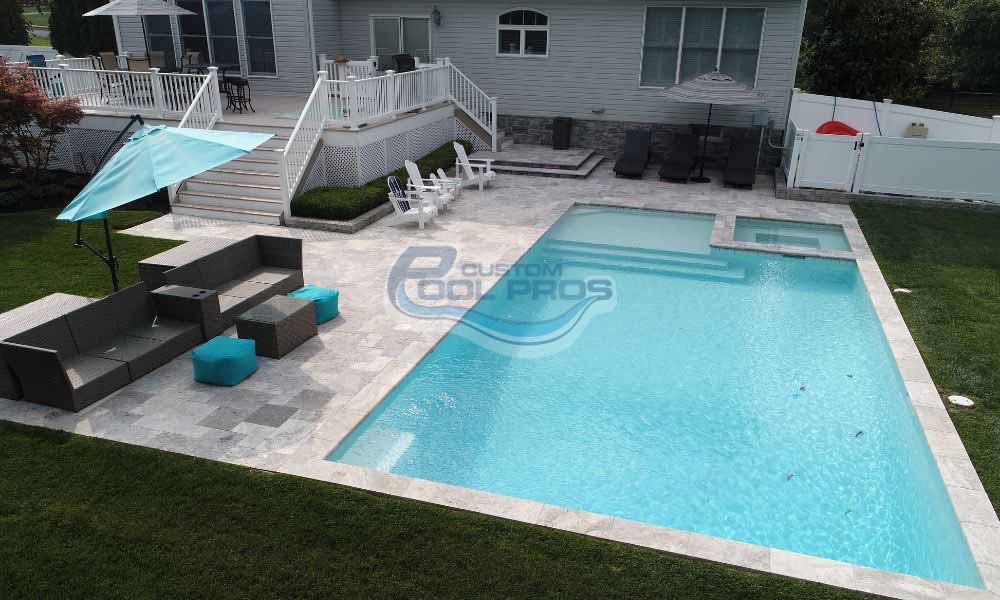
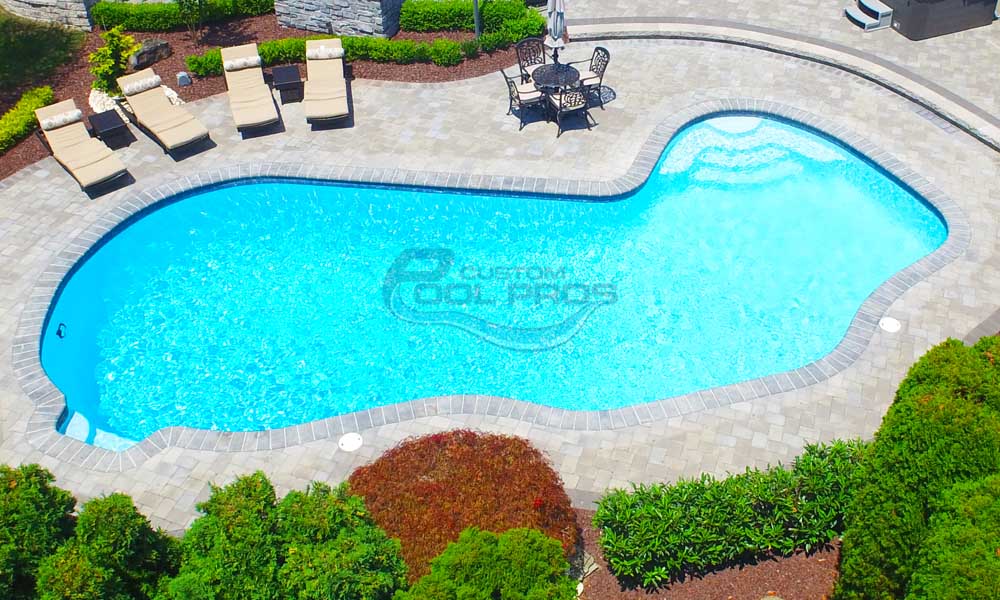
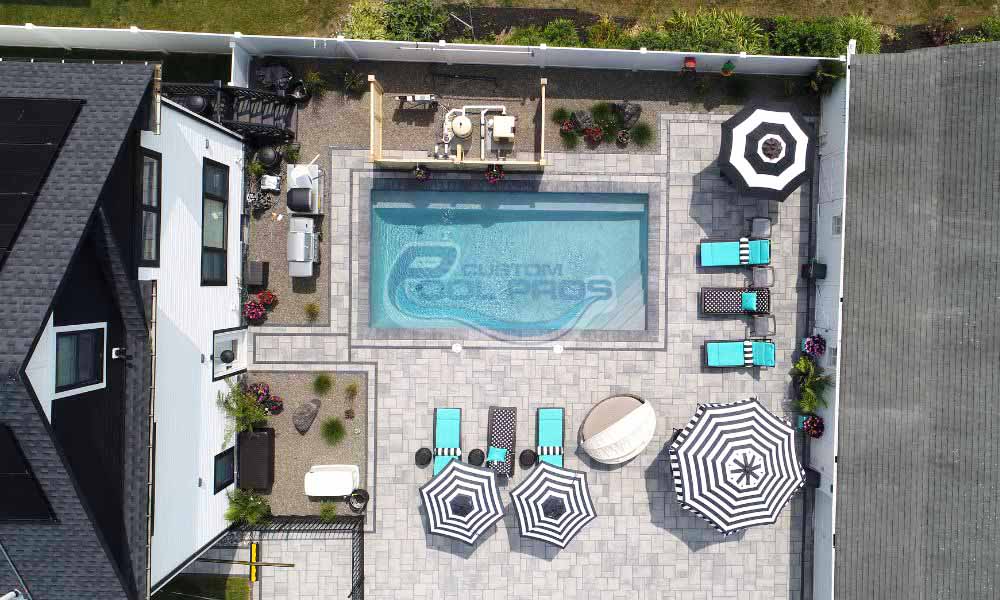
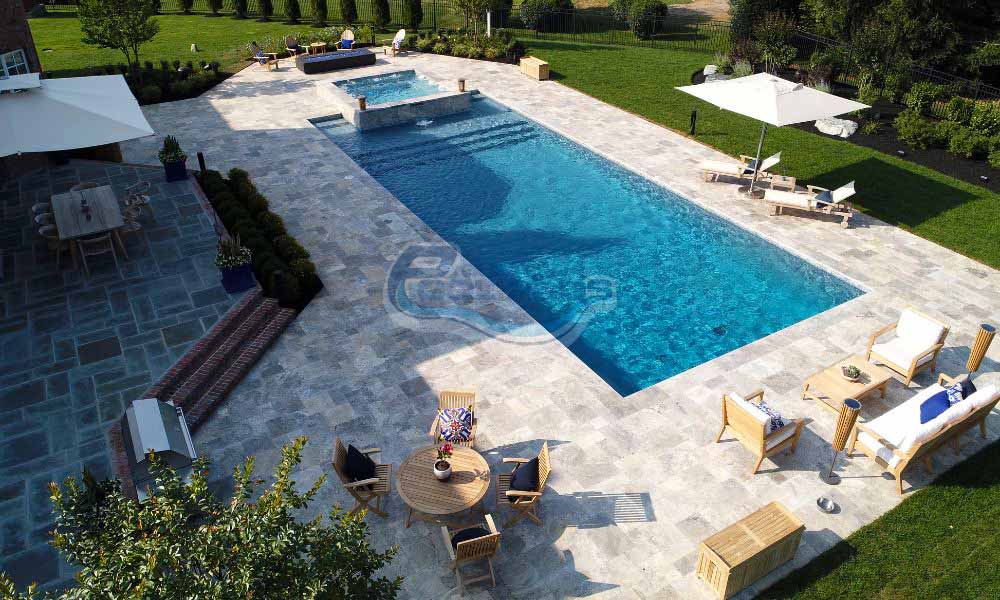
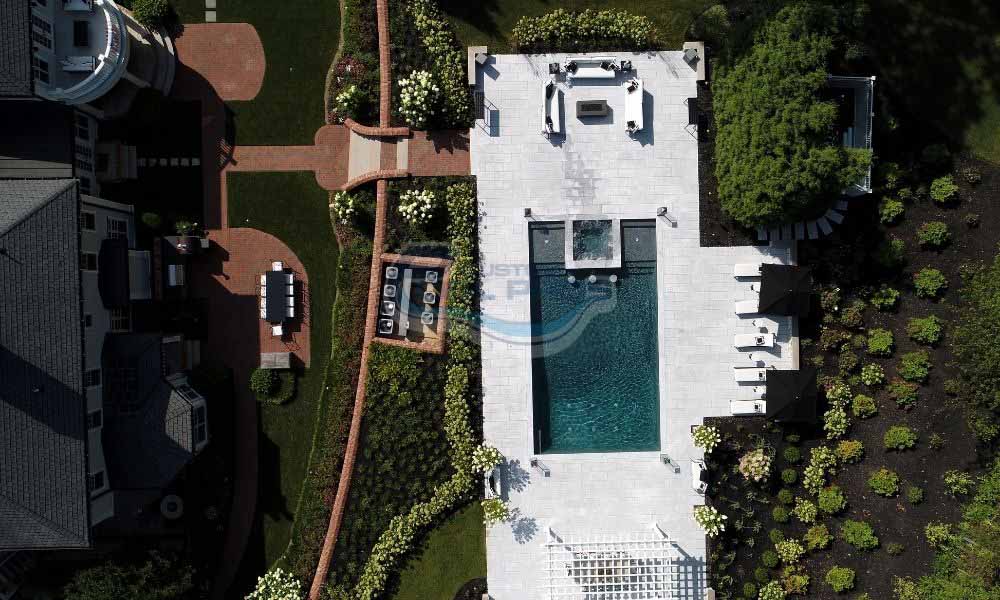
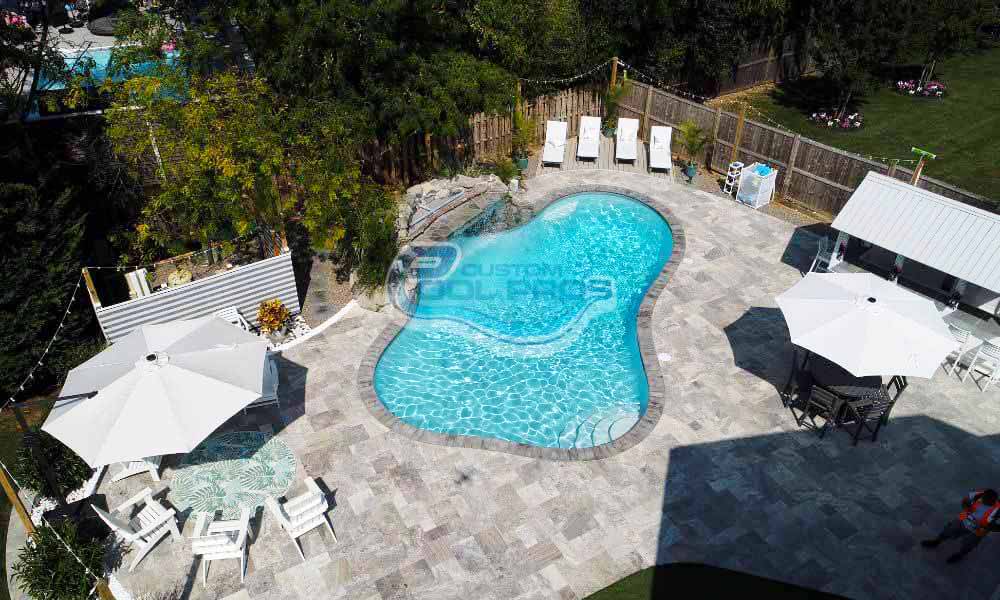
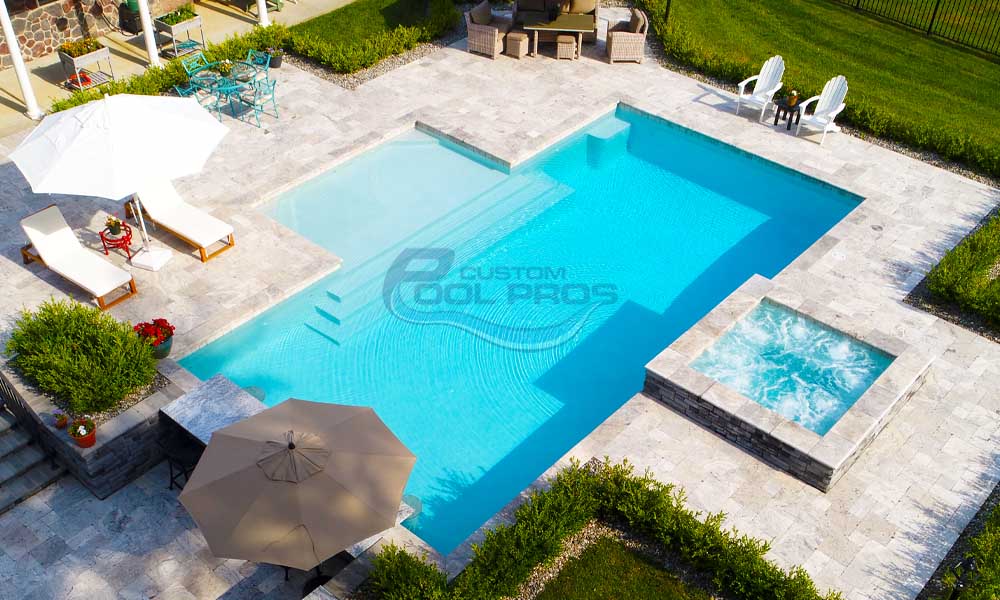
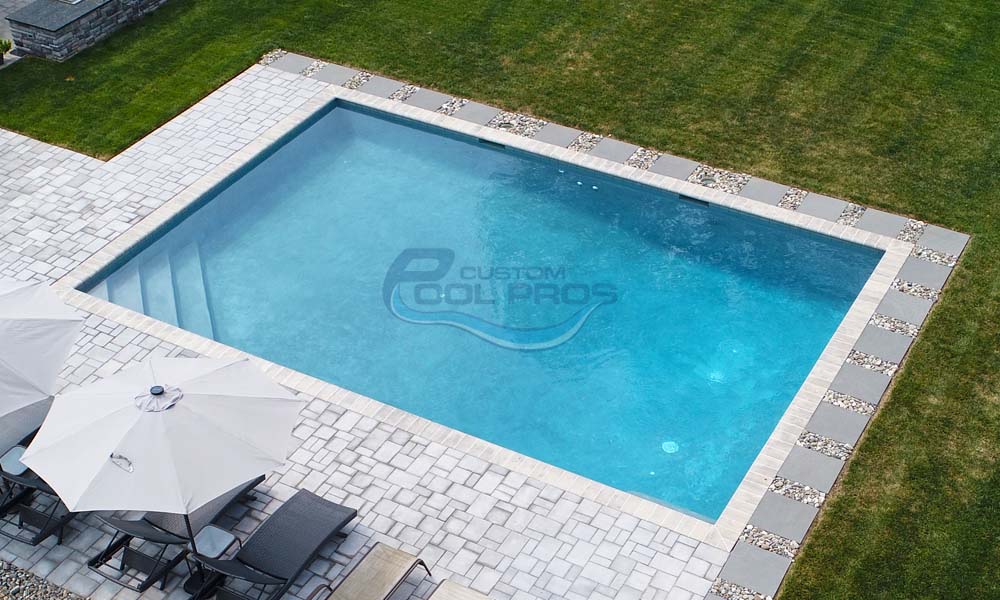
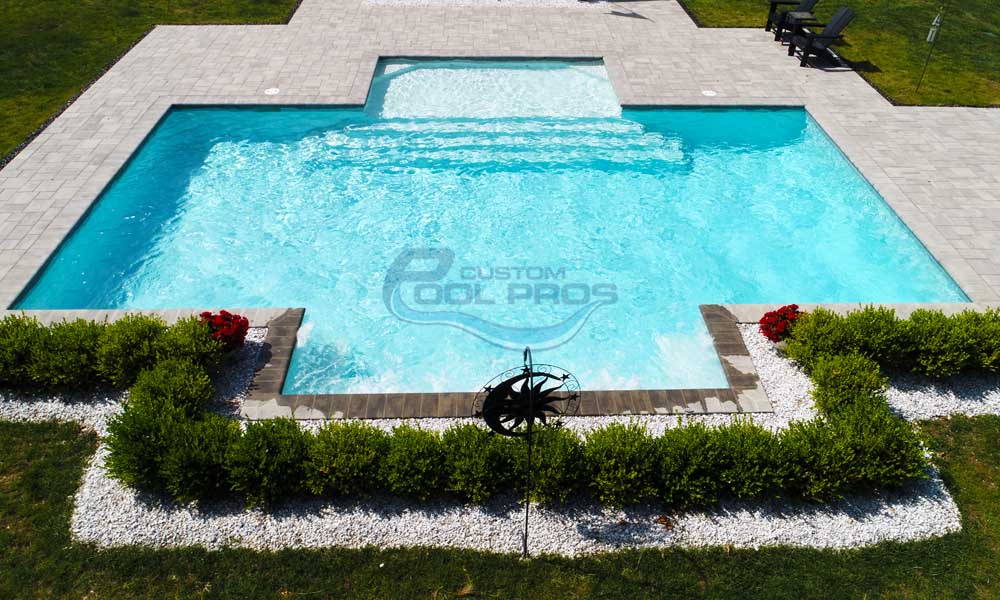
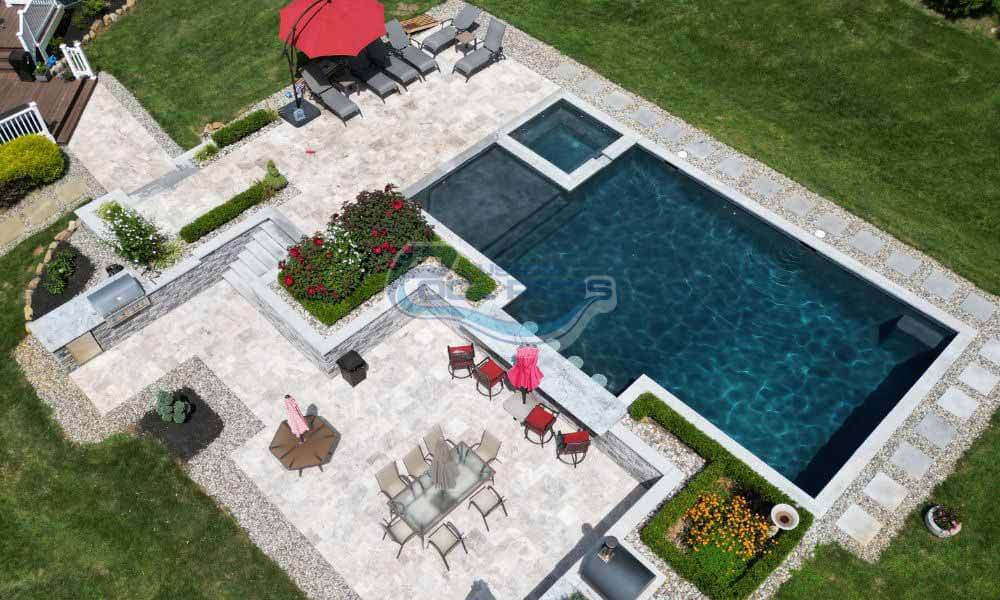
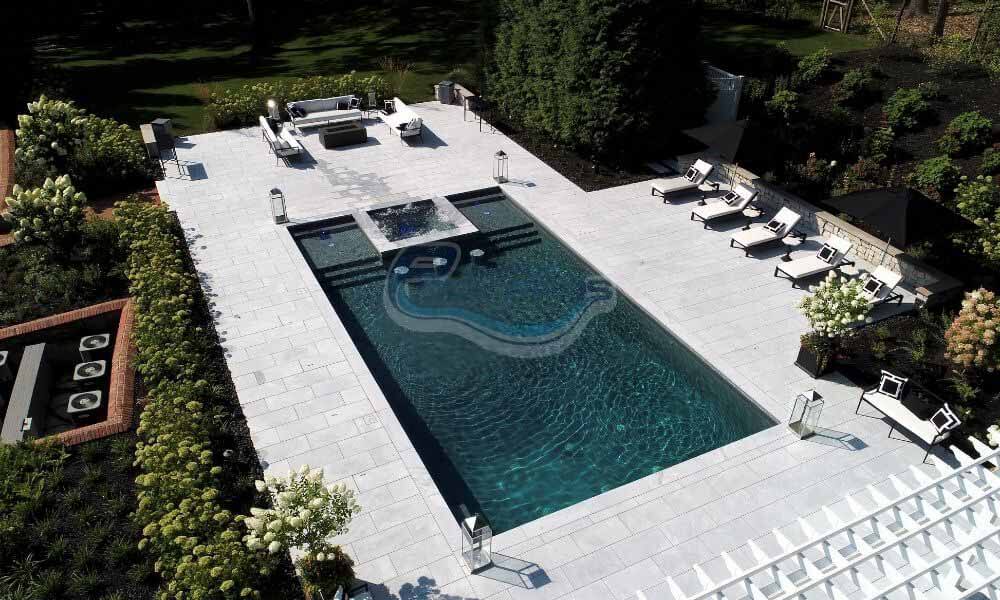
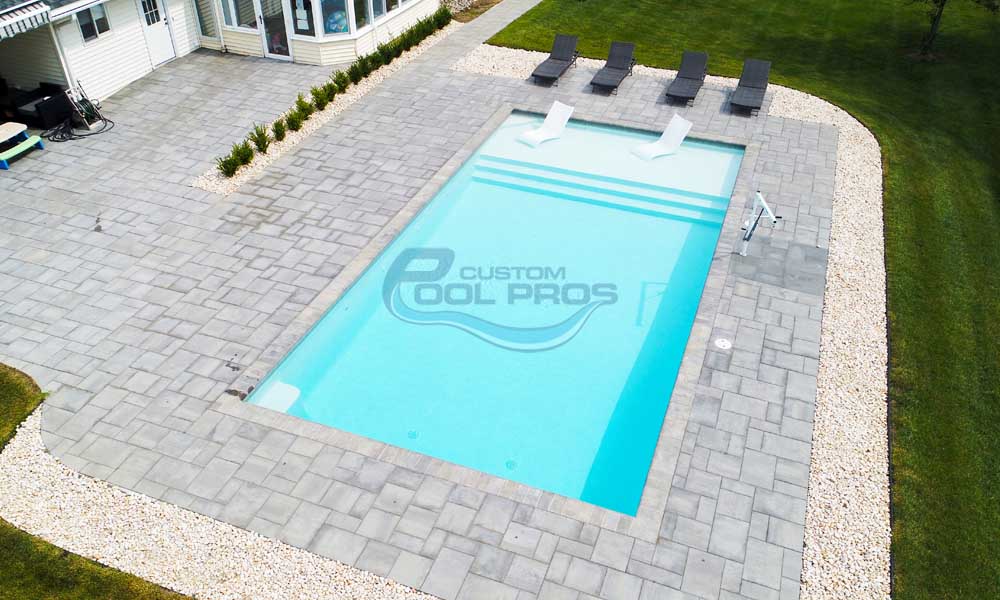
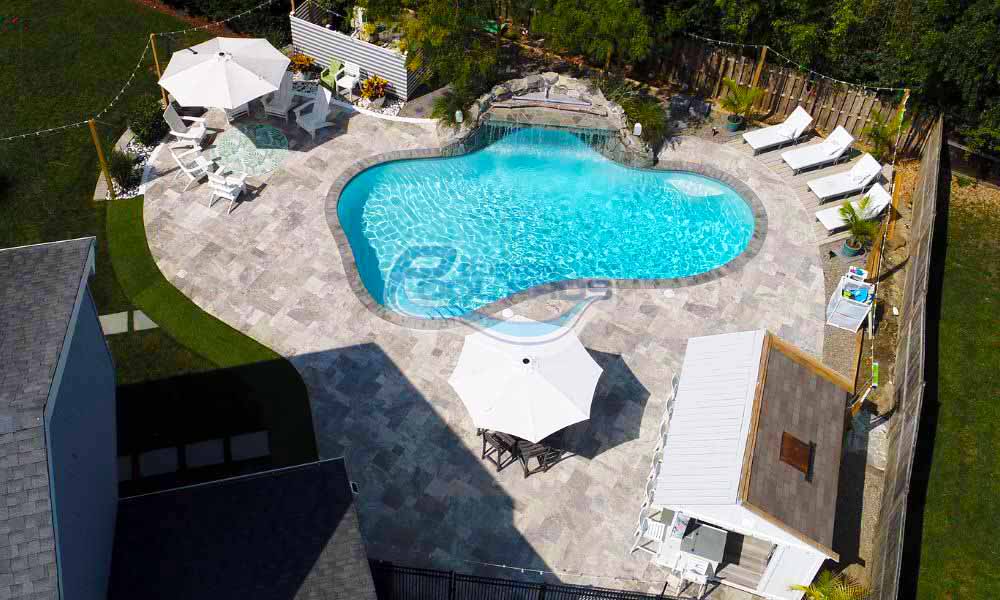
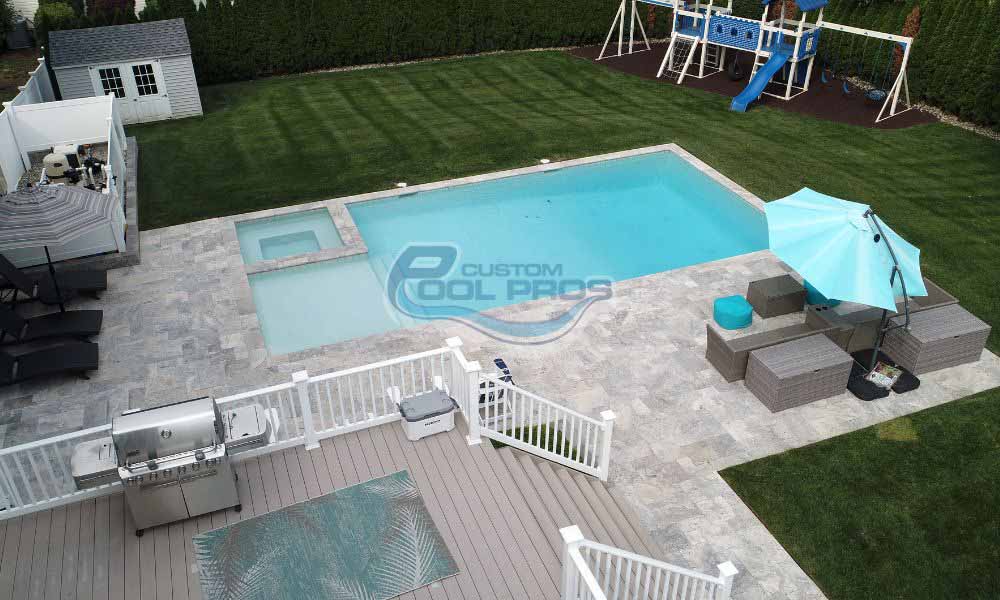
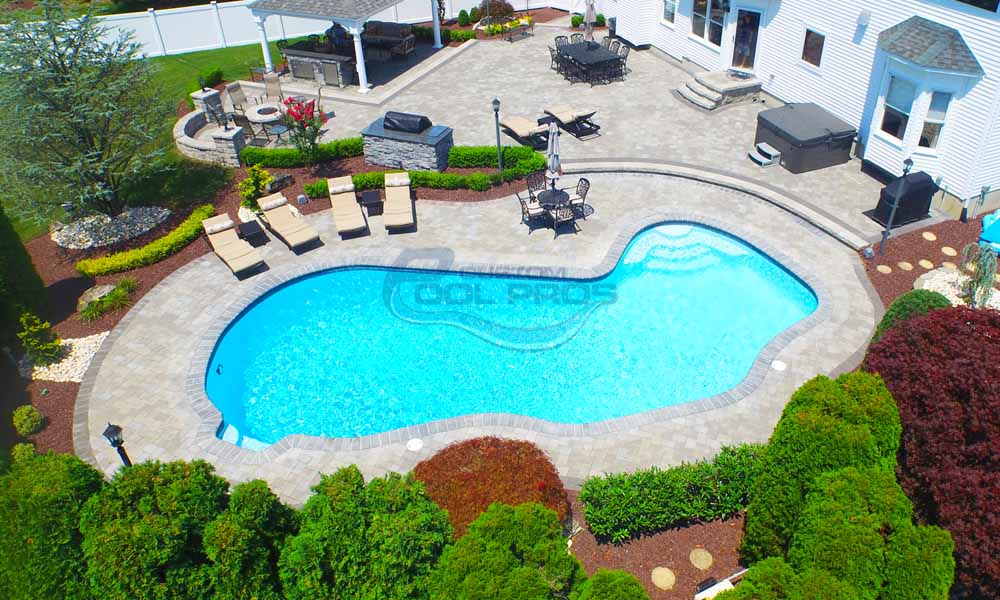
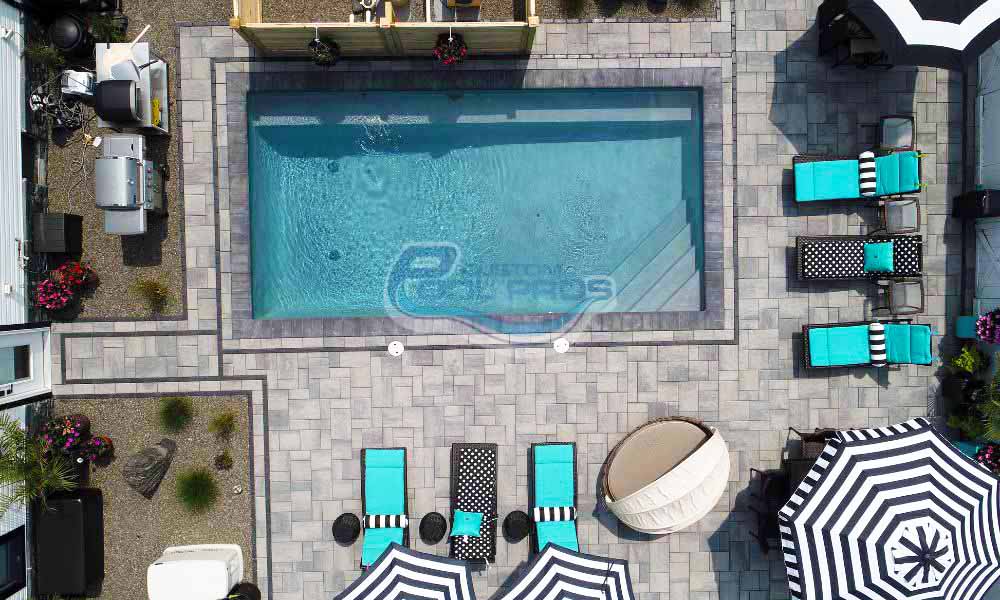
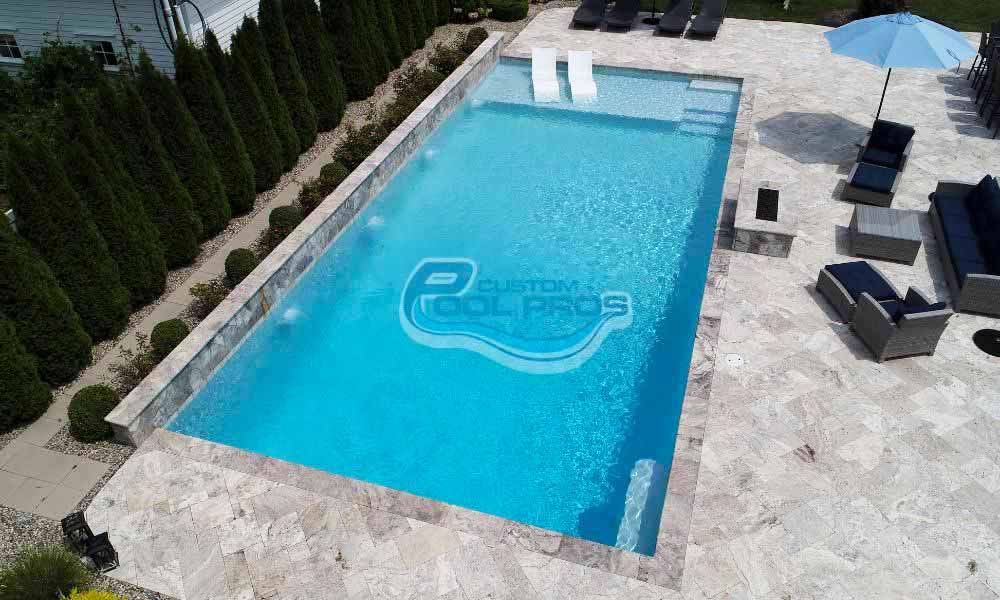
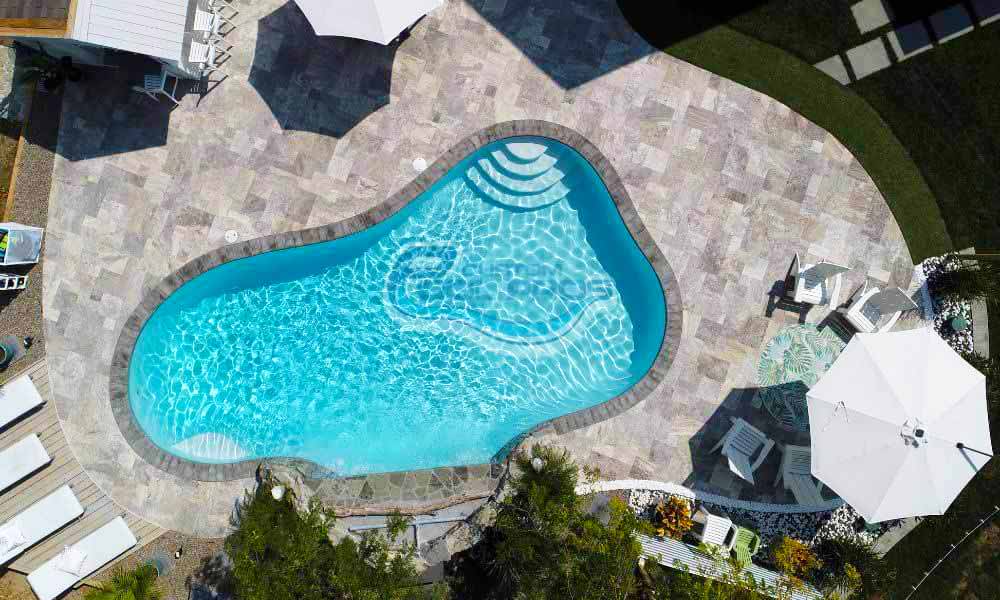
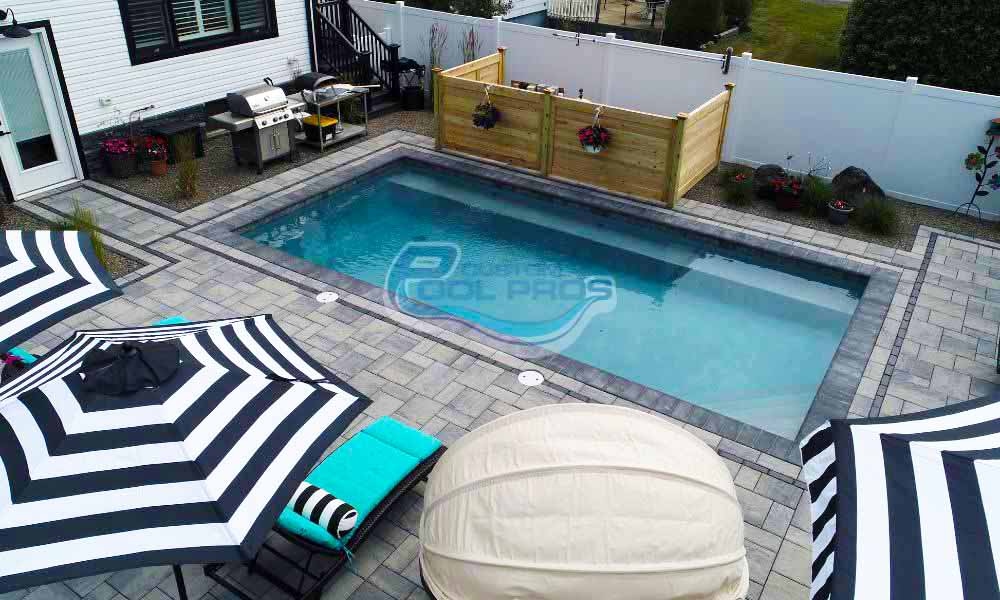
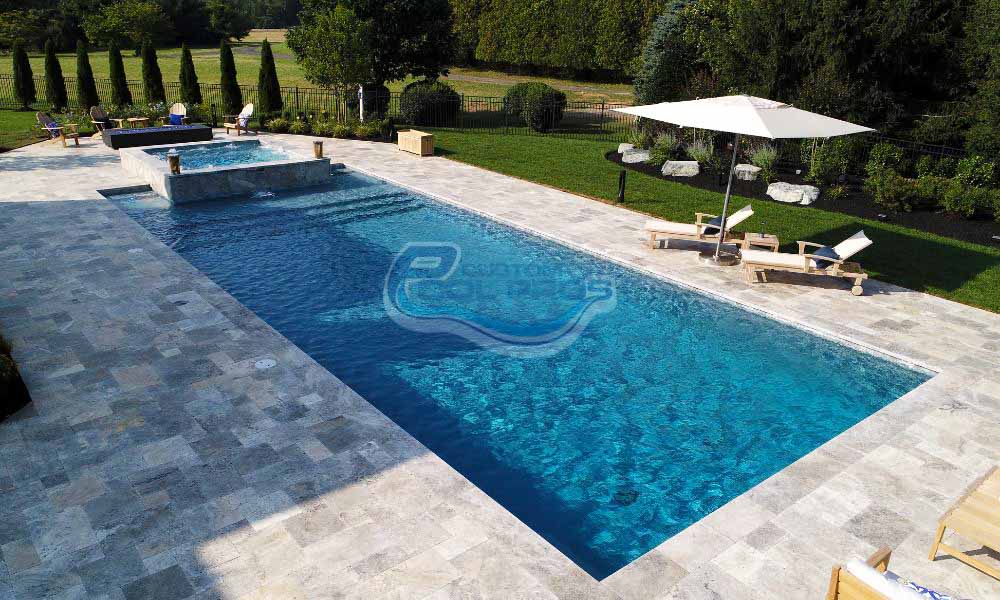
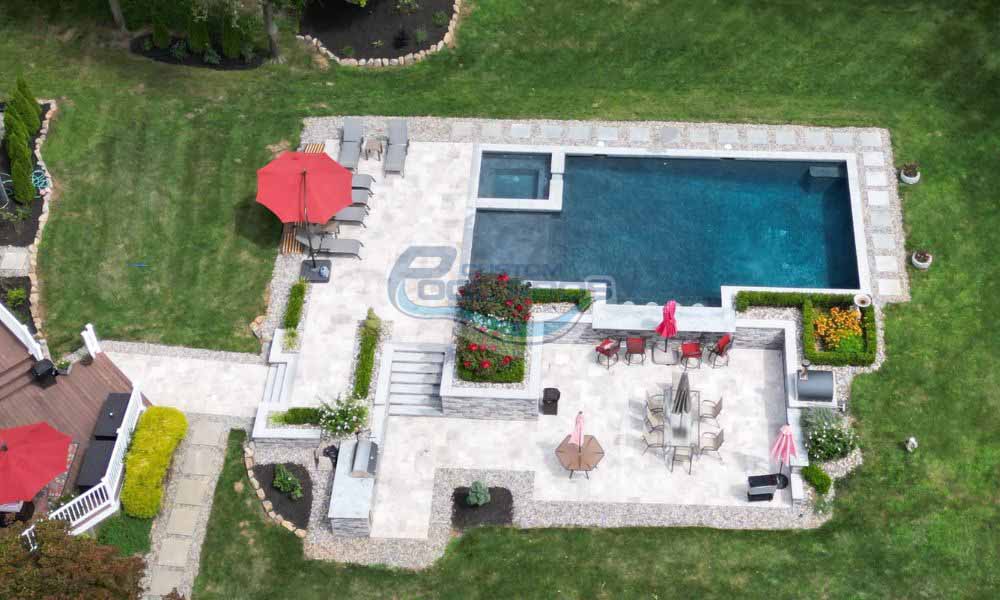
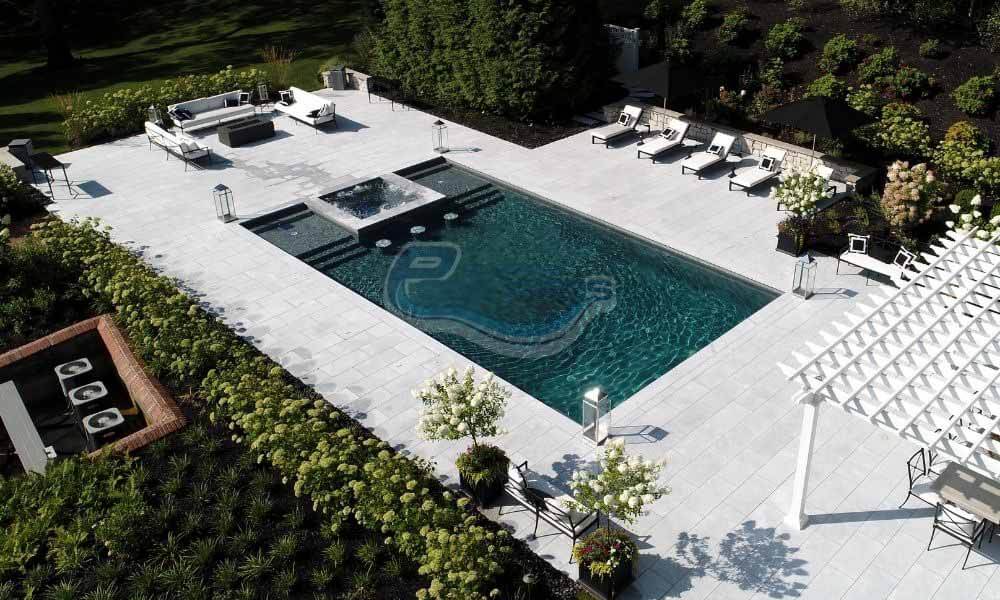
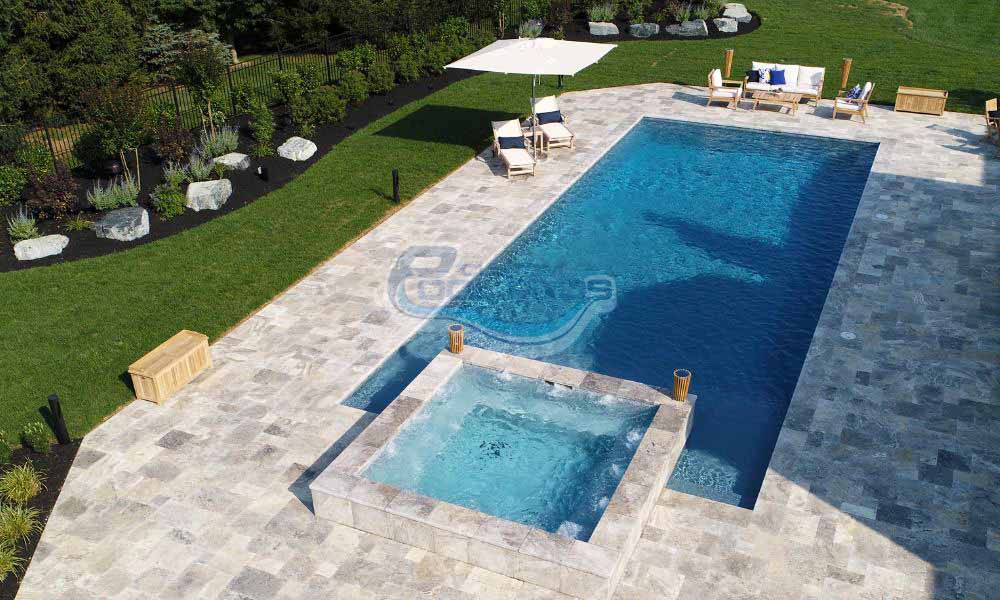
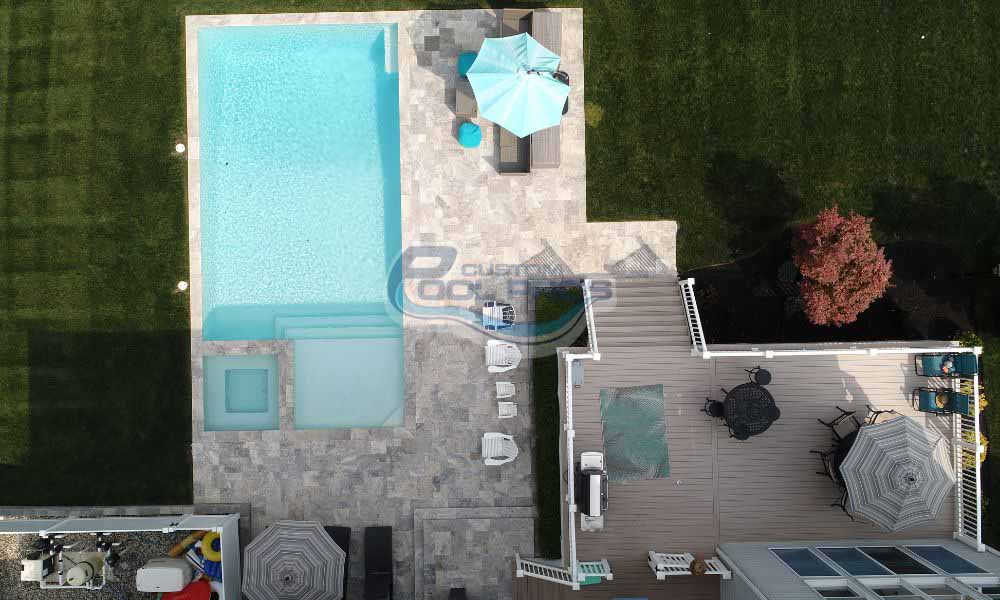
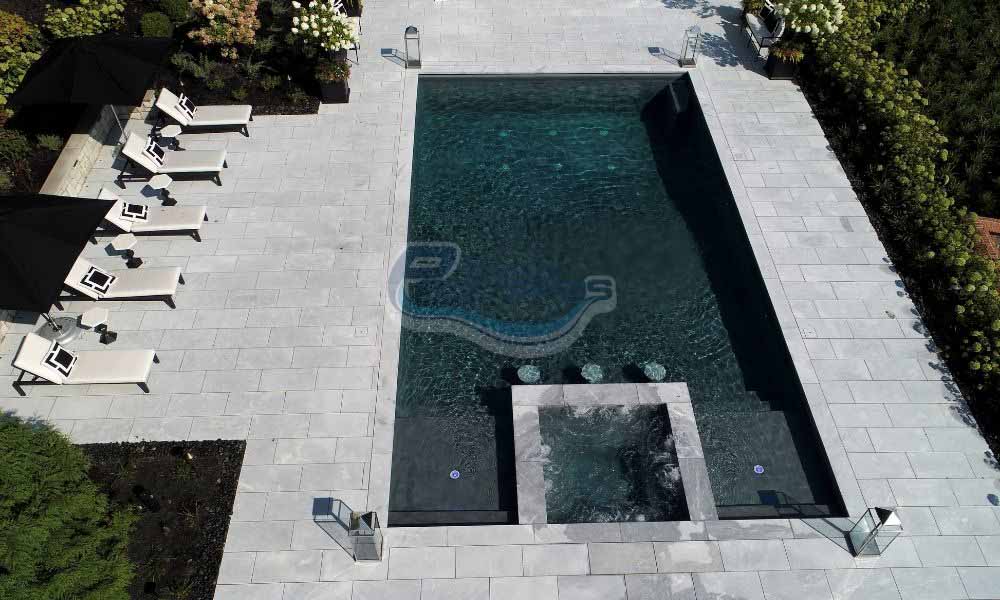
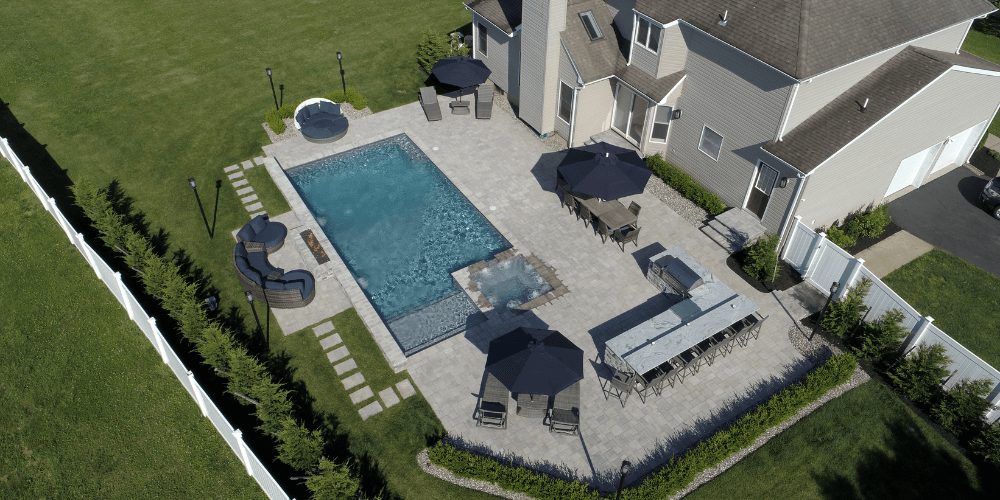
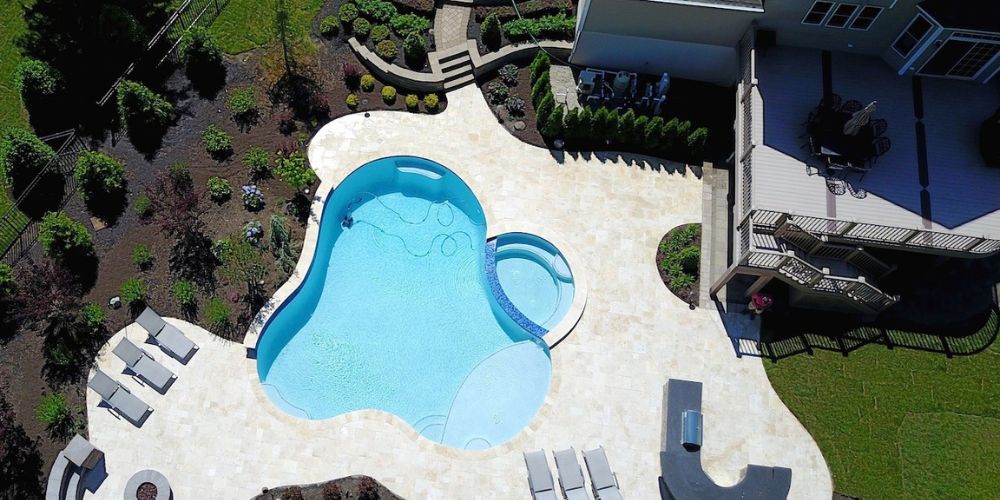
Decking and Coping Installation
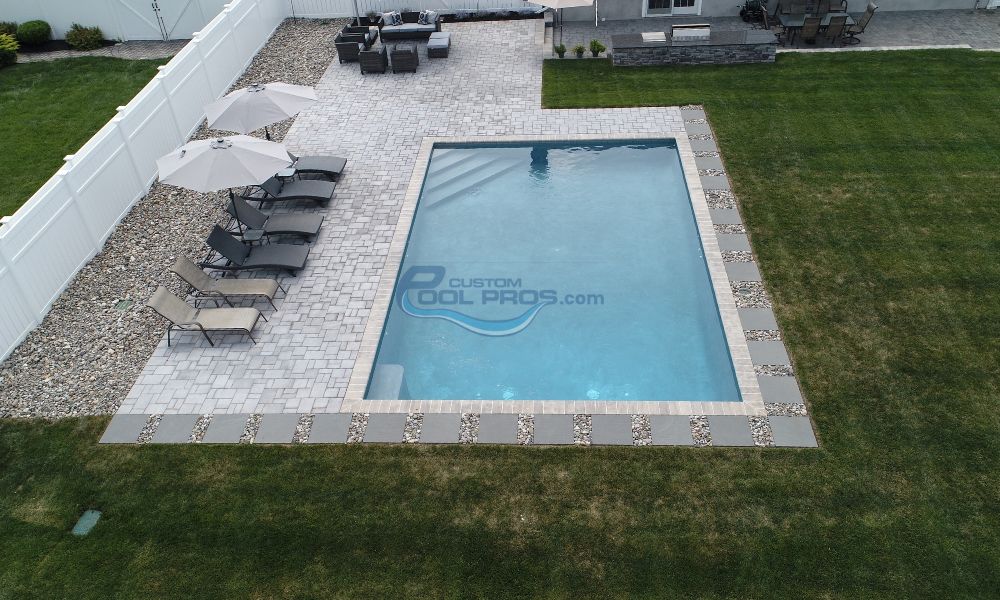
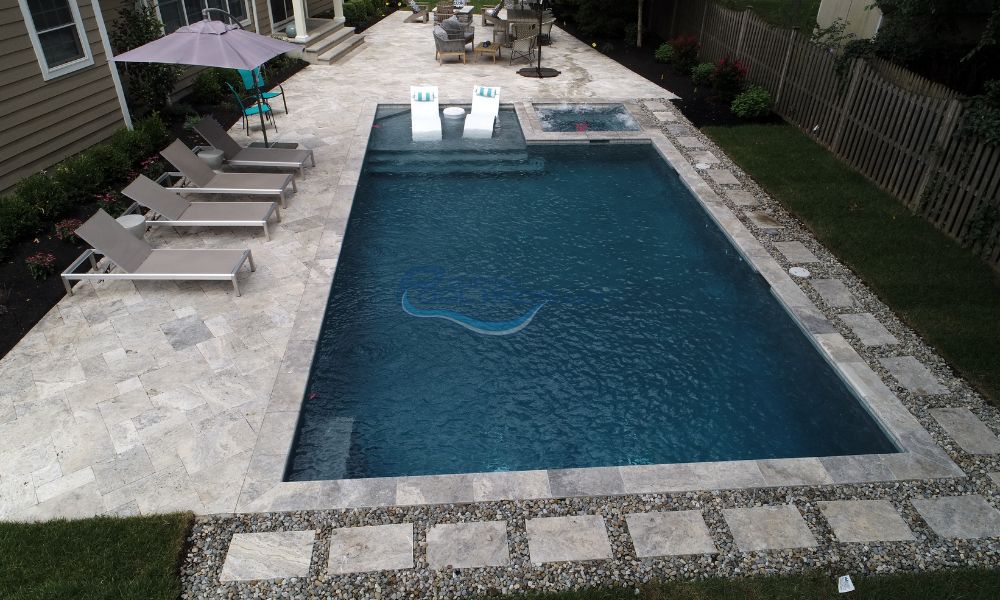
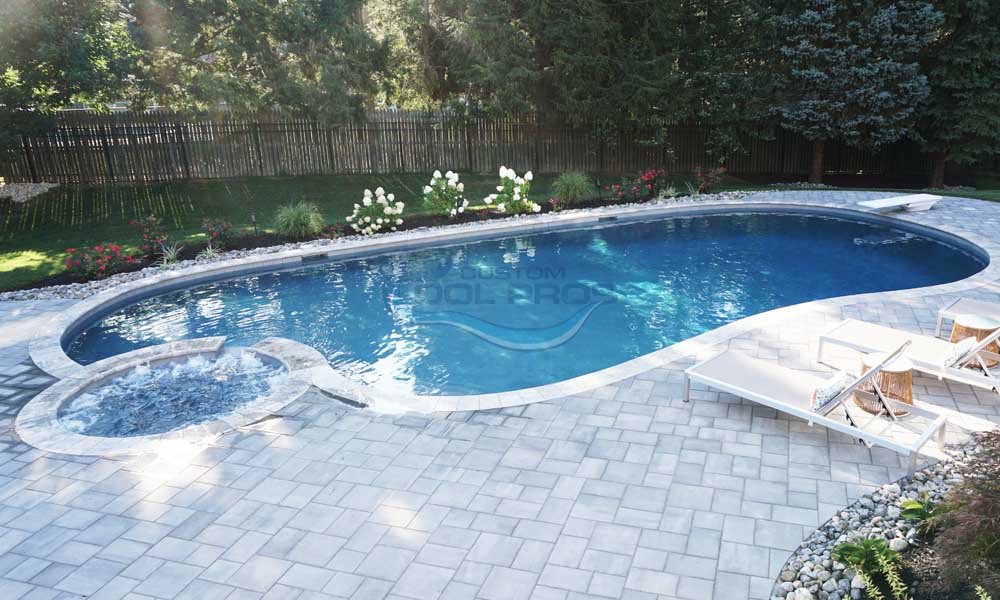
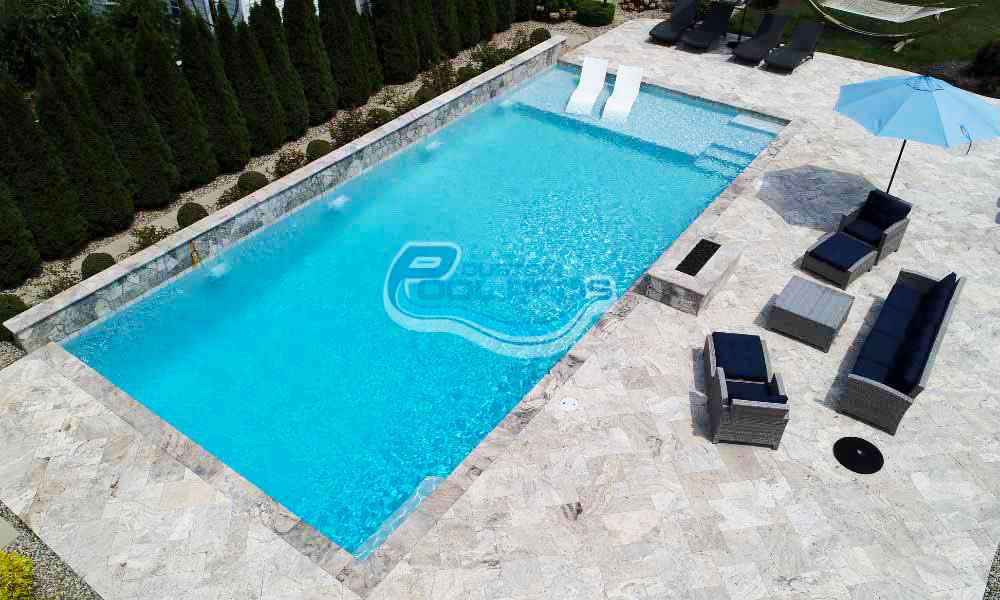
After the backfilling is finished, then the crew will pour concrete around the pool to keep it in place. This step also leads to the preparation of the surrounding area for the decking and coping installation. After the concrete beam that surrounds the pool has dried and cured, the team will lay the coping stones around the pool’s edge to see if any of them need to be cut and shaped to fit the edges and curves. The coping stones are then installed using mortar with expansion joints added to the gaps. The decking can also be installed at this time, using mortar to secure the pavers to the concrete surface
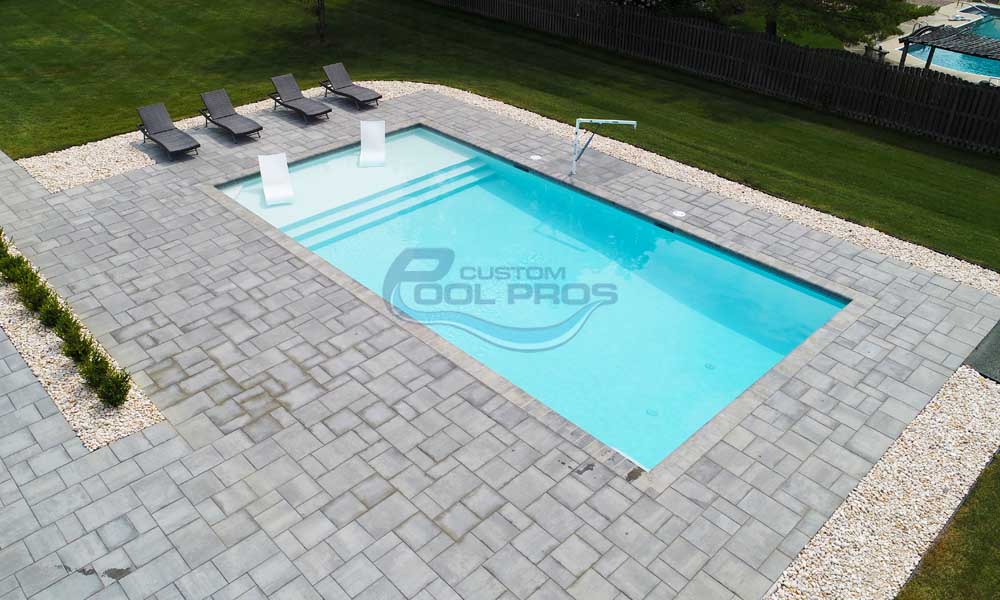
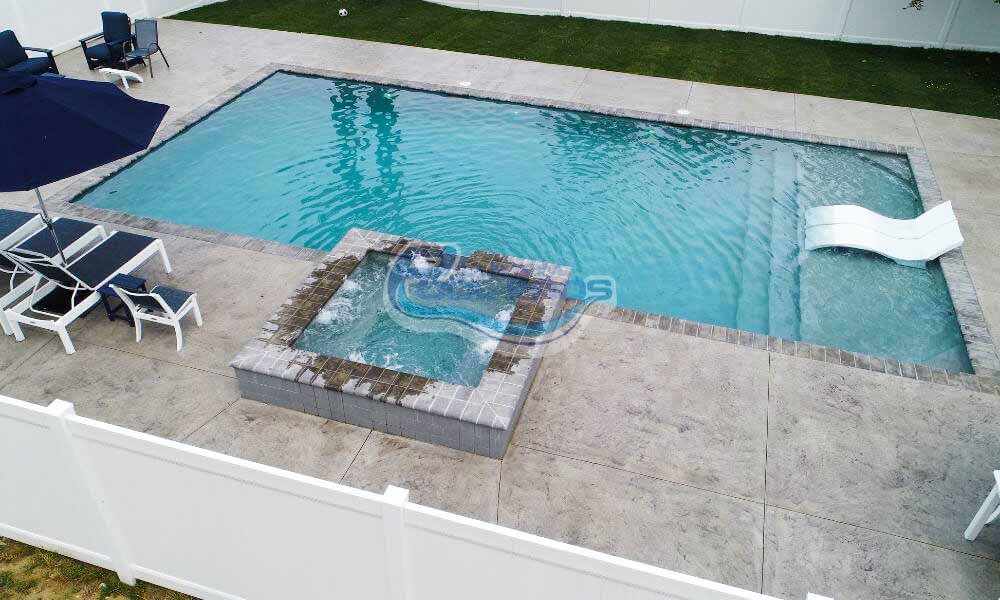
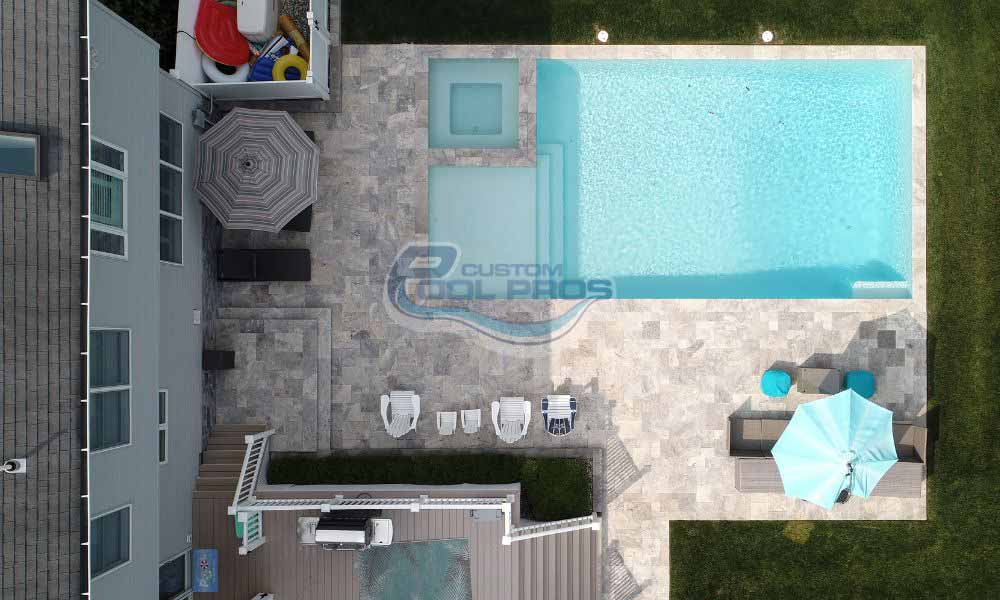
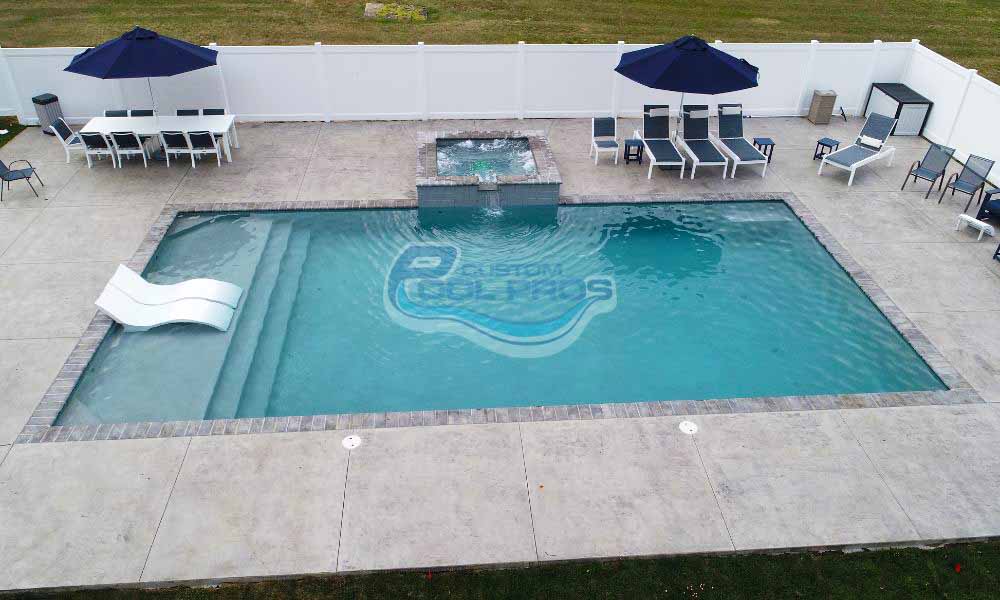
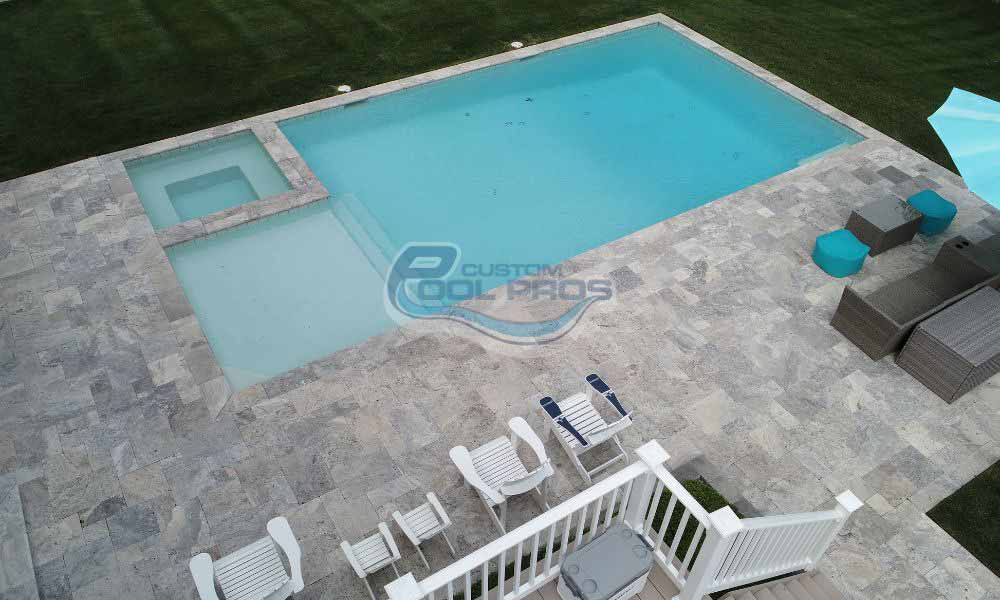
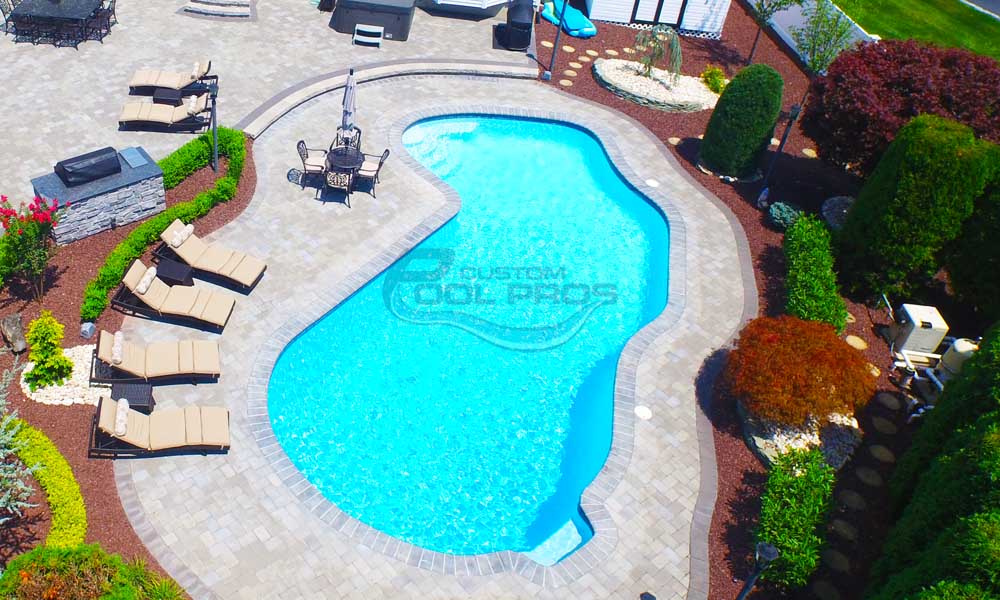
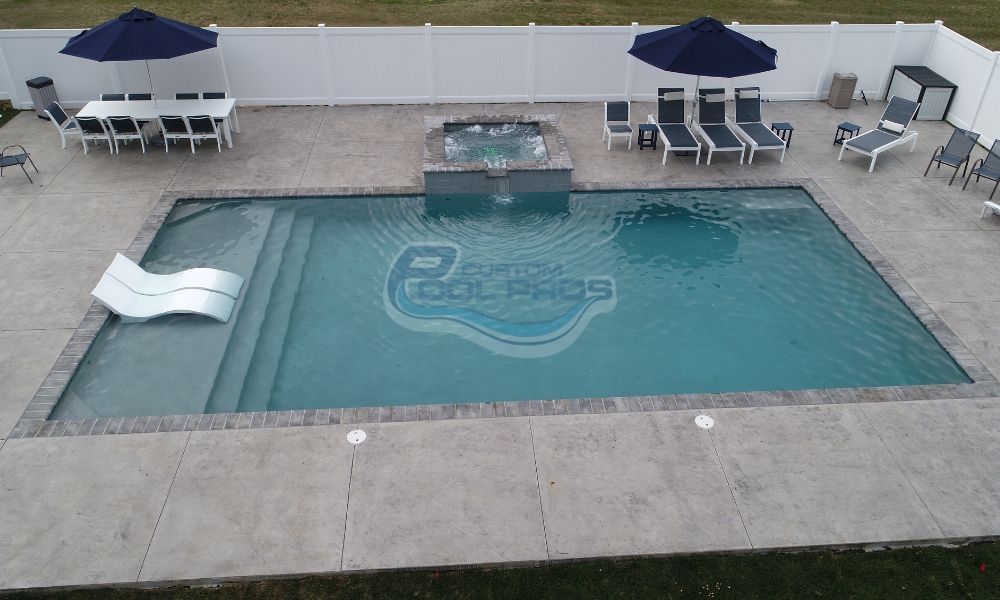
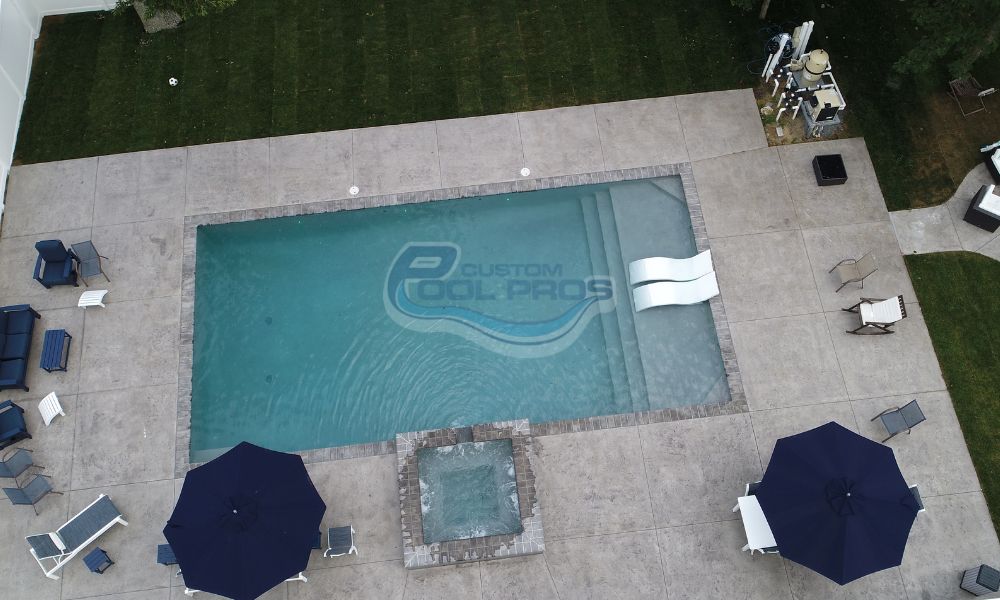
Filling and Finishing Touches
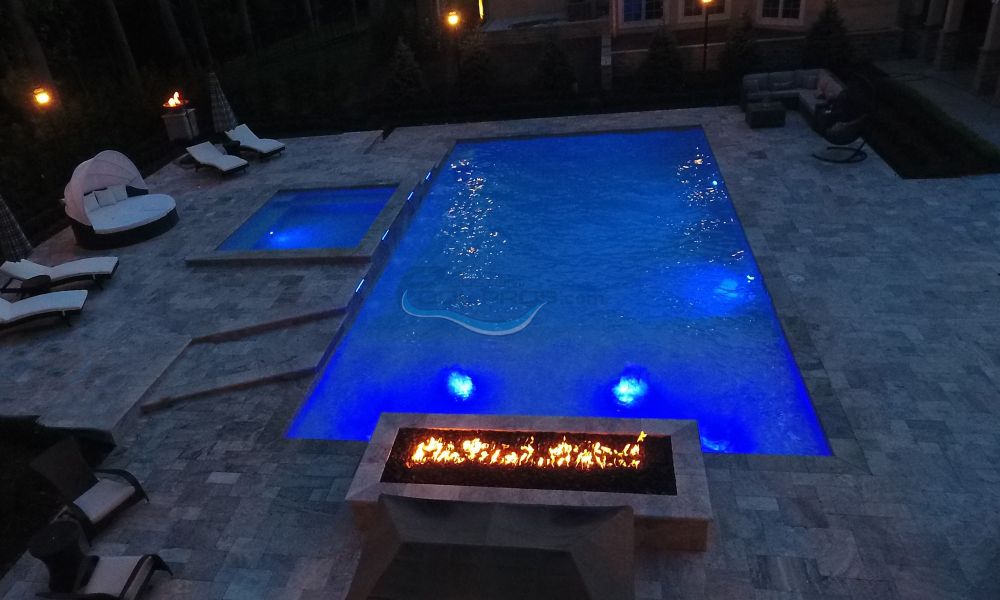
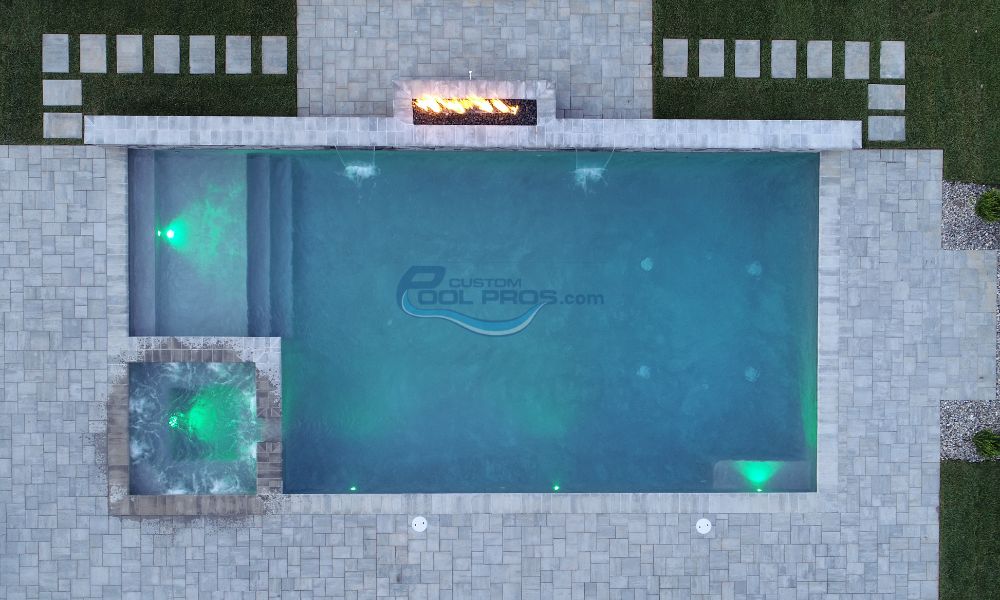
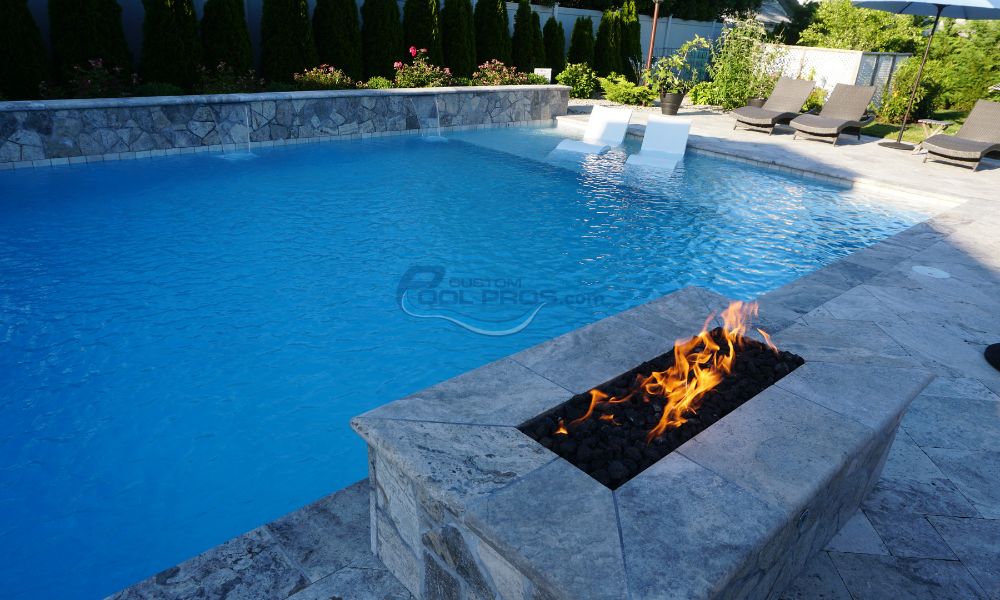
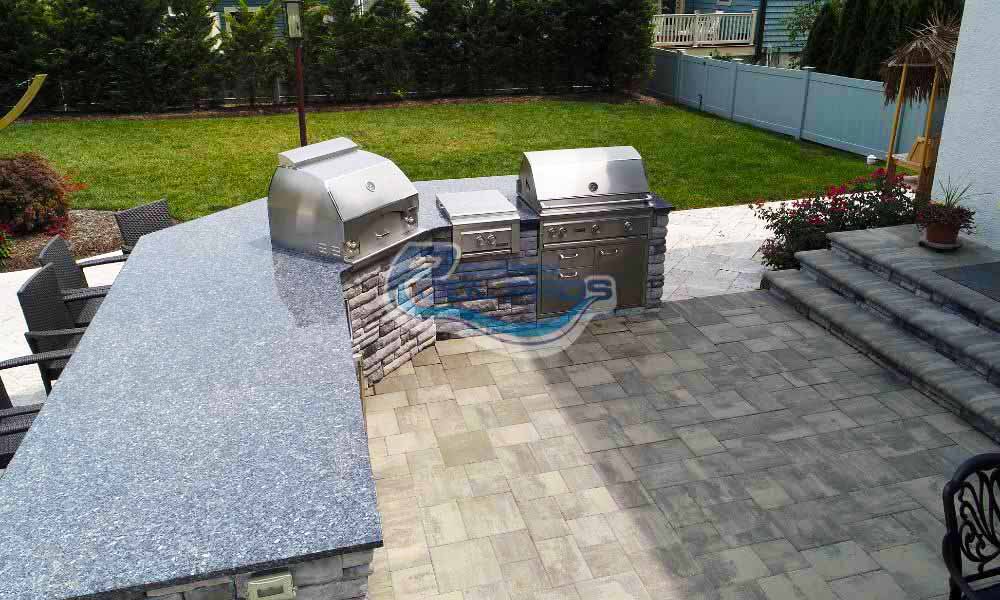
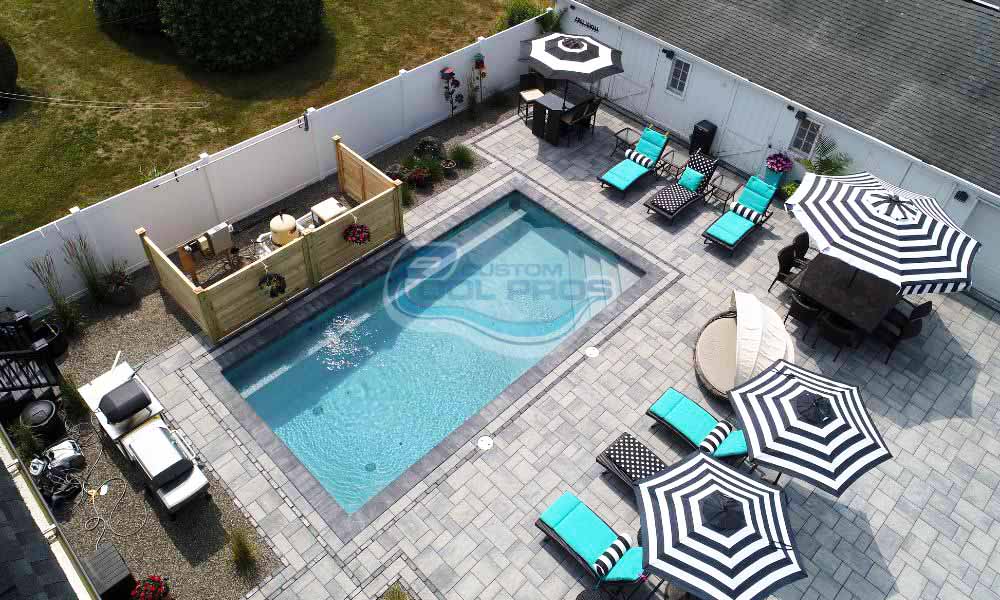
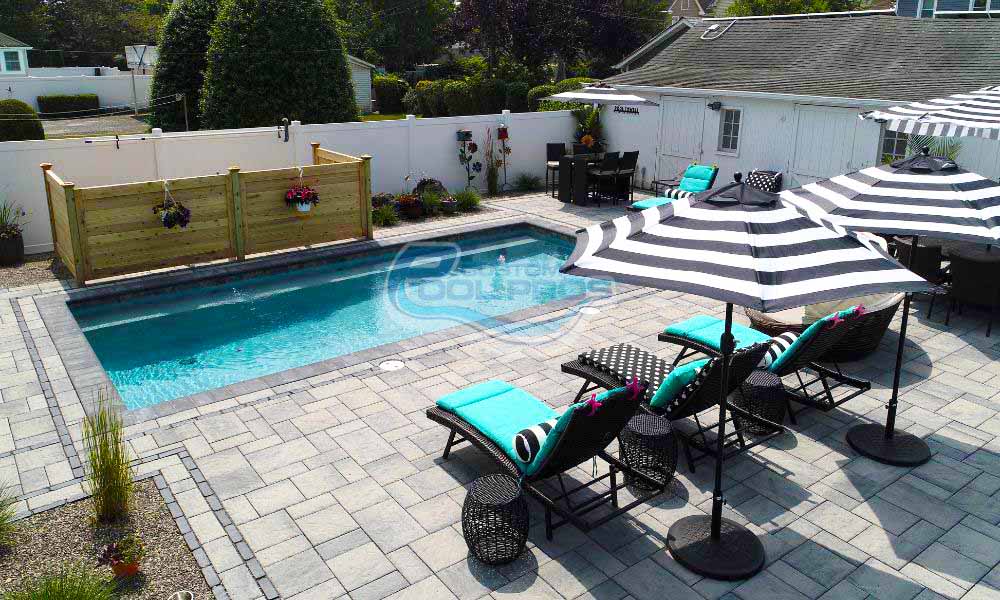
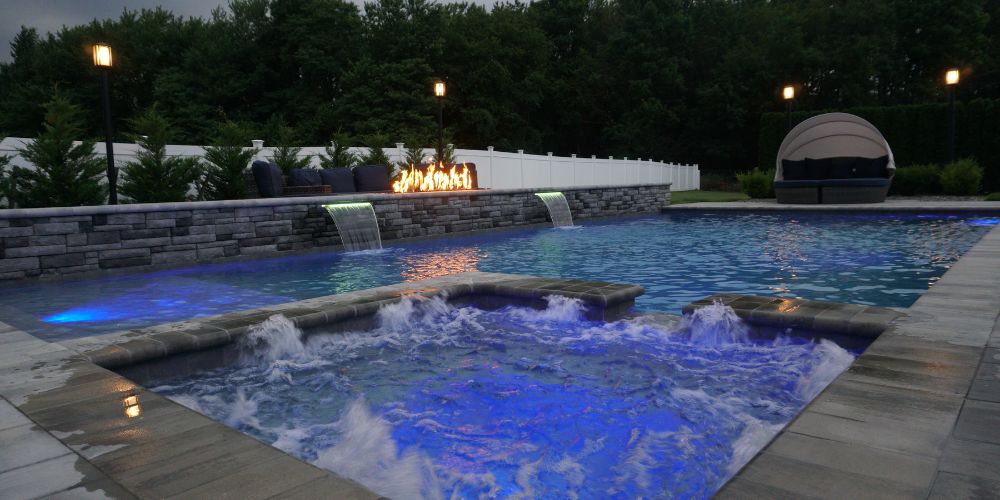
At this point, the crew will simply add any finishing touches to the decking as well as additional amenities and safety features like fencing, lights, and seating.
Safety Measures and Permits
Now that the pool itself is complete, a final safety inspection is conducted. This inspection ensures that the pool’s structure meets all local building codes and regulations. Moreover, this step guarantees that all safety features, from floatation devices to fencing are in place.
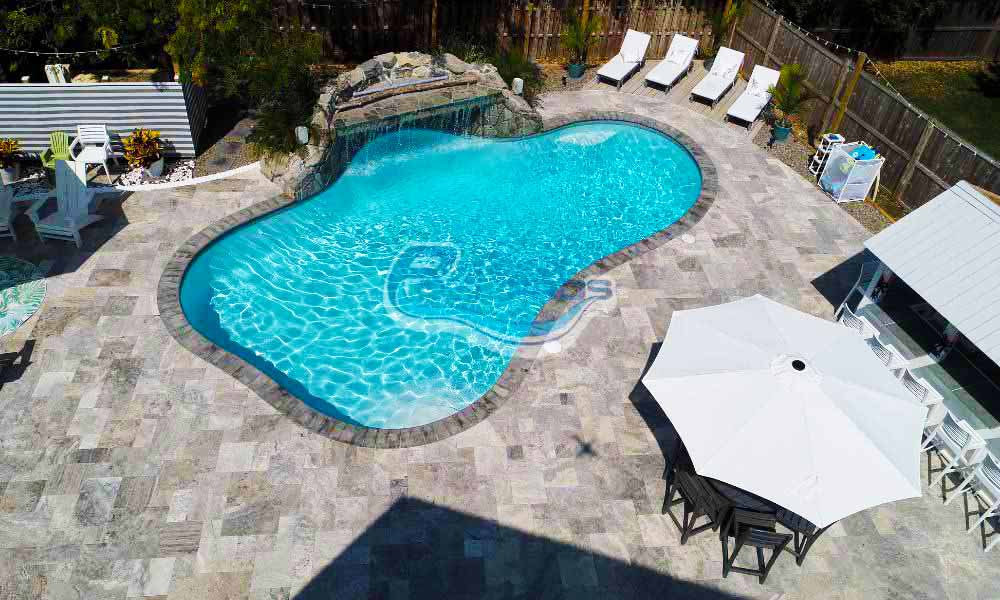
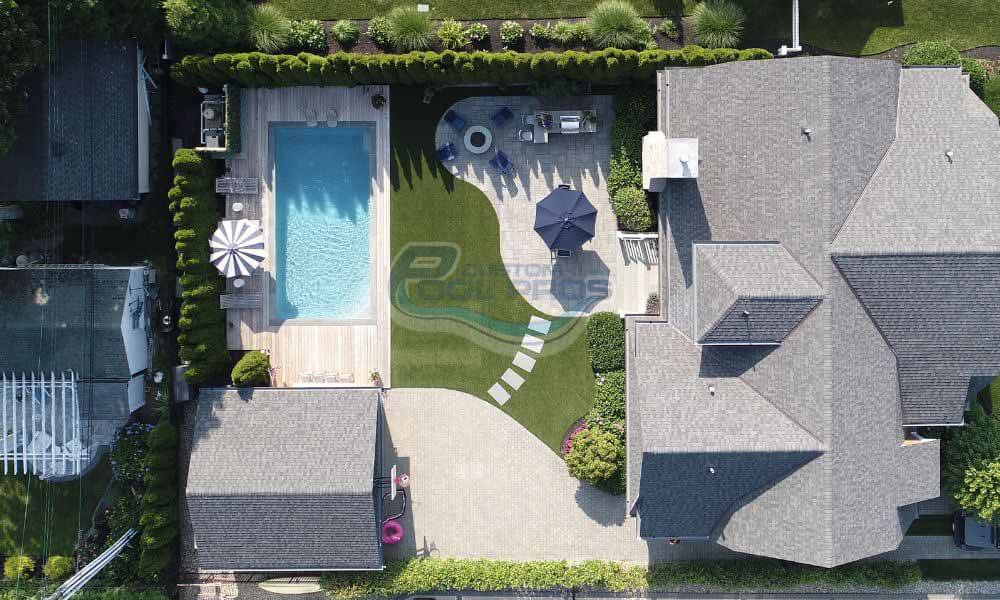
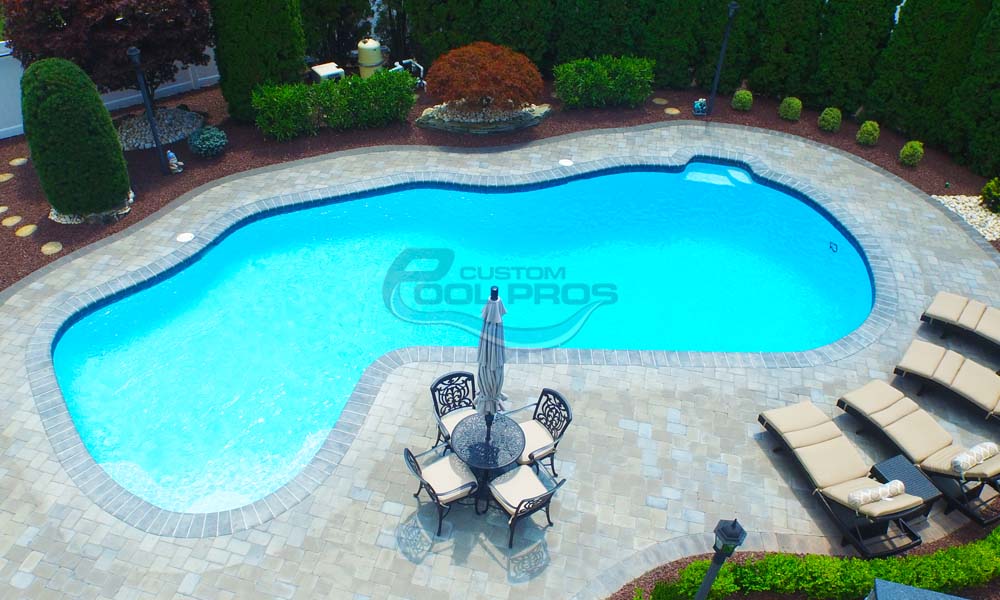
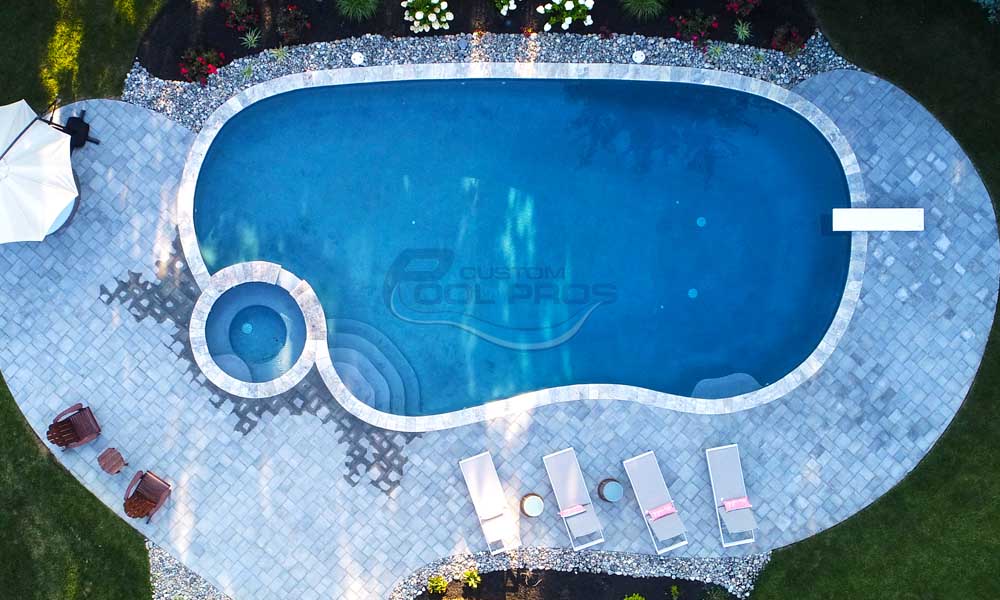
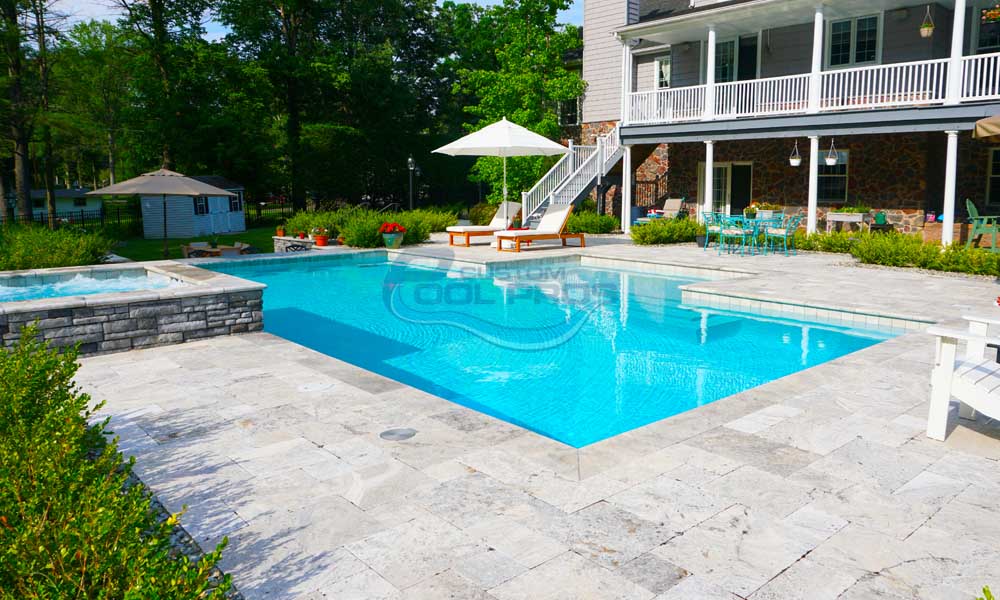
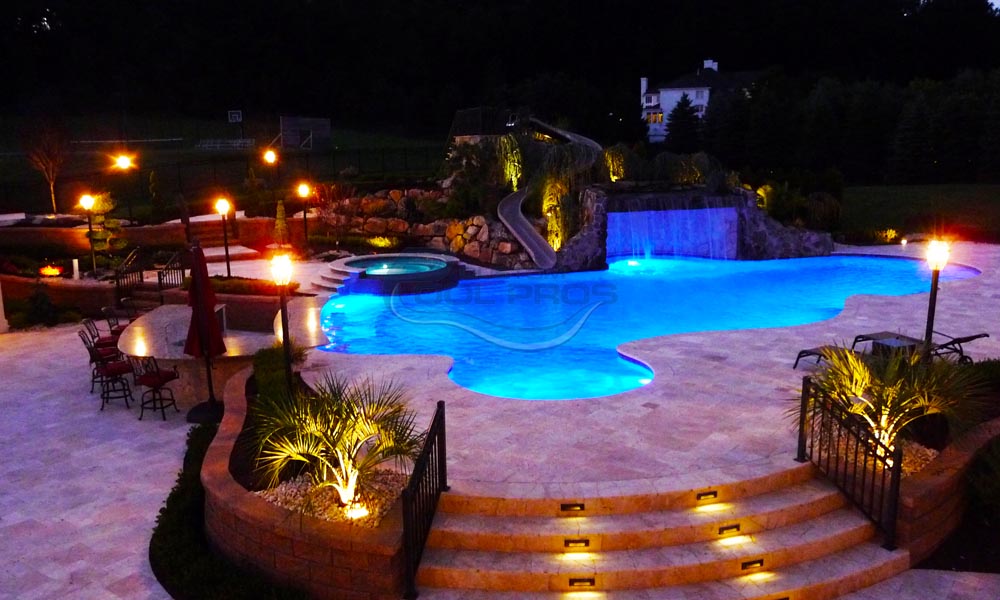
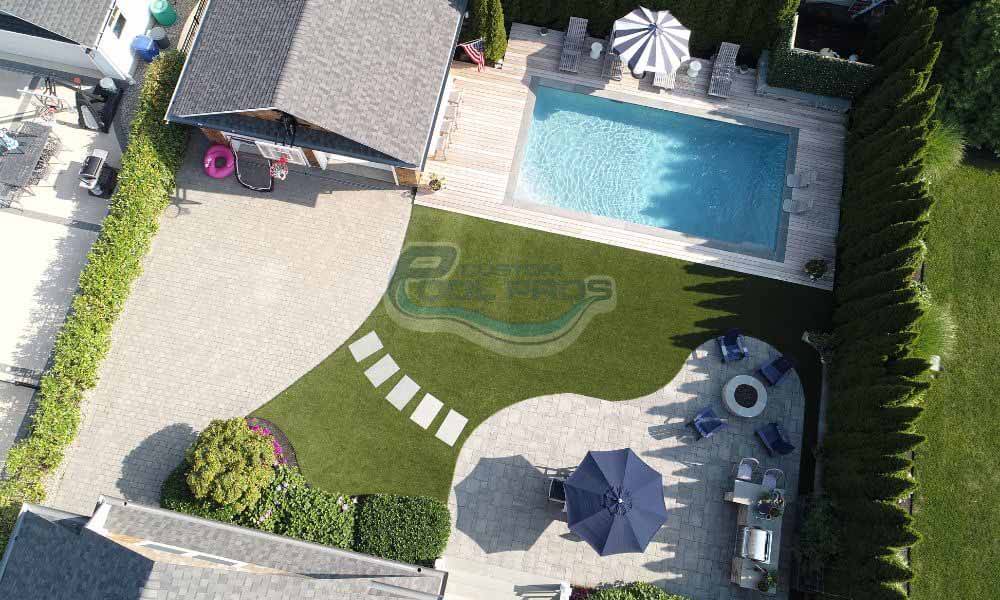
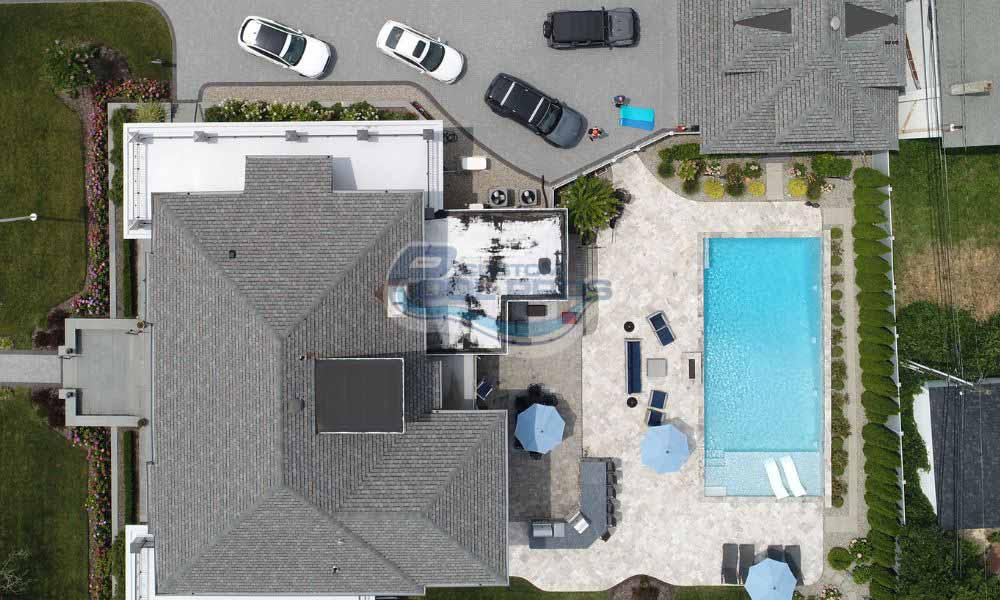
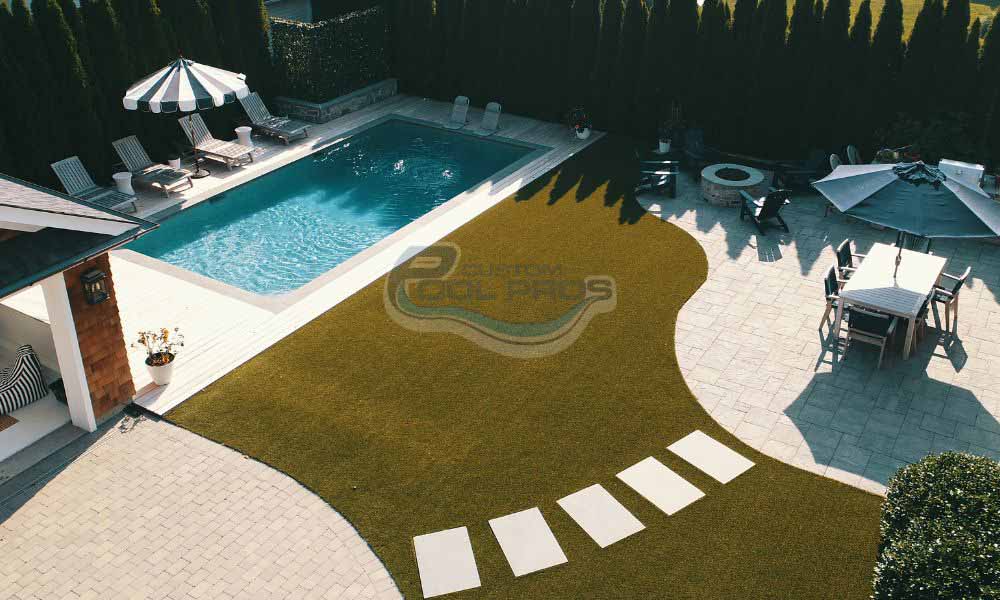
Landscaping and Final Clean-Up
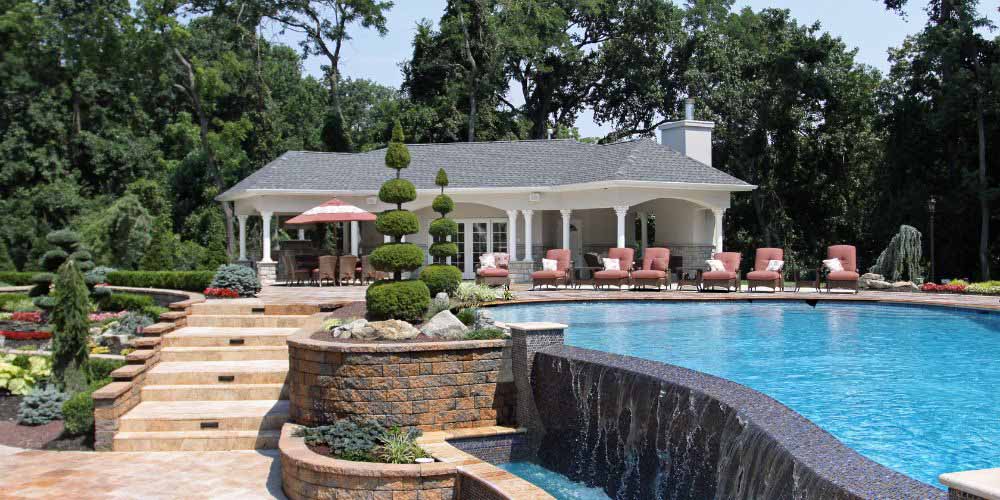
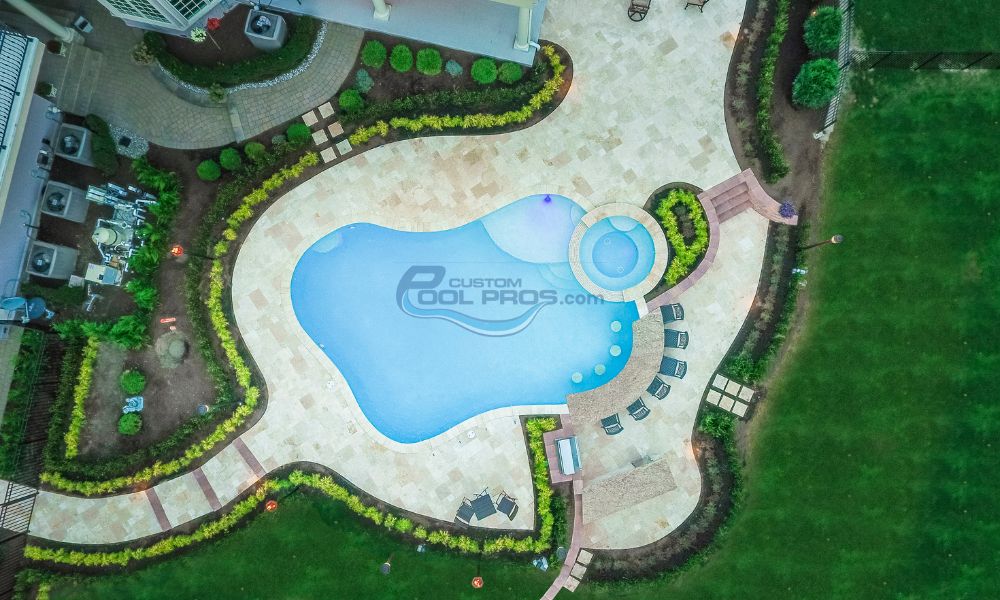
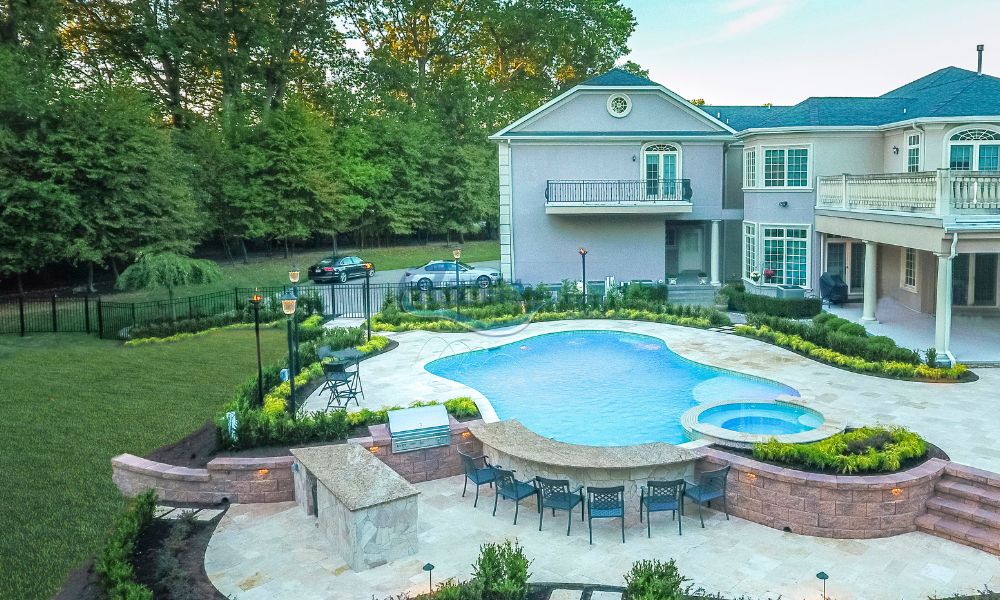
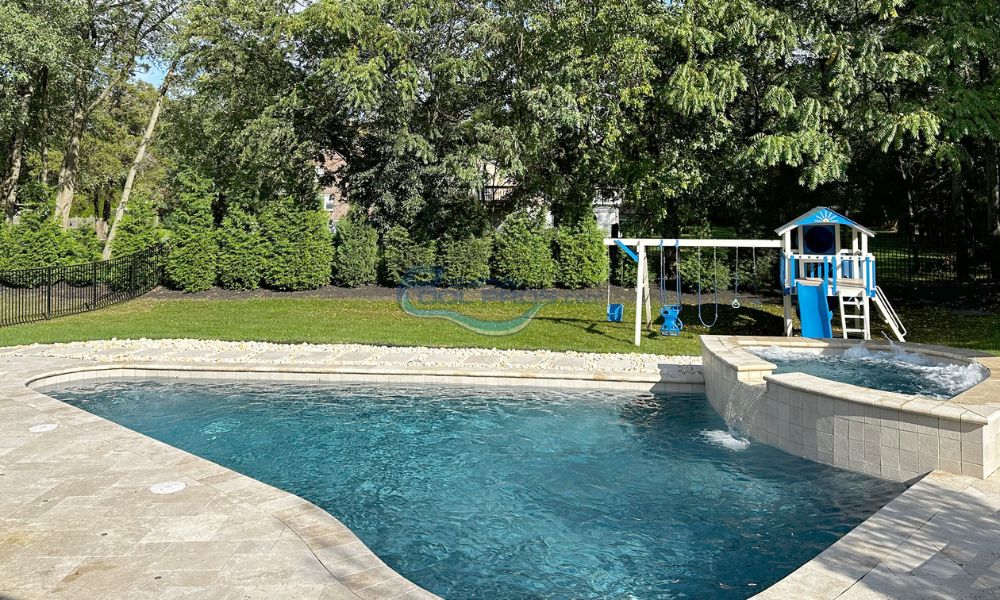
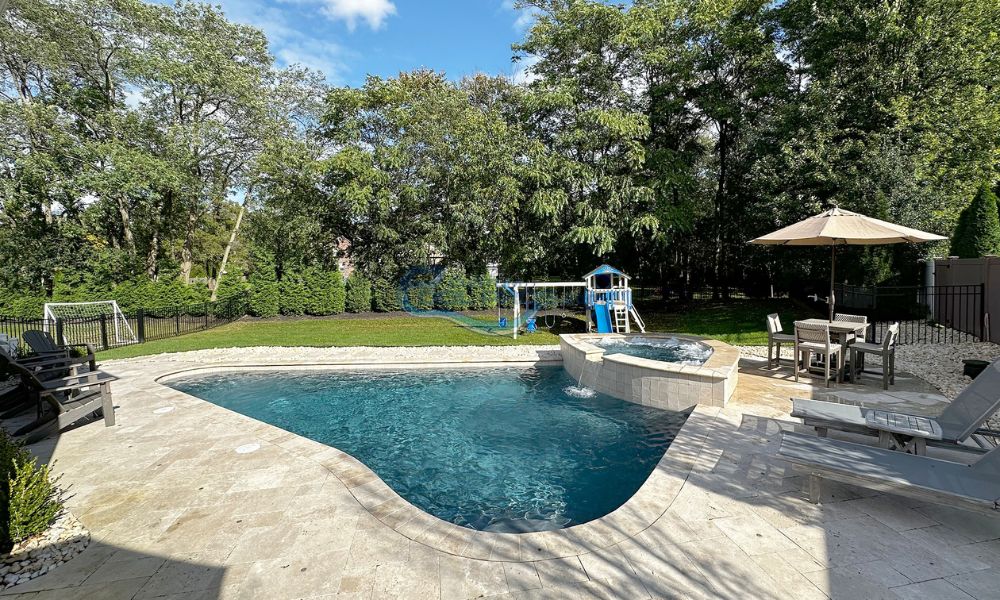
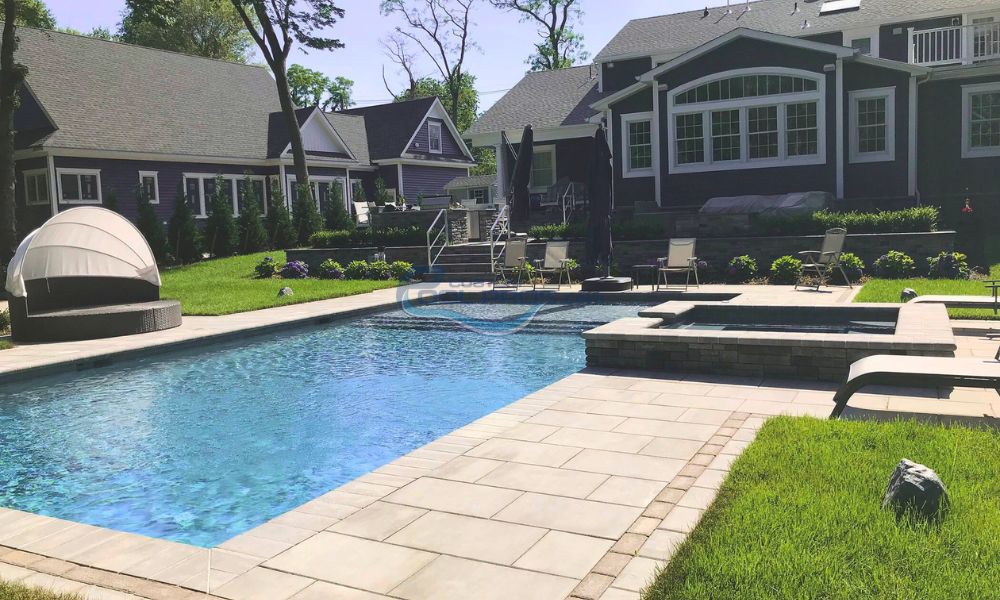
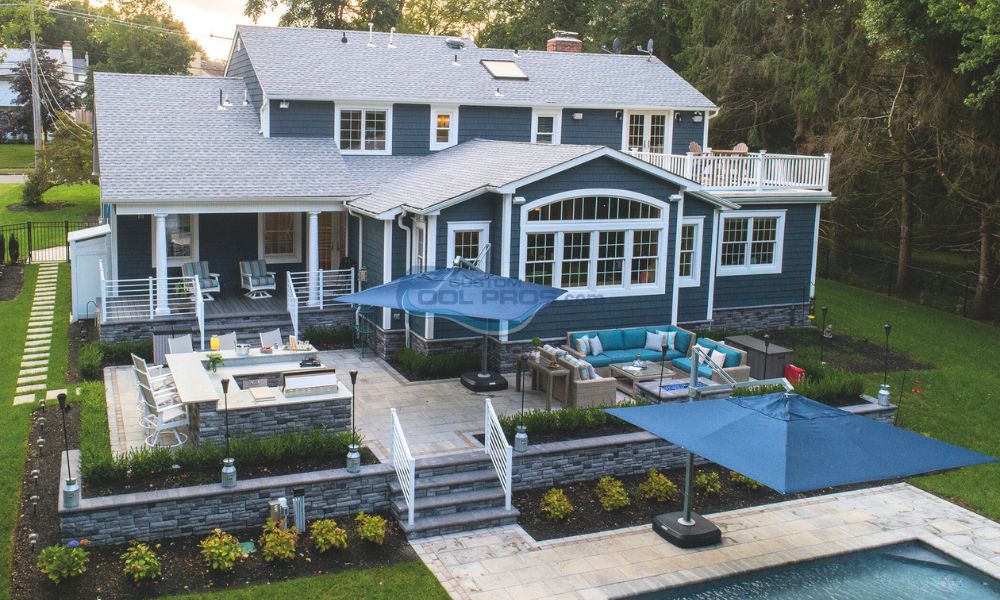
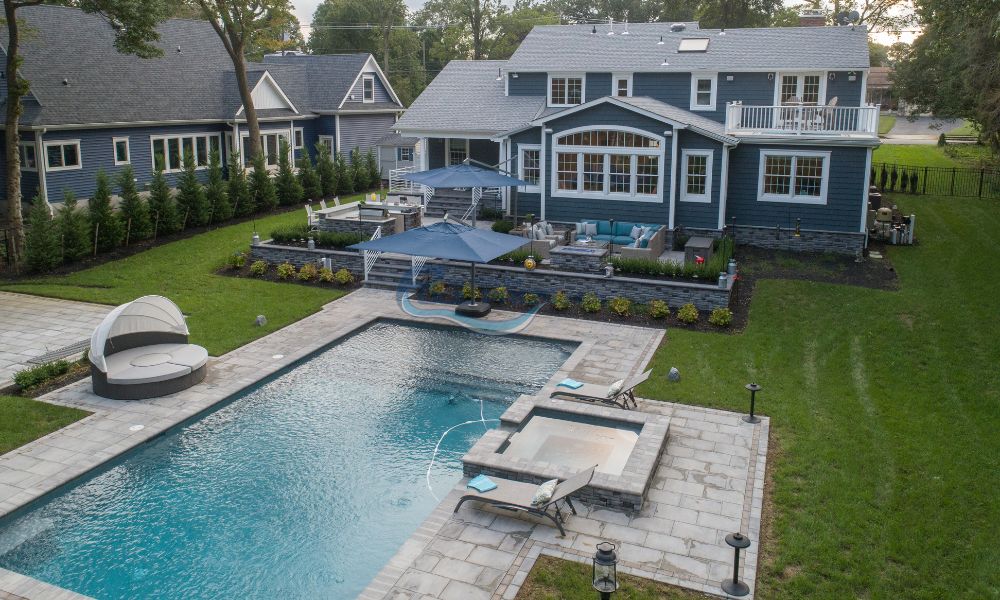
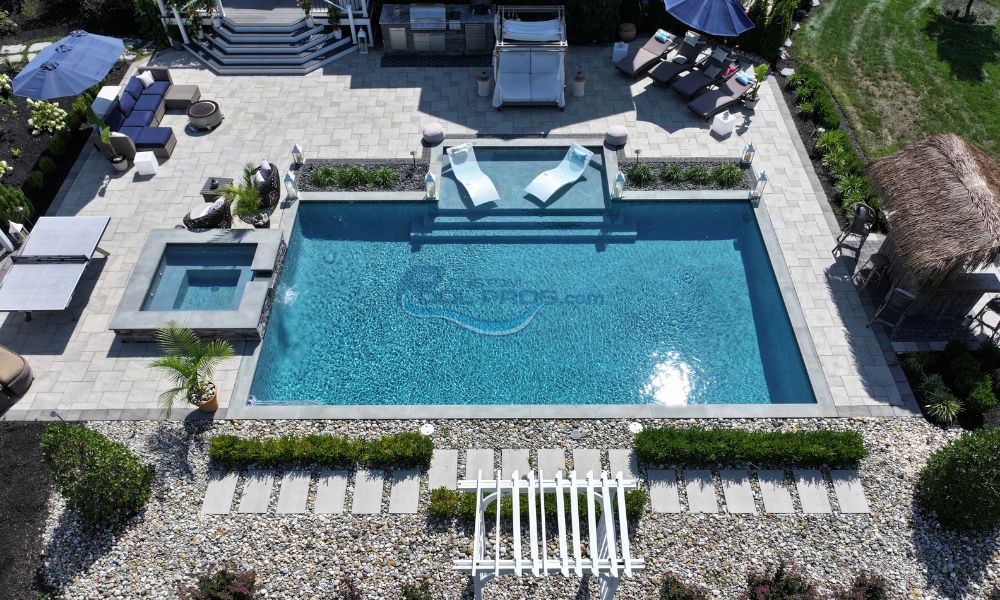
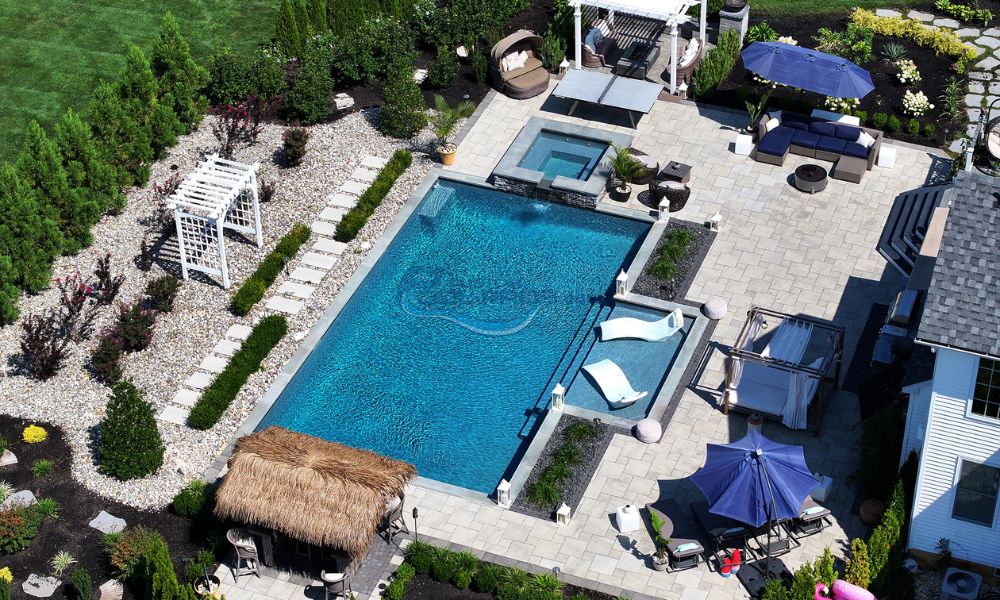
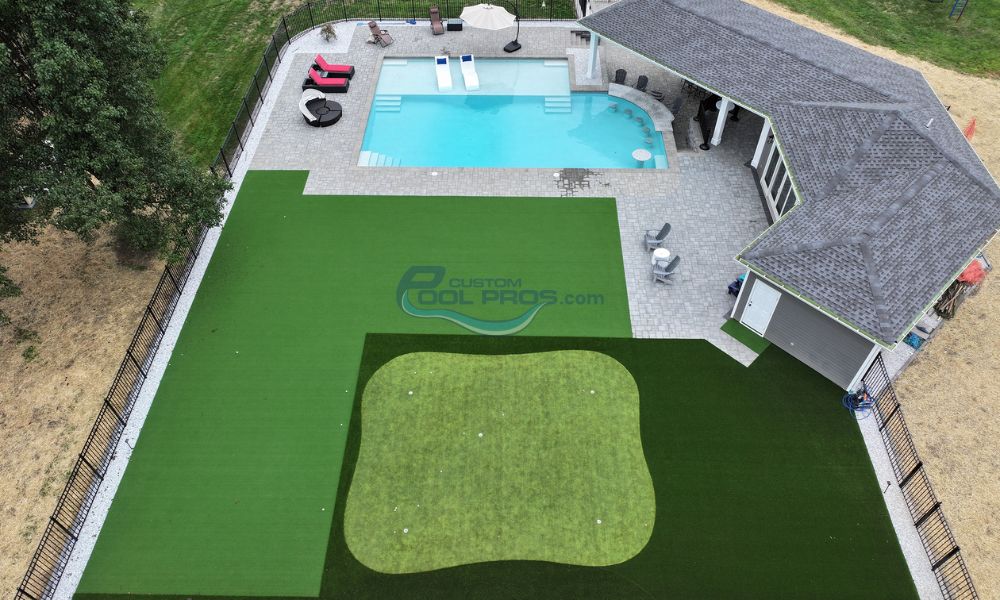
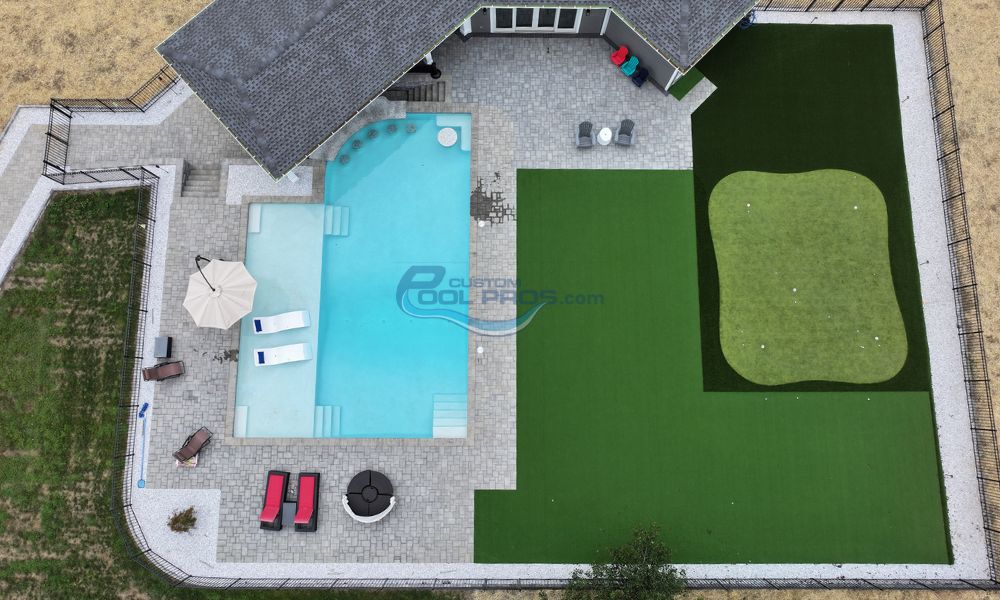
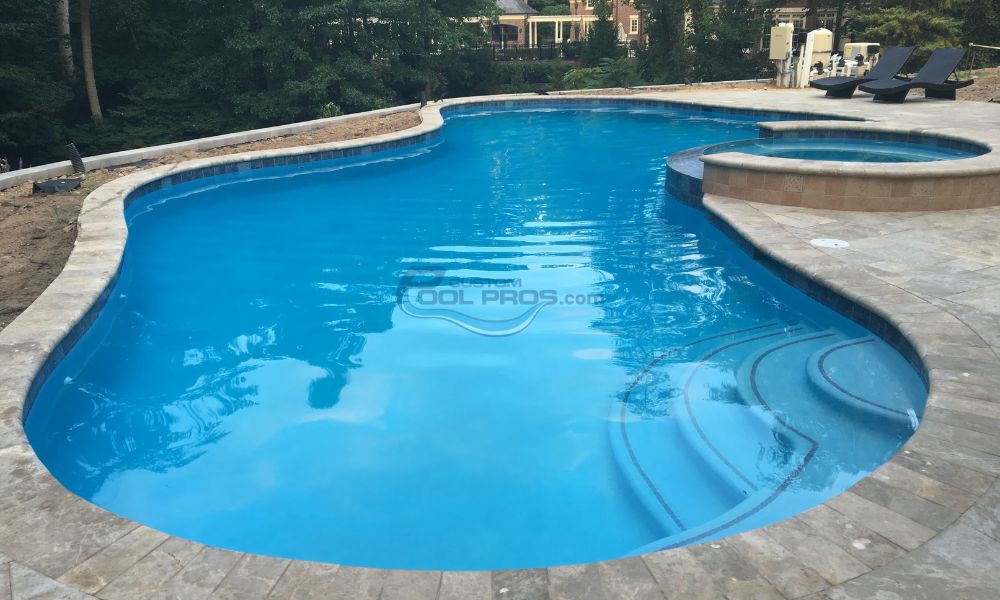
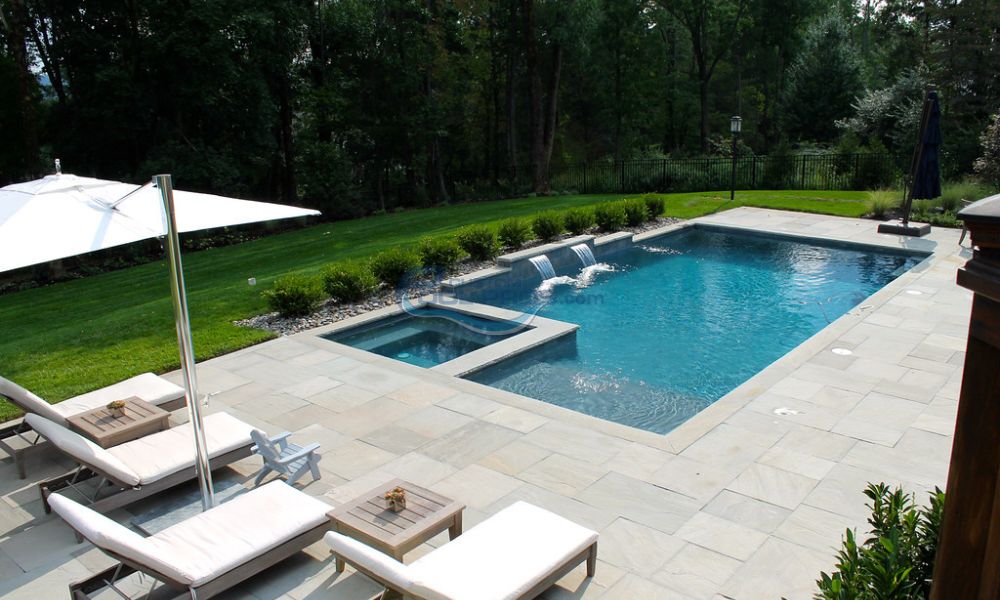
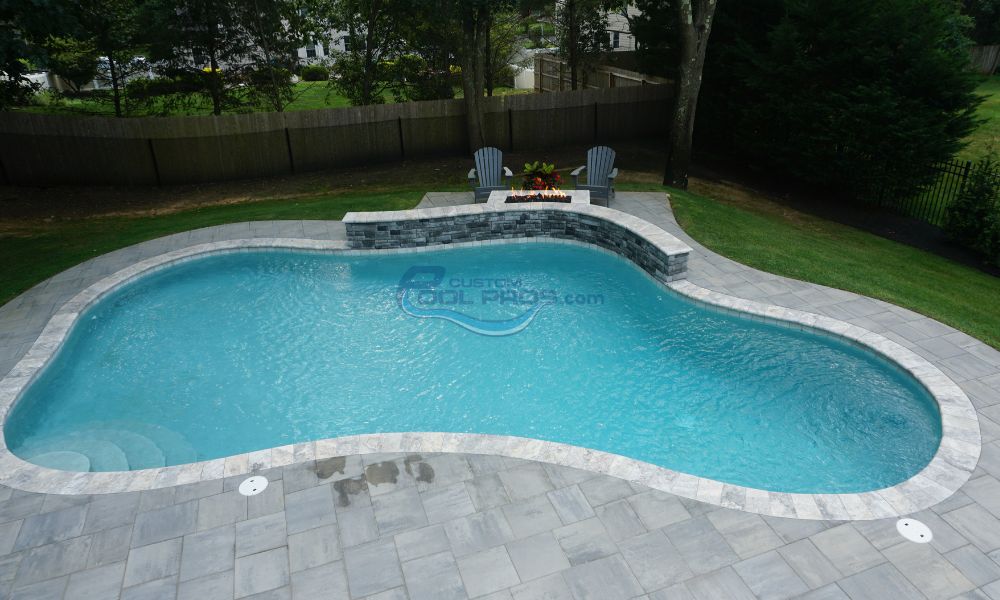
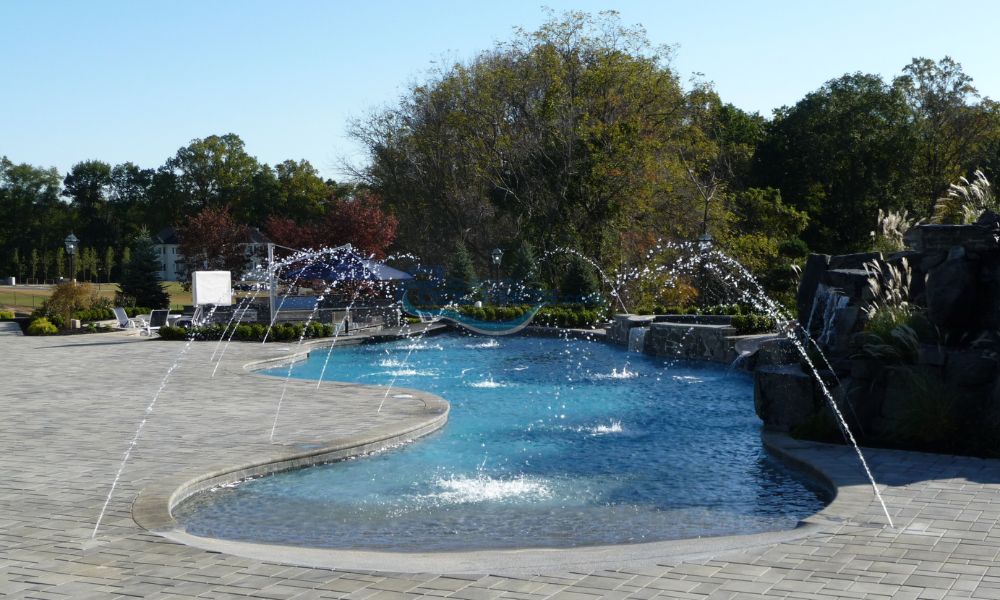
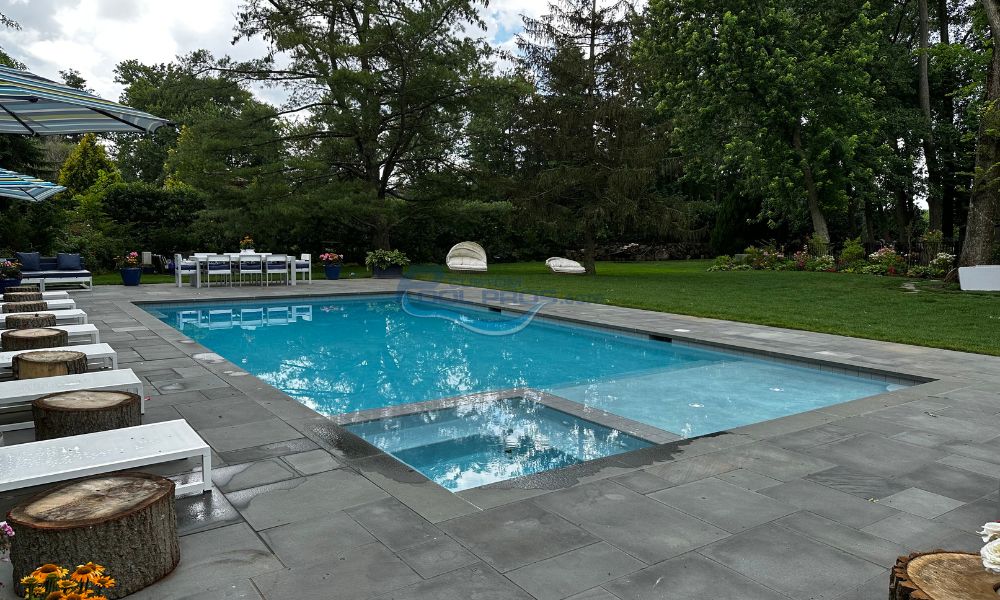
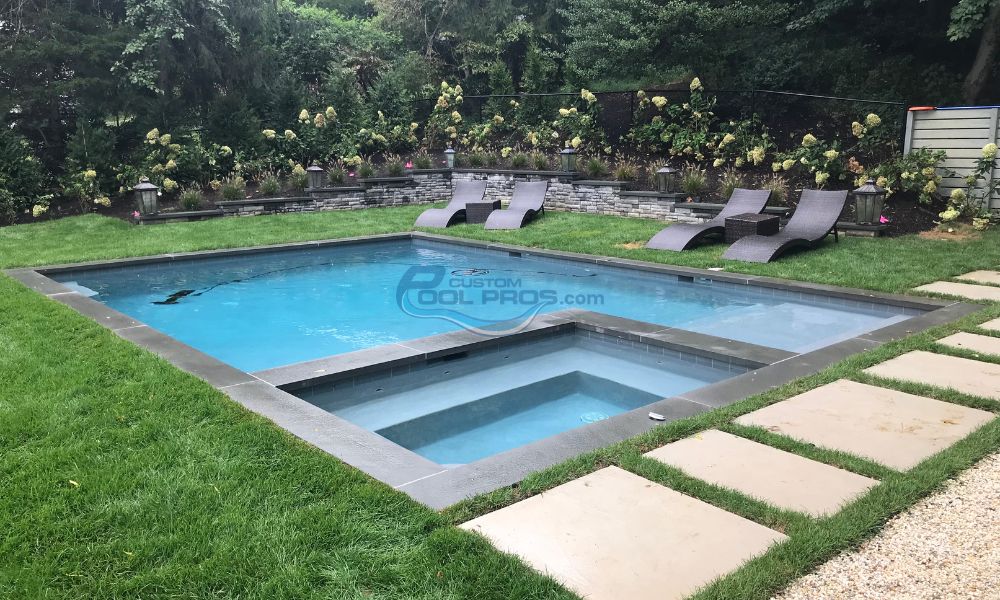
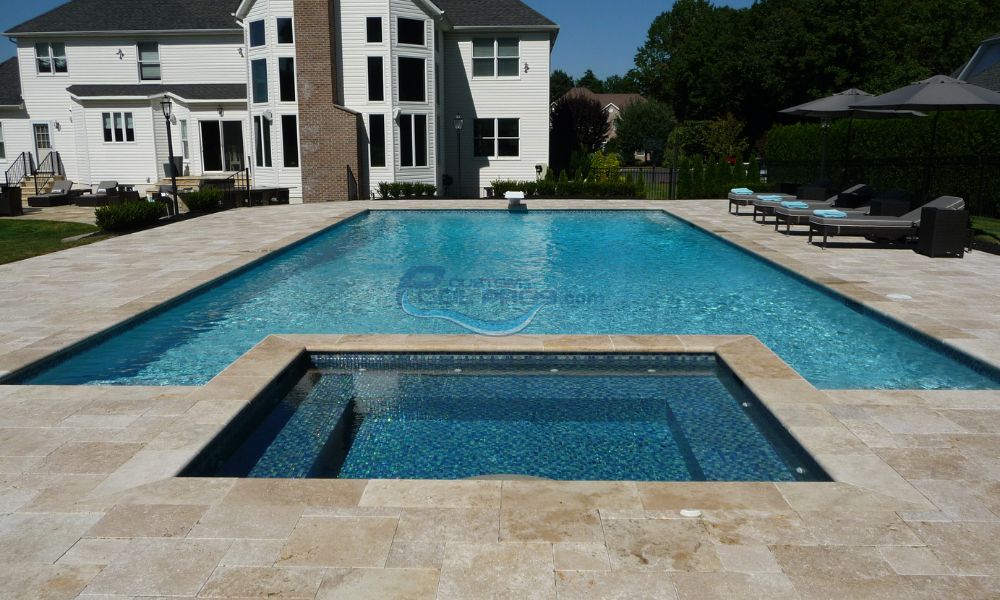
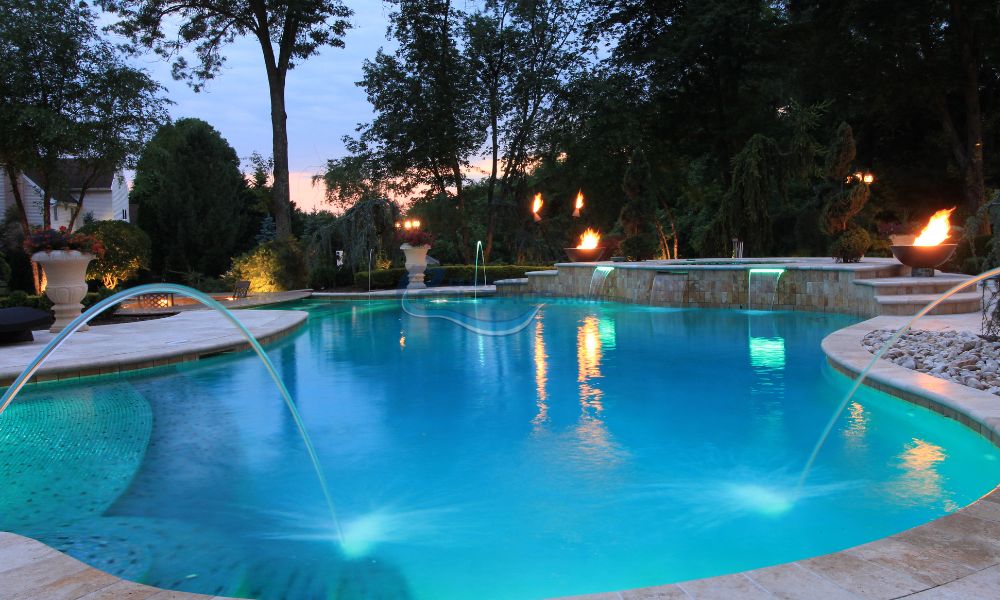
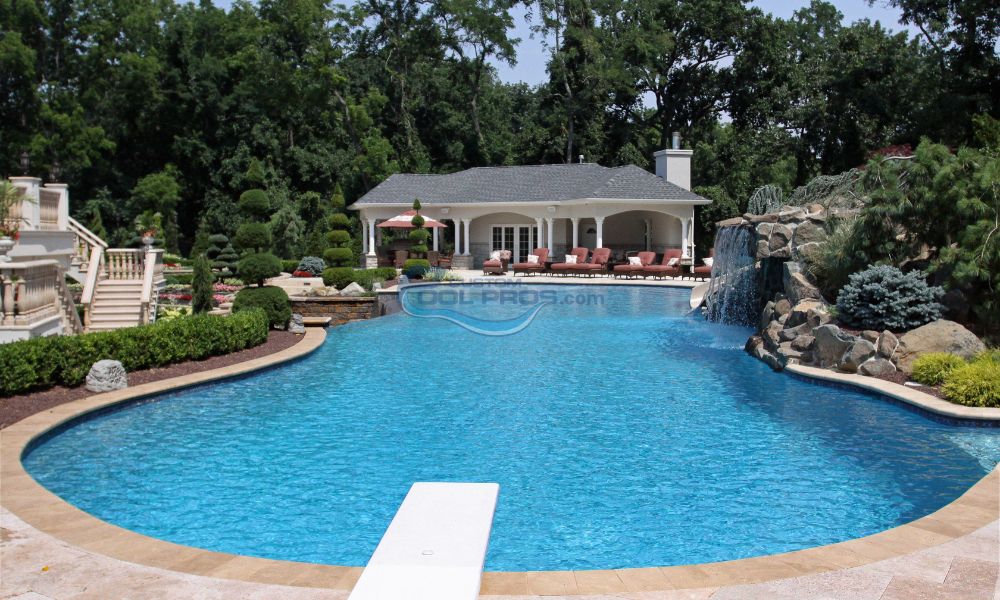
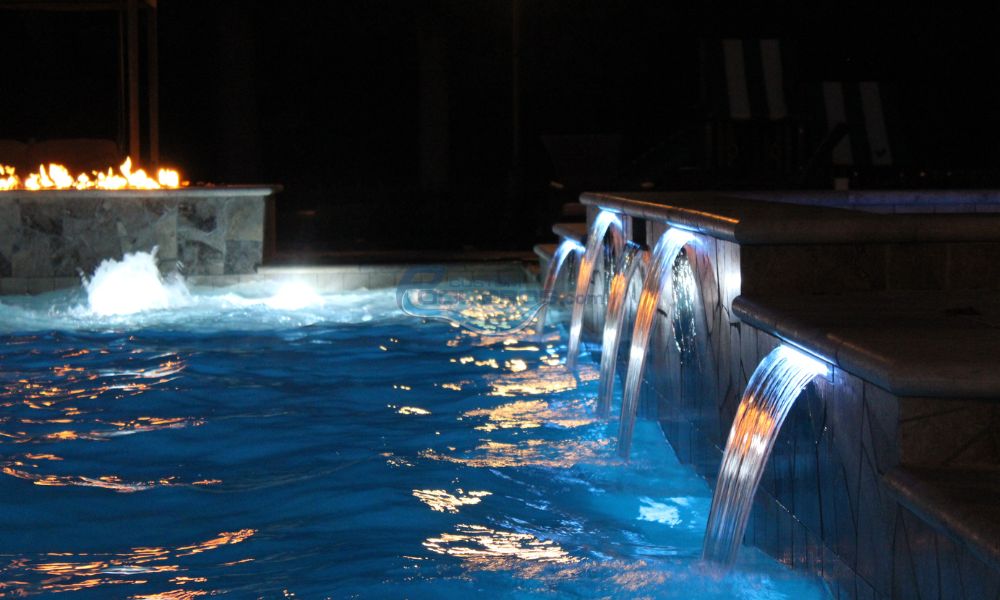
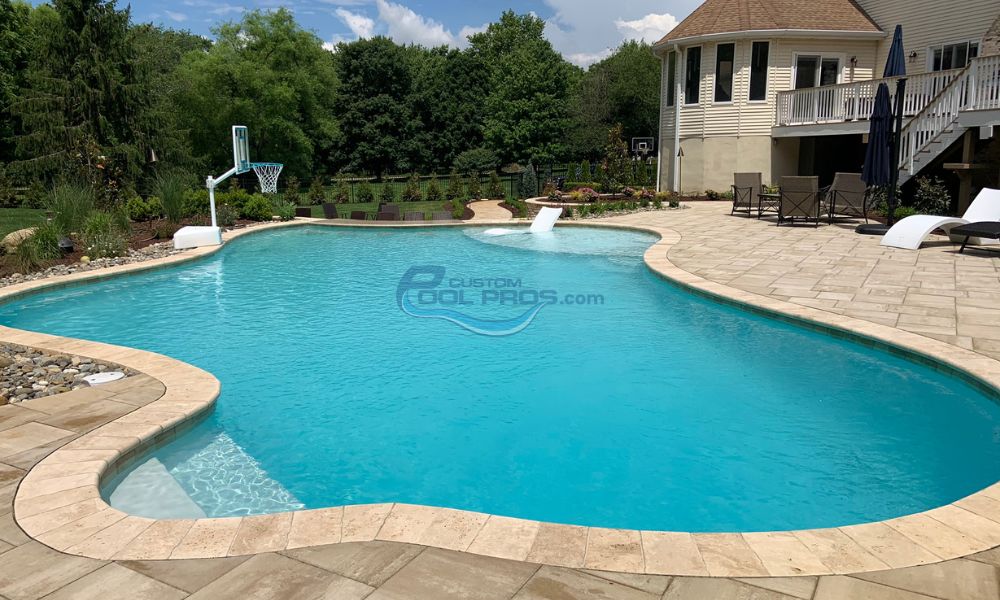
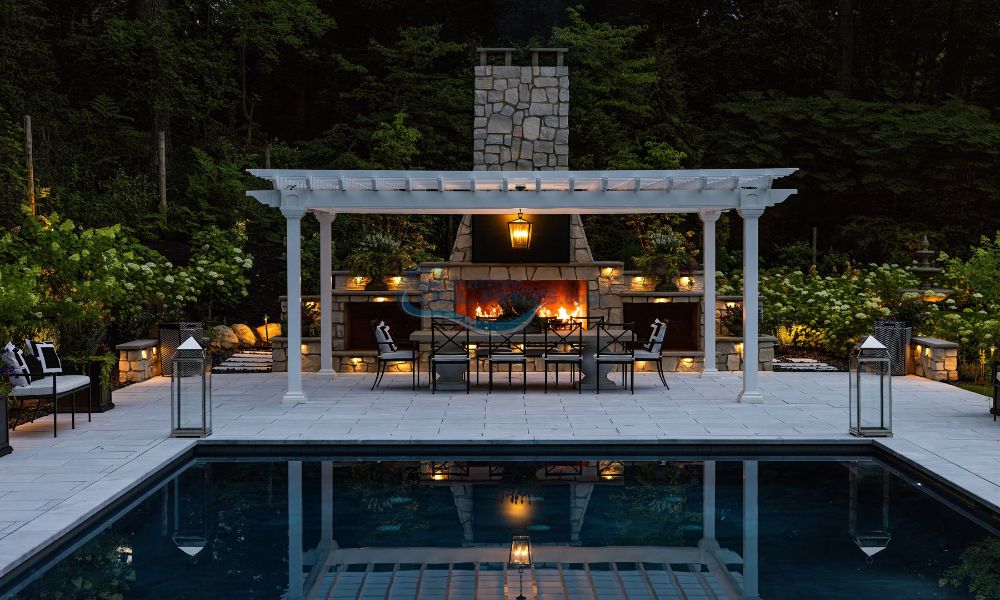
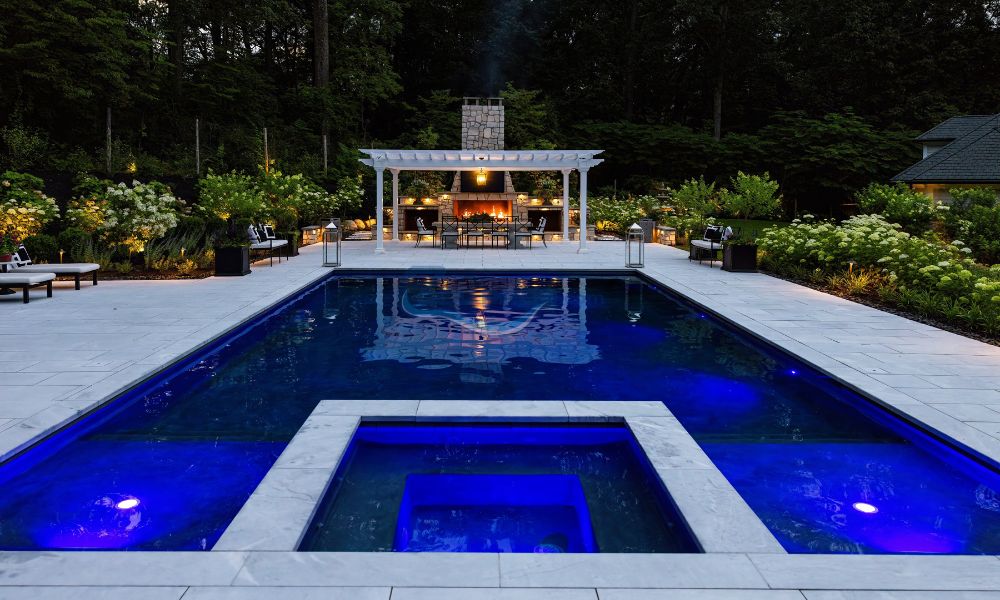
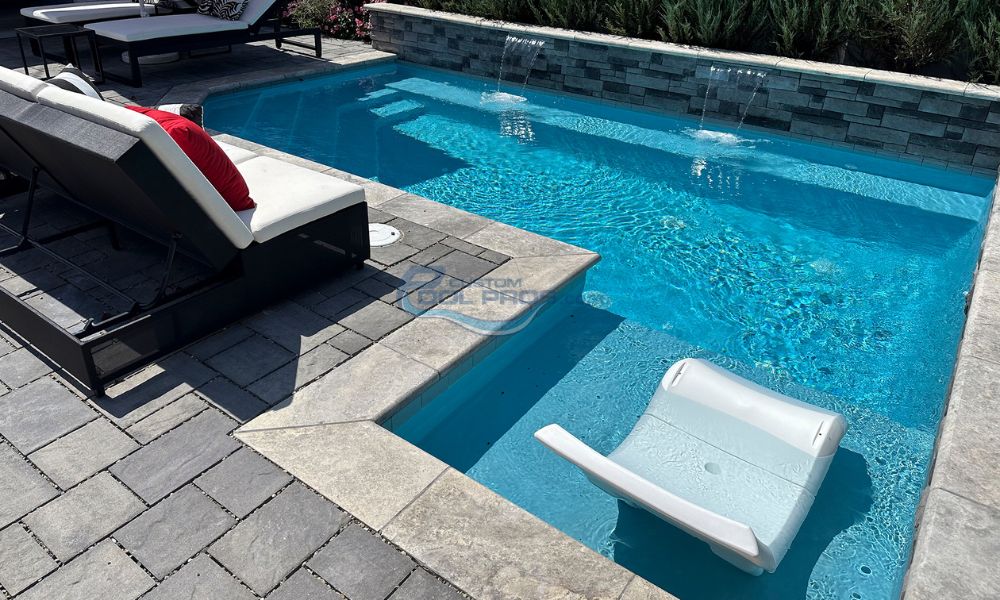
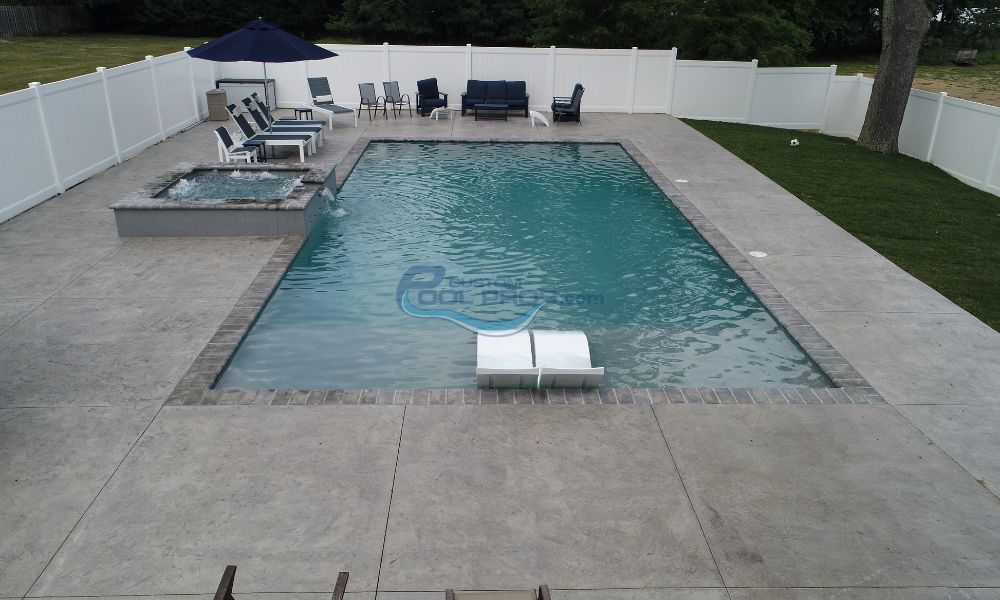
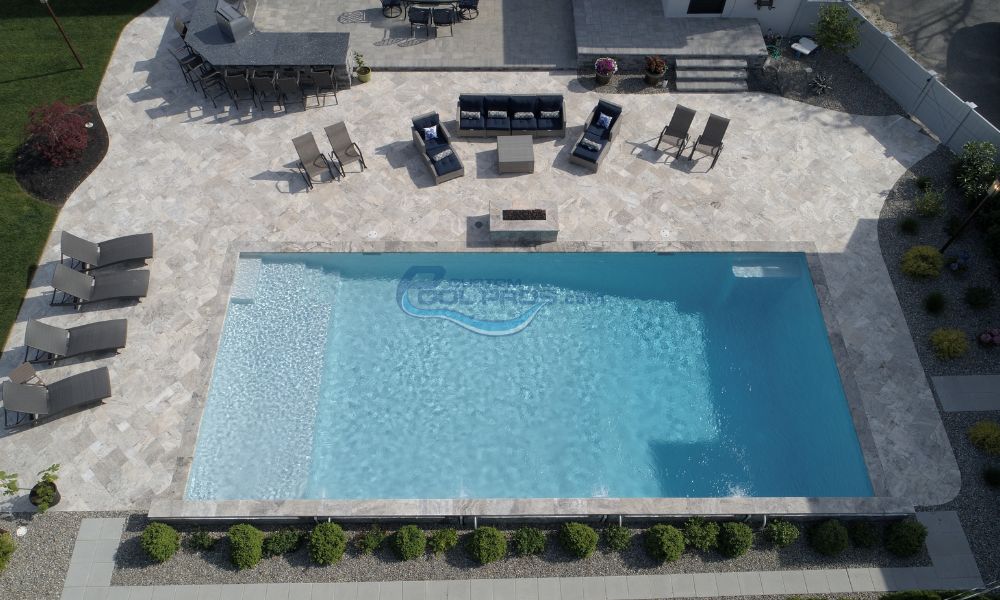
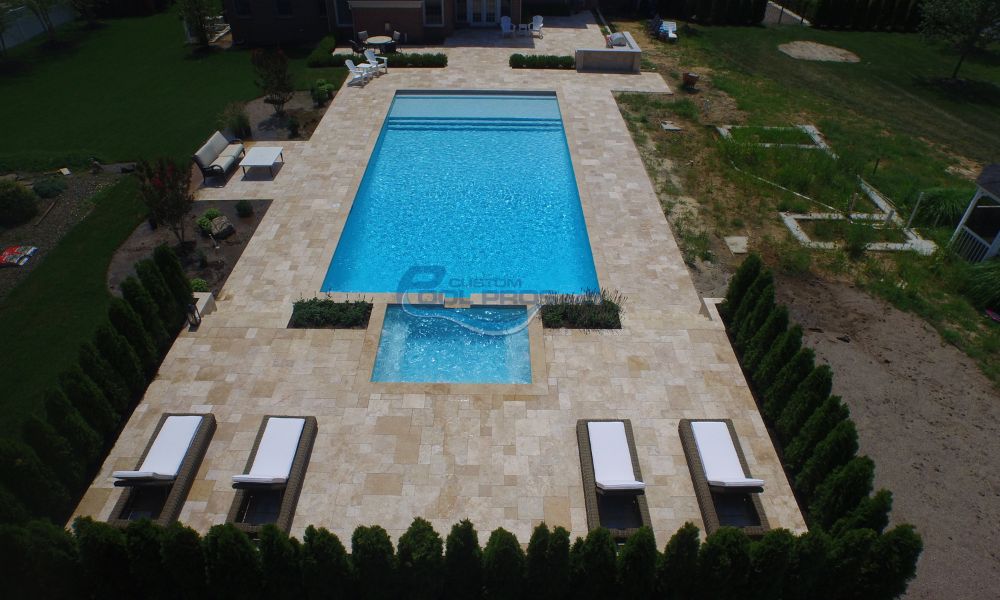
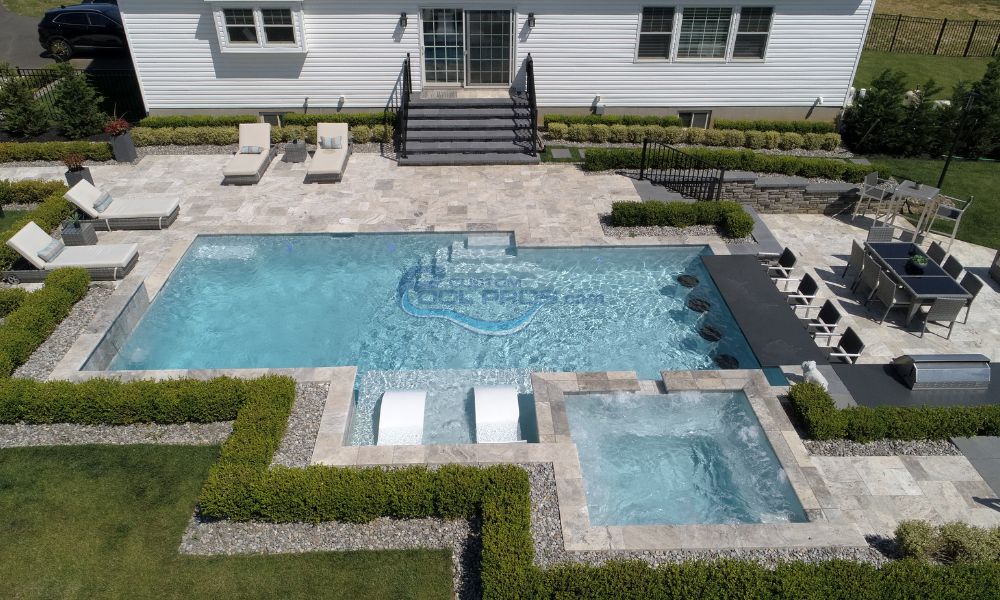
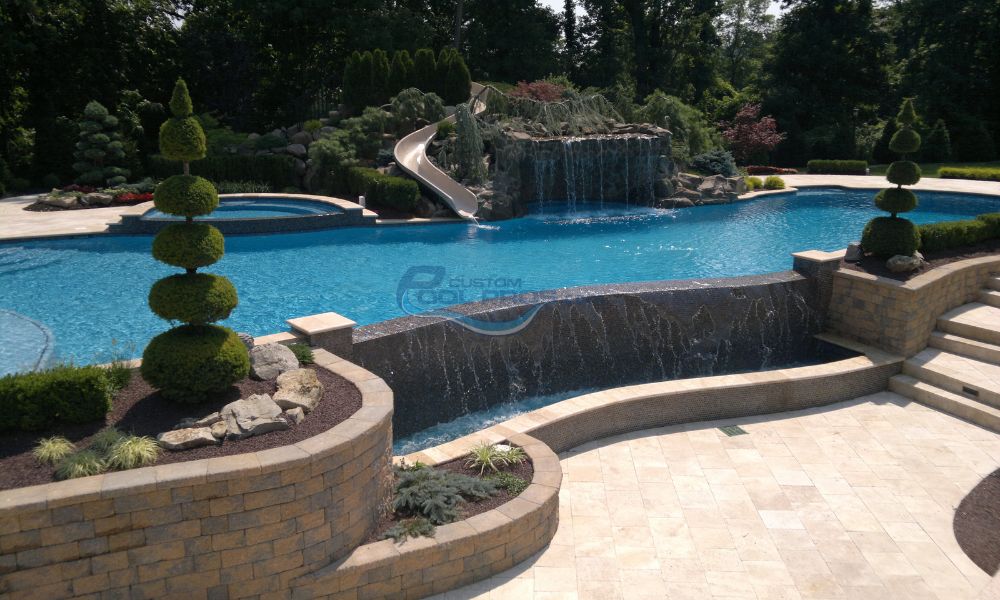
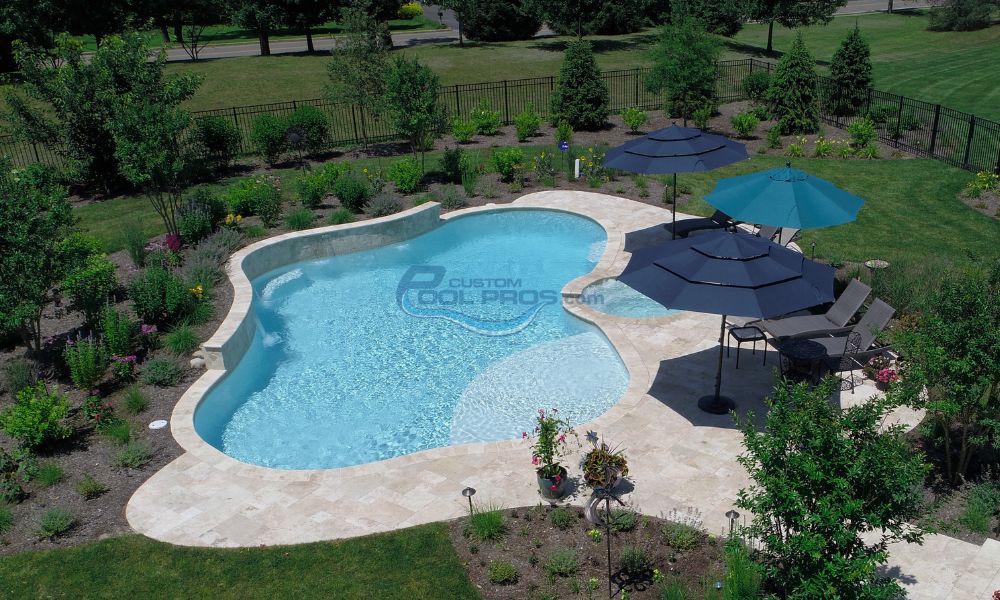
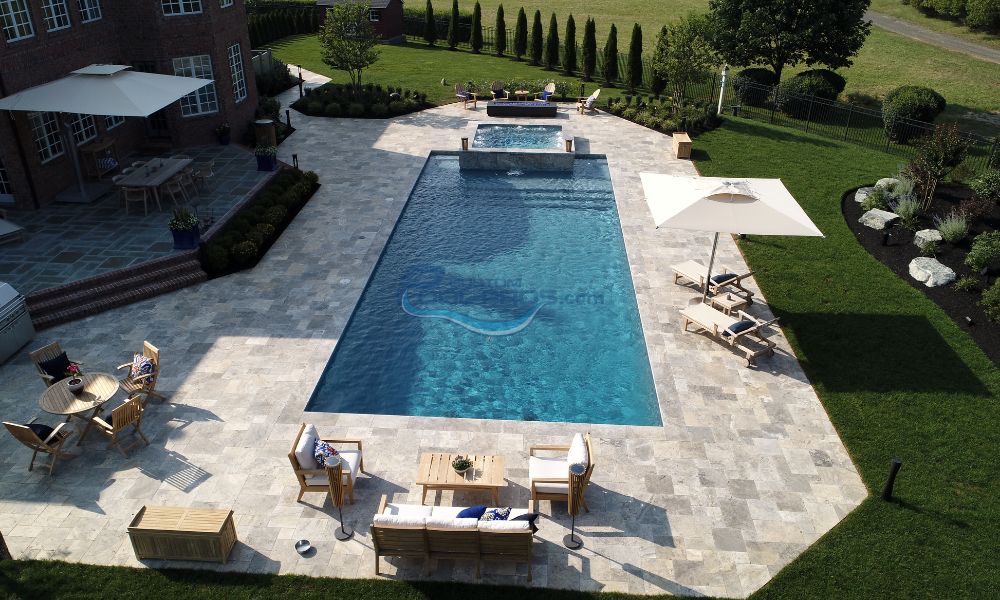
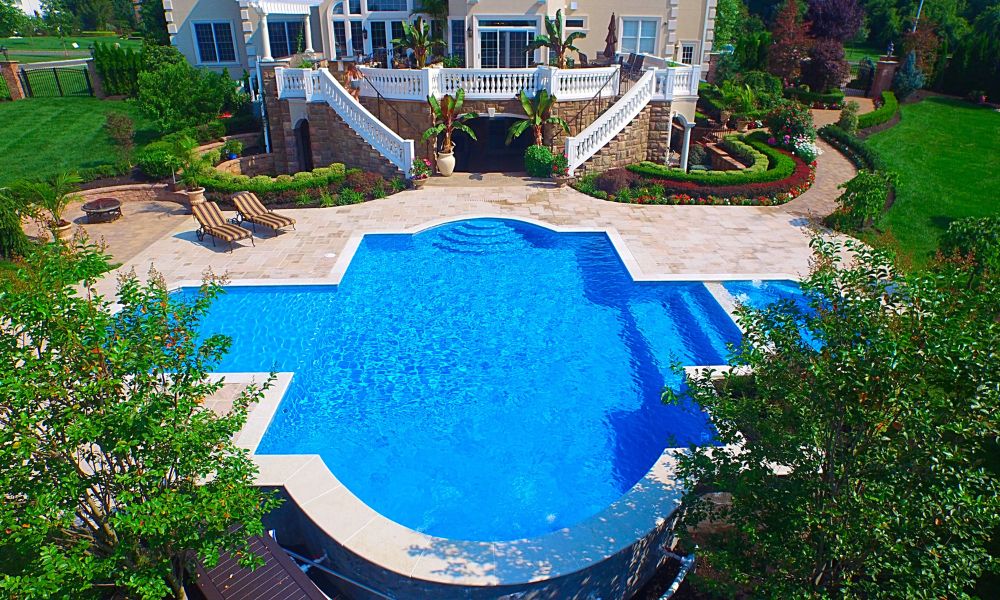
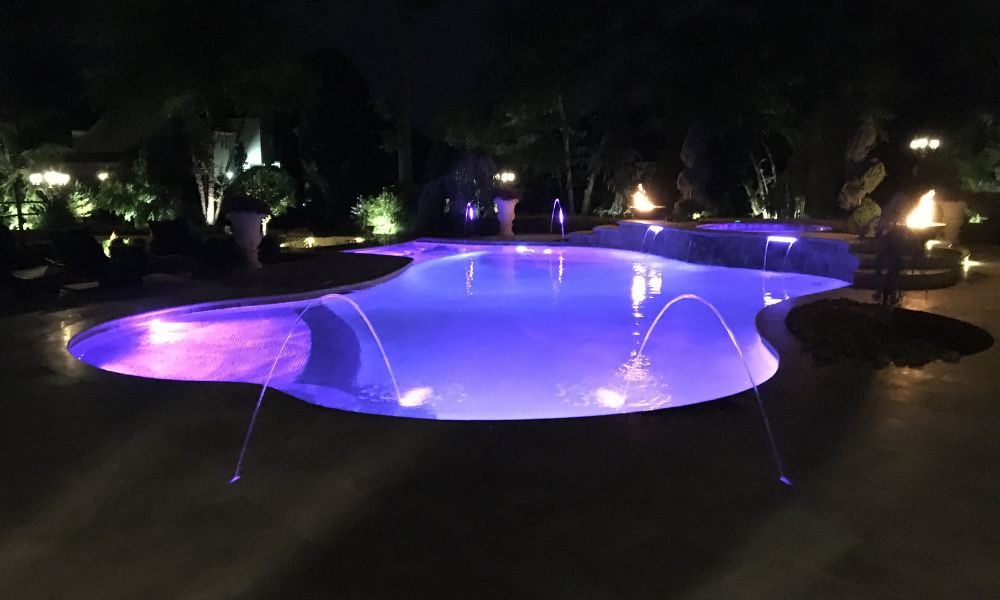
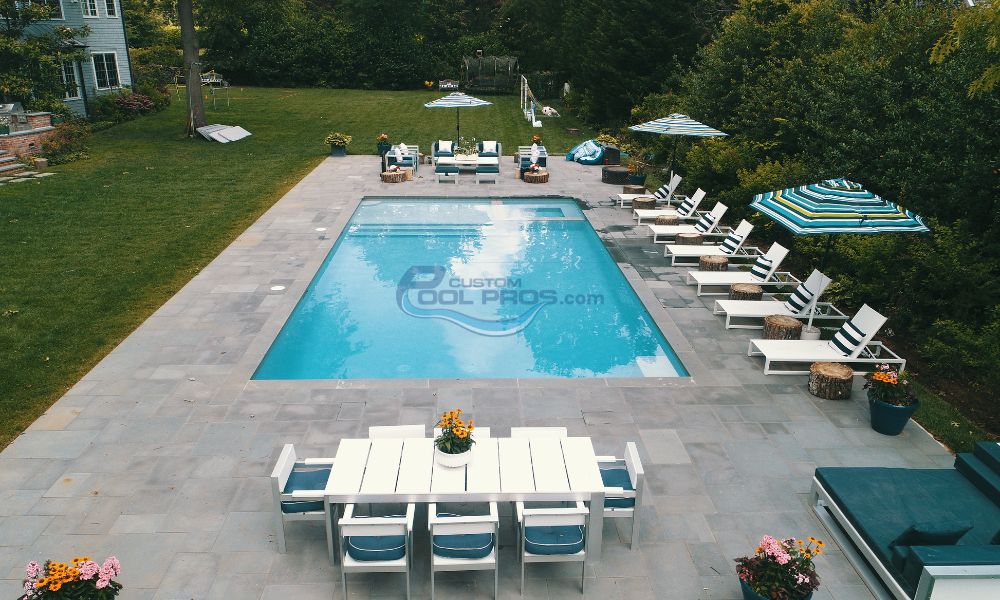
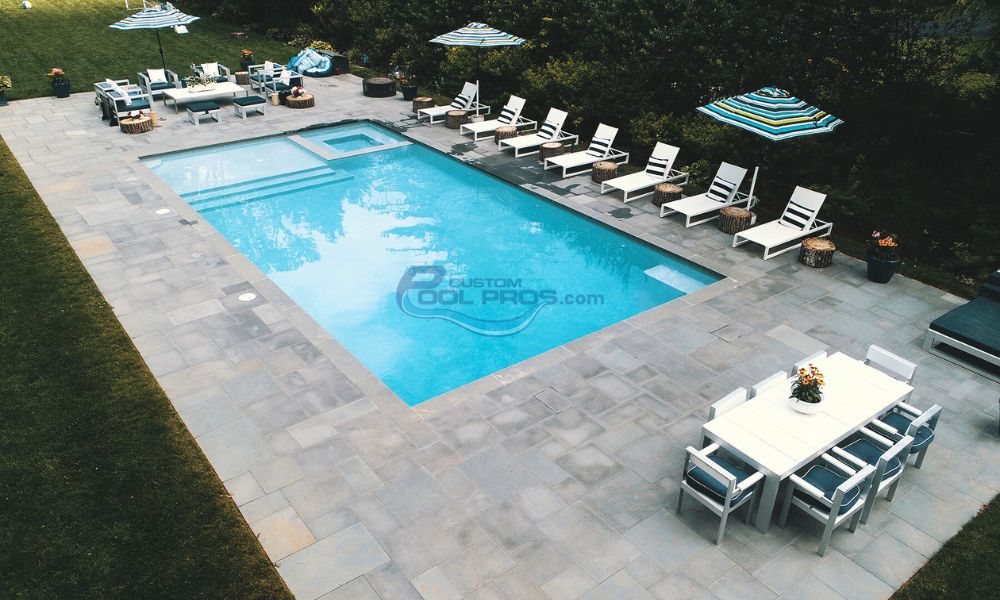
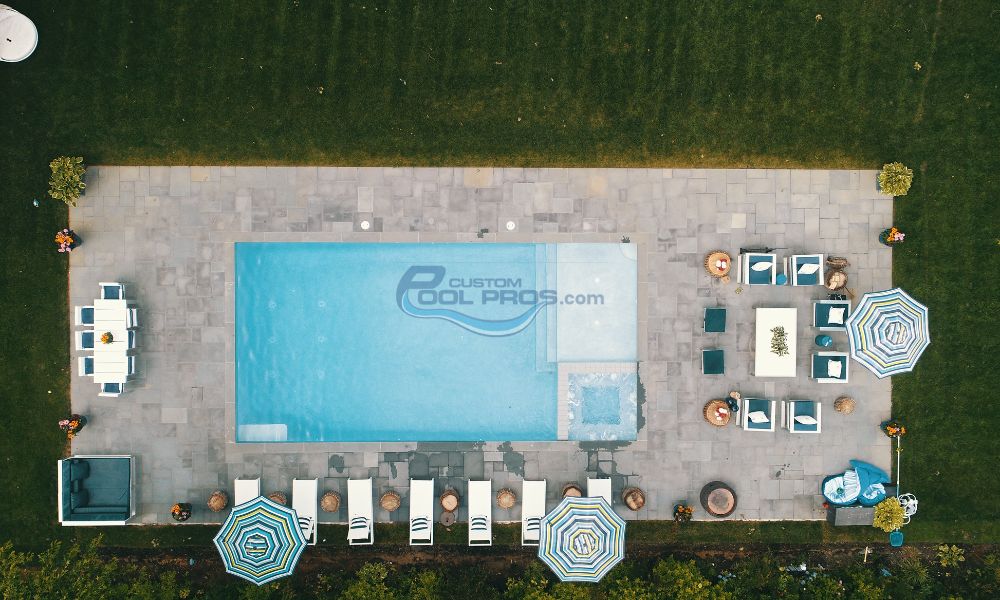
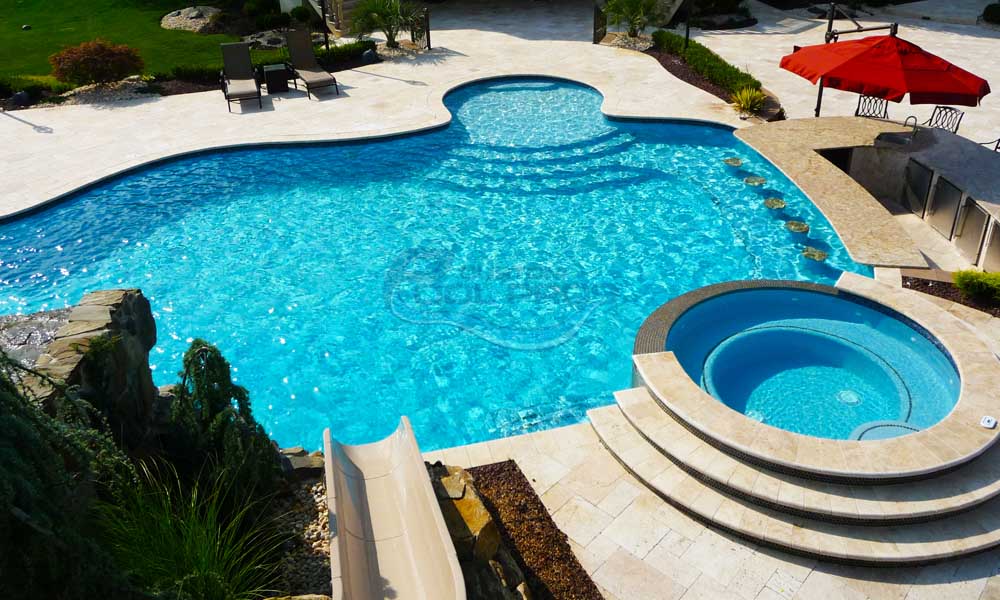
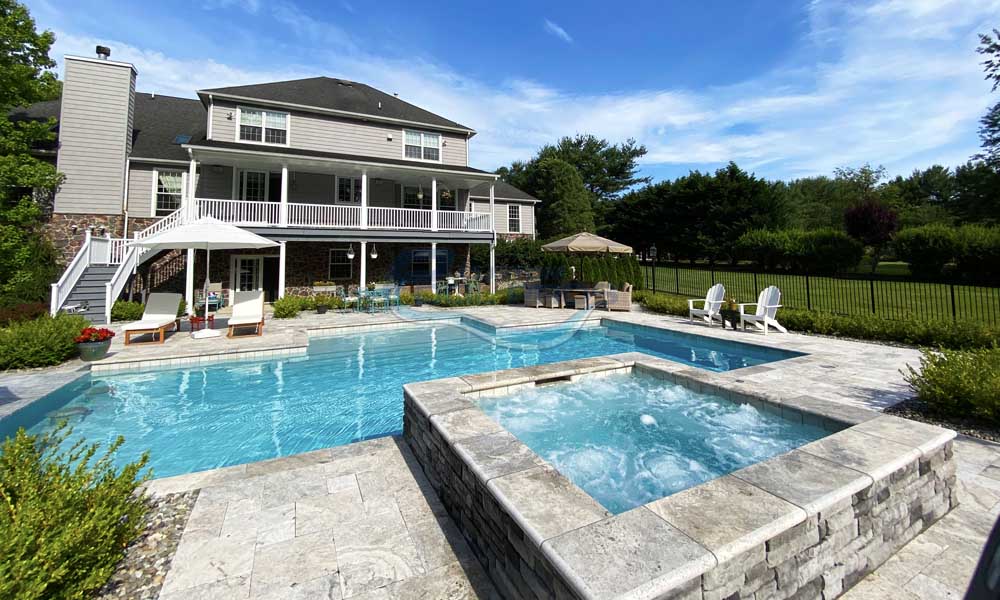
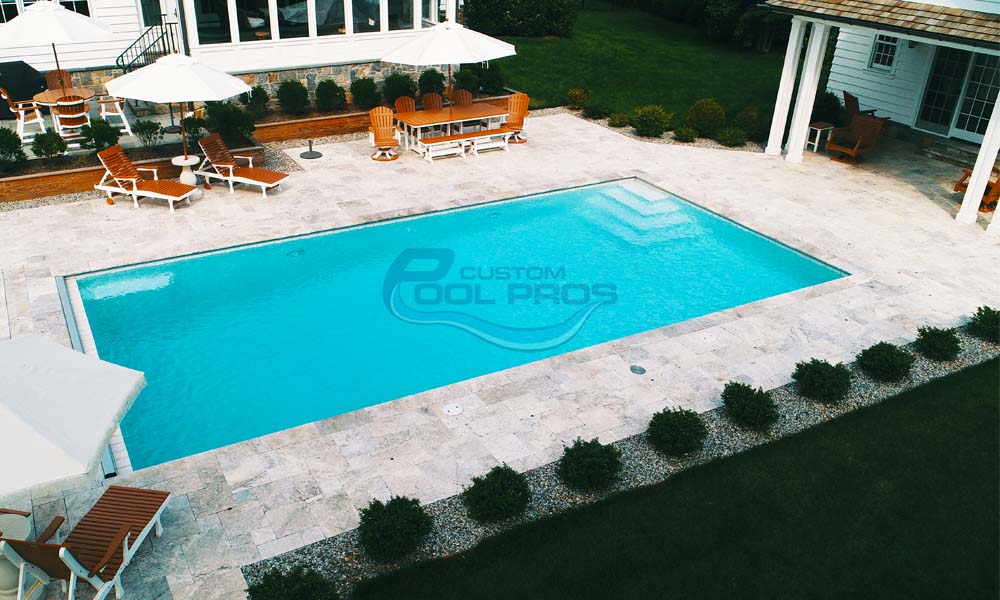
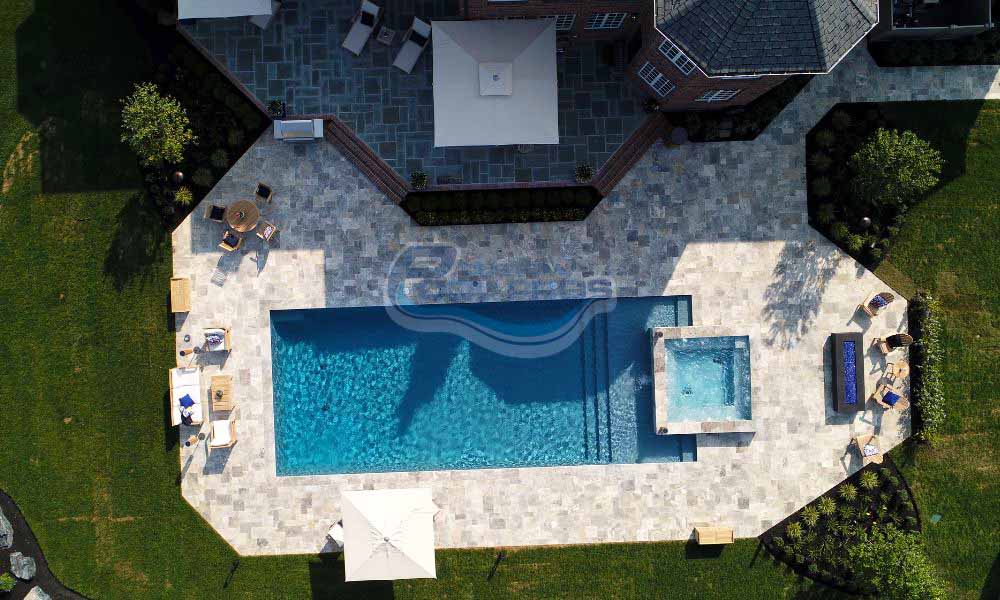
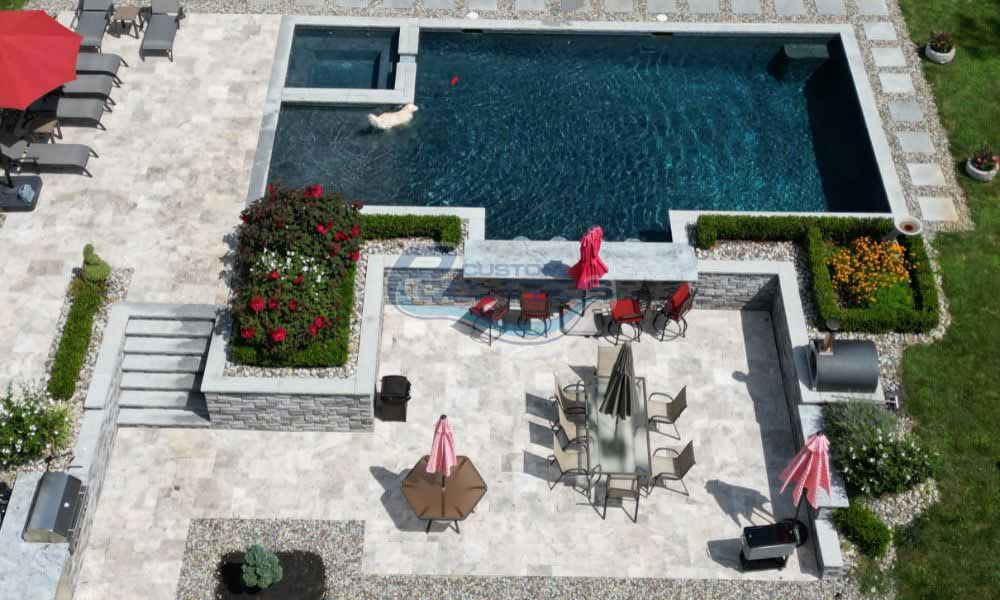
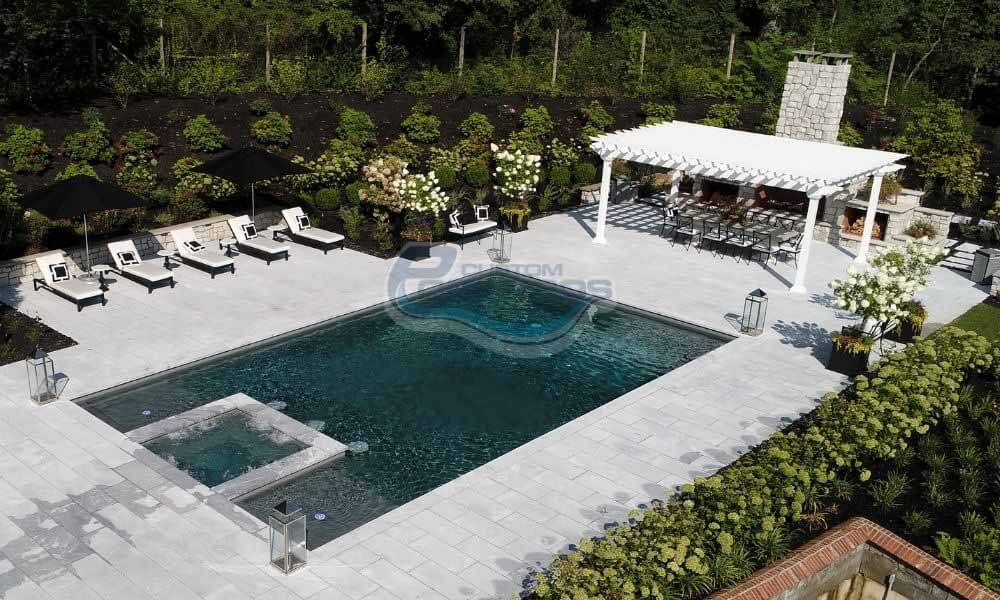
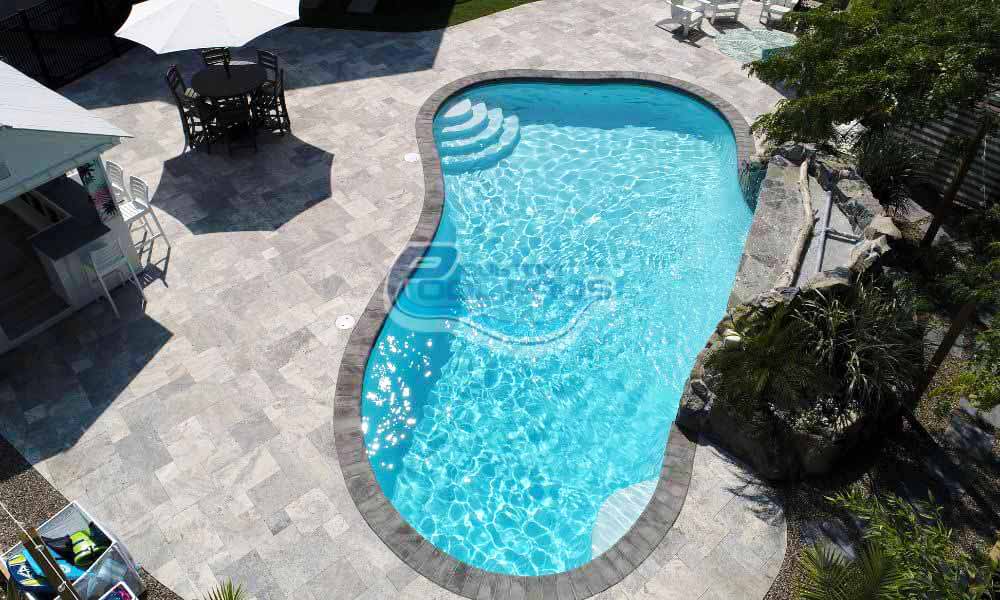
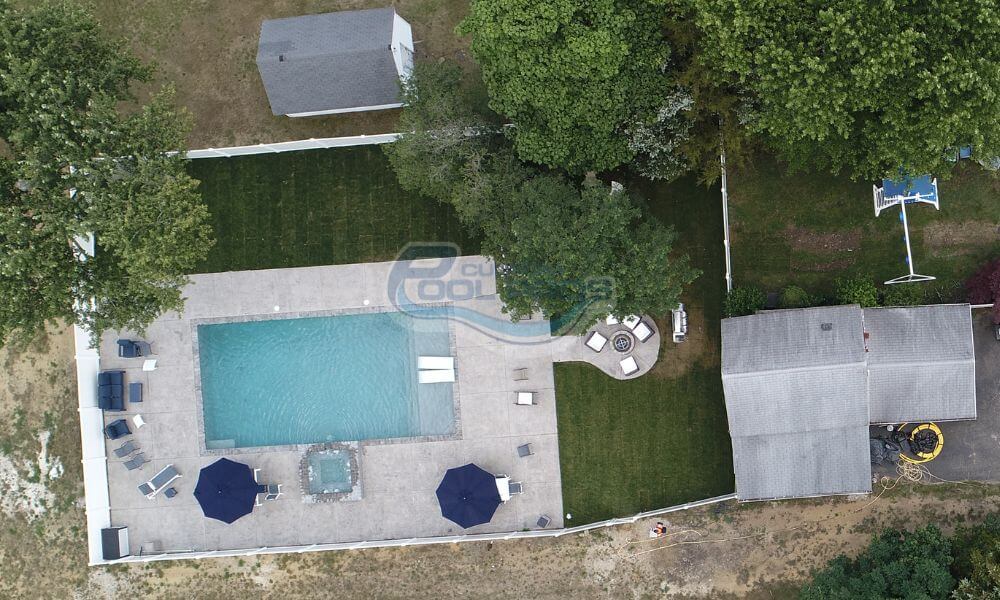
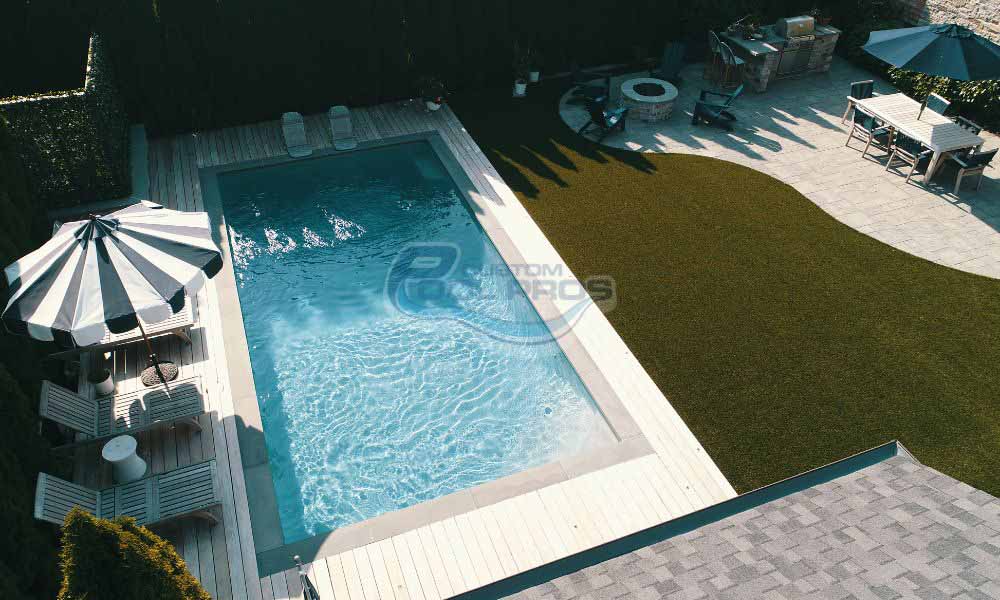
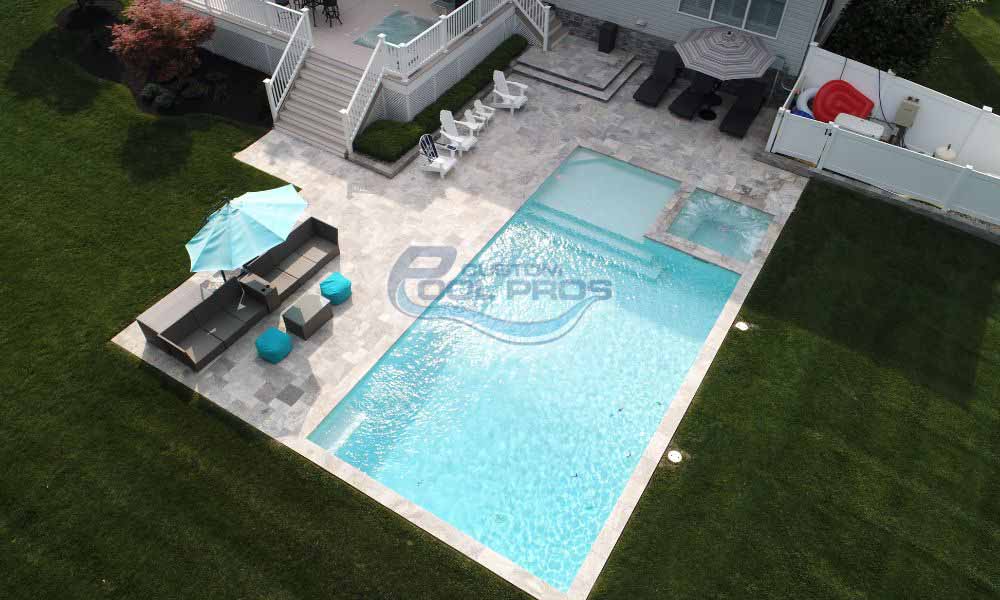
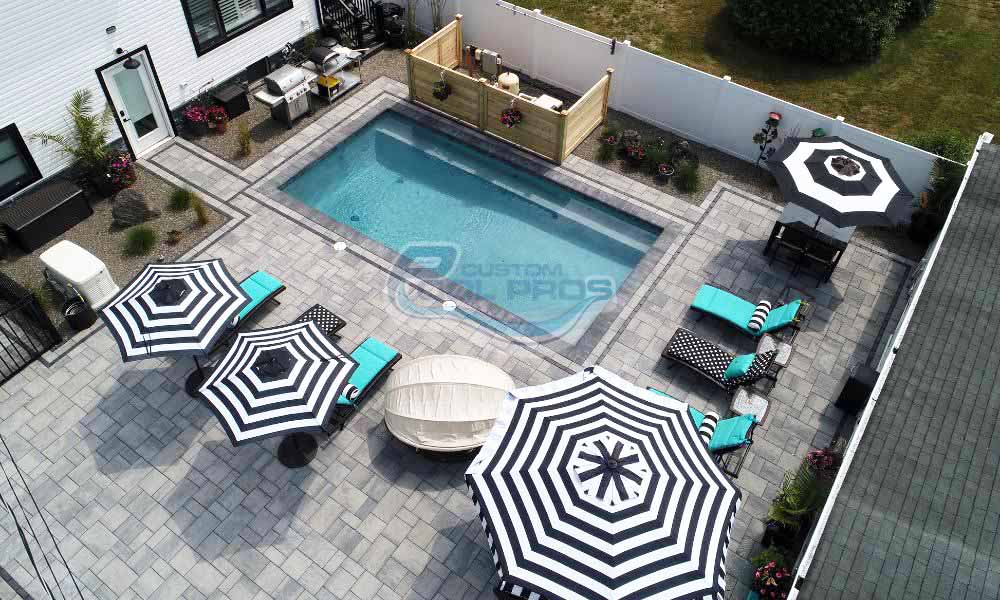
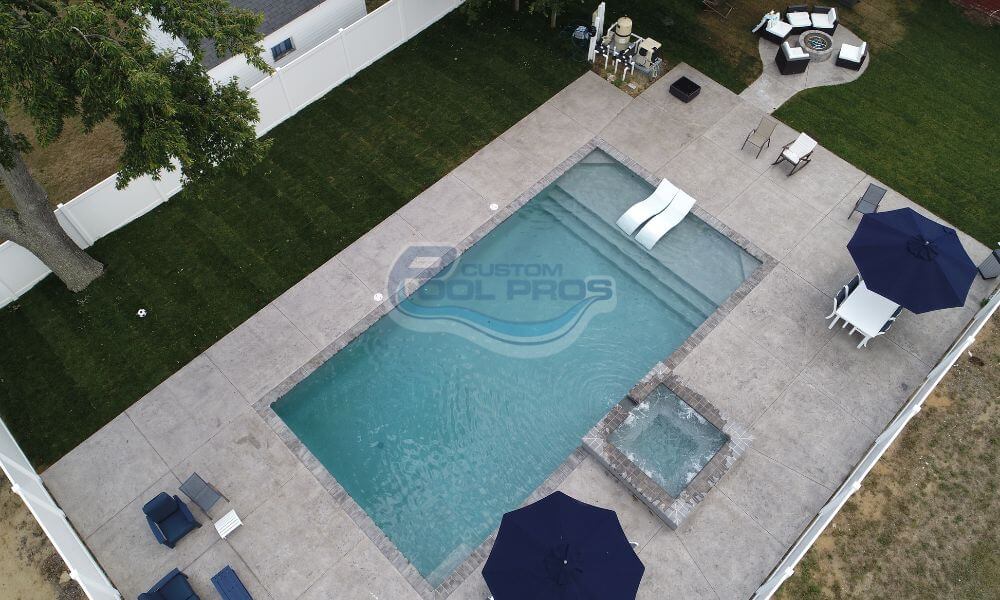
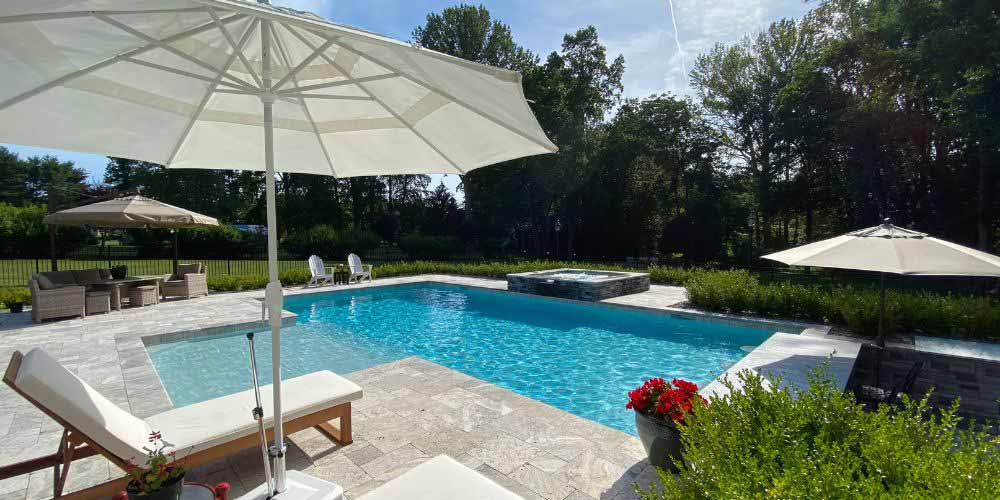
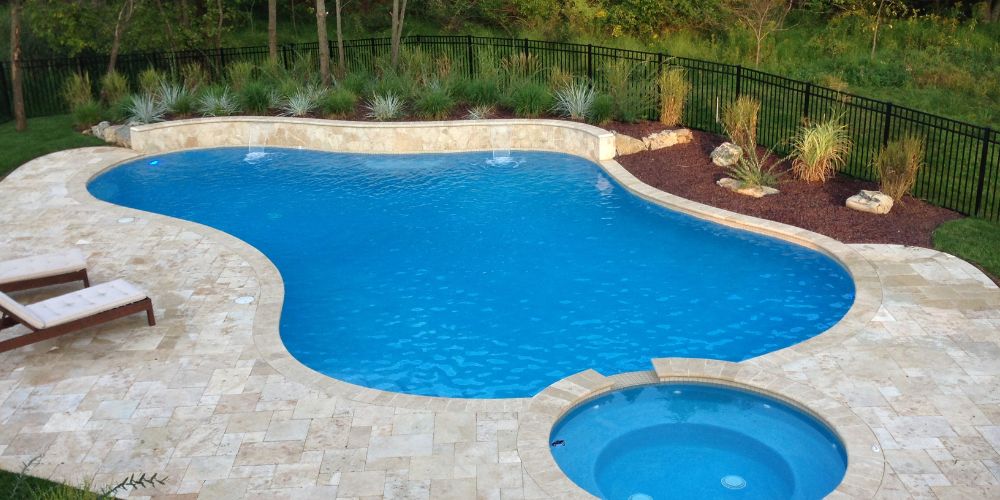
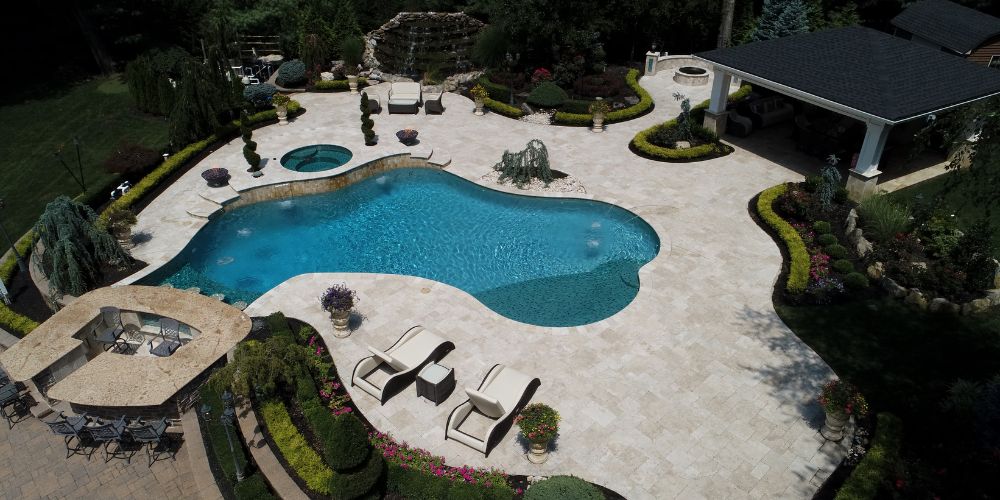
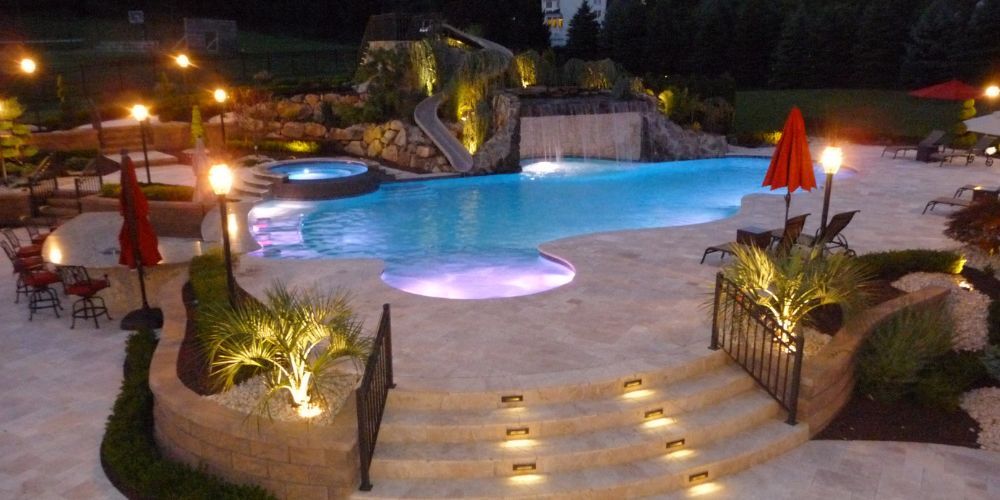
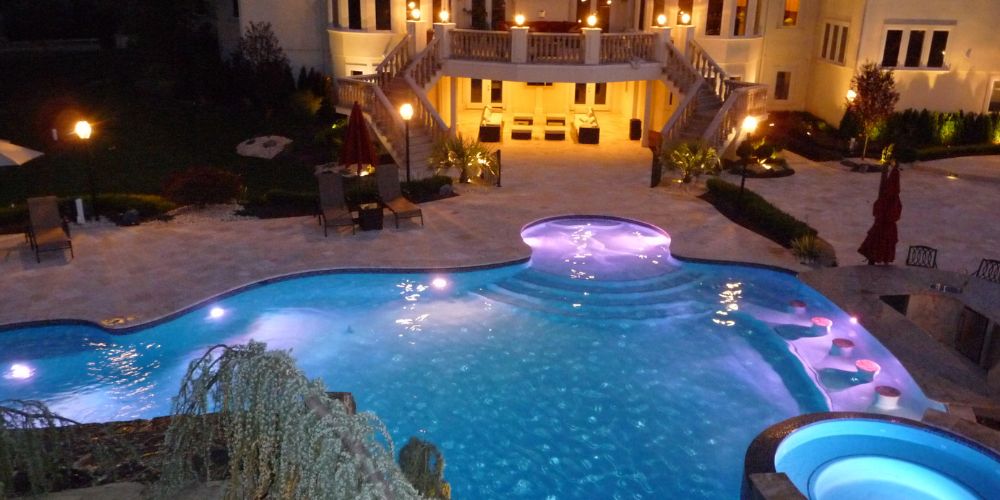
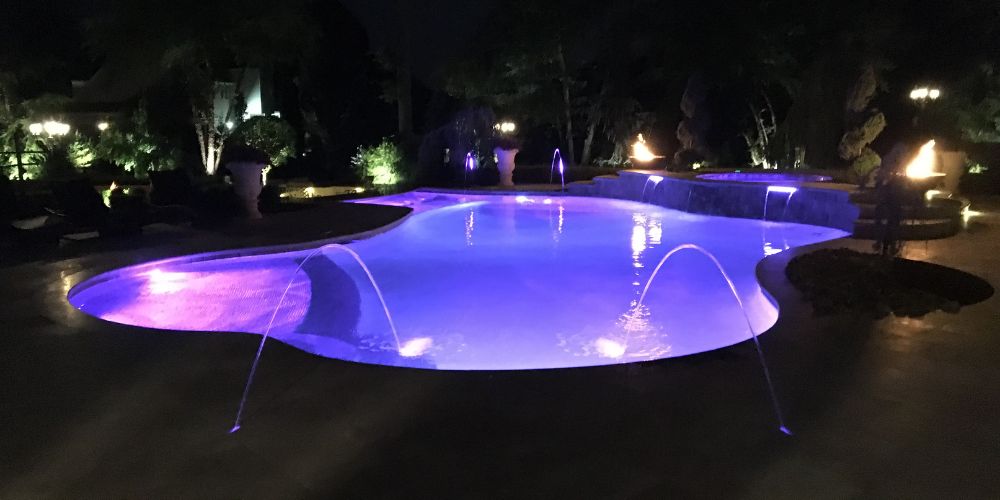
Finally, the last of the landscaping and hardscaping are added to your new outdoor oasis. Ornate shrubs, fountains, and even dining areas or a bar can compliment your aquatic space. Moreover, features, like slides and rock formations, can add extra enjoyment to your pool.
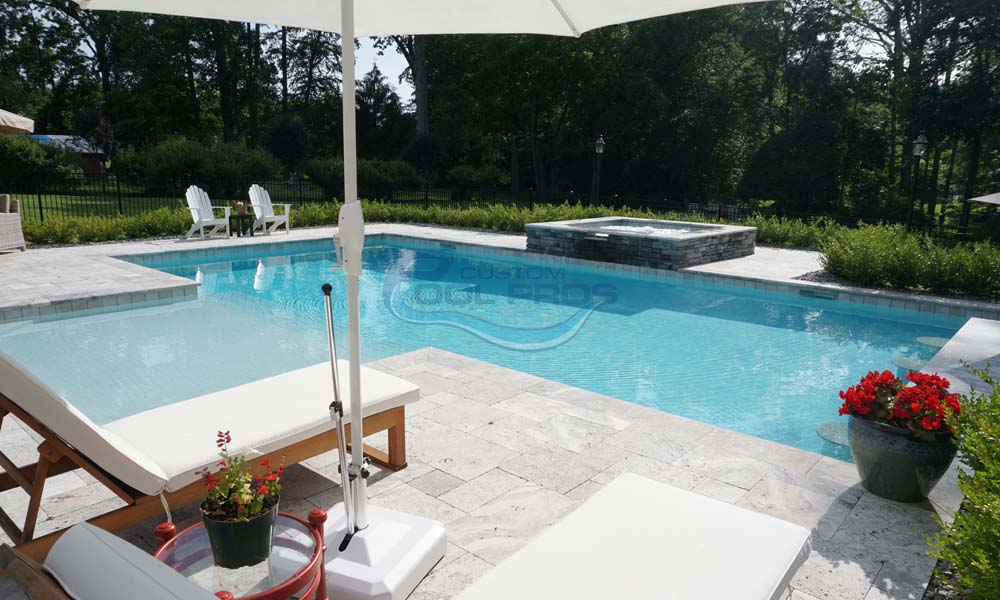
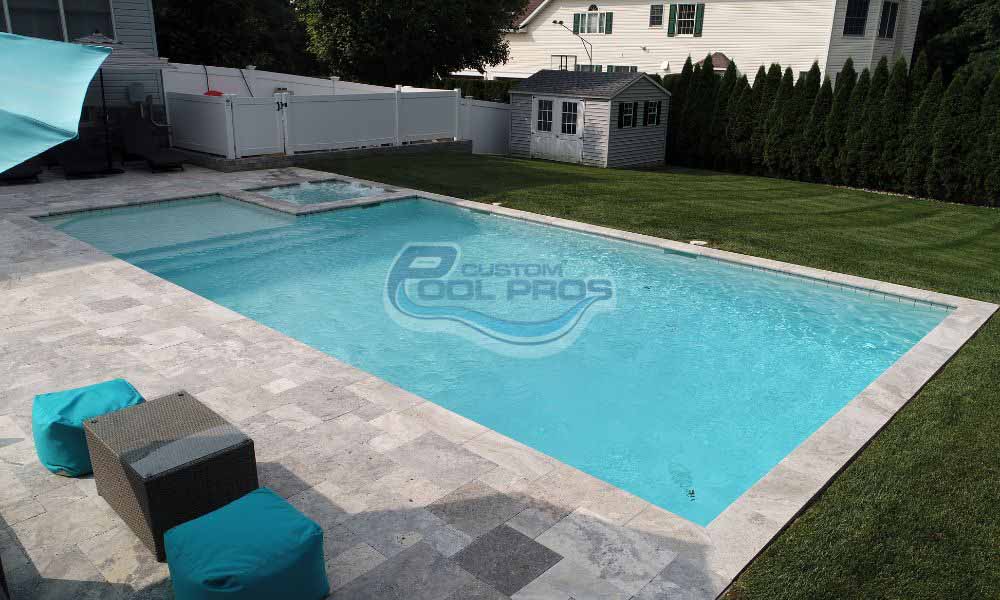
Enjoying Your Fiberglass Pool
Once the fiberglass swimming pool installation has been completed, then it’s time to enjoy your new recreational space. With the proper maintenance and chemical balance, your fiberglass pool will bring decades of outdoor fun.
FAQs
- What are the key steps for installing a fiberglass pool?
Once you and your contractor have decided upon a location in your yard, the key steps include:
Excavation and preparation of the pool’s site
Installation of the pool’s shell
Installation of the plumbing and electrical systems
Backfilling and securing the shell
Addition of the coping and decking along with any features that you have requested
Final inspection - What is a fiberglass pool?
A fiberglass pool is a manufactured, prefabricated shell that has been treated with a gel coating over a raw fiberglass surface. This shell can be installed as an inground or free-standing pool.
- How good are fiberglass pools?
High-quality fiberglass pools can last up to 50 years with proper maintenance.