7 Simple Steps of Concrete Pool Installation
Installing a pool is one of the best ways to boost the value of your home. This is especially if it’s done the right way so that there aren’t any issues that you have to deal with after the initial installation. To get the best outcome, it’s a good idea for you to not only hire the right professional but to also have an idea of what the project entails. Have a look at the seven simple steps that should be followed for proper pool installation.
Concrete Pool Basics
To start off, the details of the pool design are decided. These include the shape, size, depth, and location of the pool. Once these have all been decided, the necessary approval documents are sent for processing so that actual work can begin. Typically, there will be a site inspection to aid with this, and the whole process may take two to four weeks.
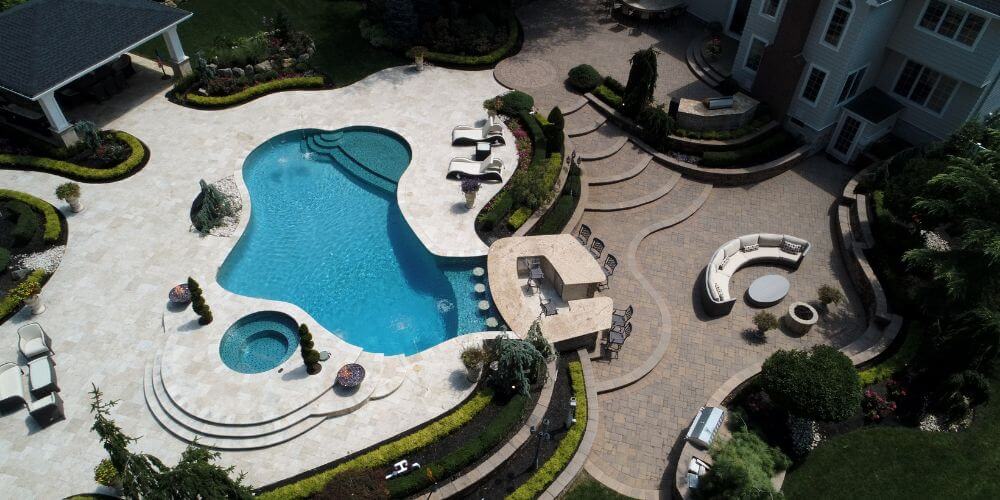
Decking & Landscaping
Next, the area around the pool is prepared. This involves working on the landscape so that the area surrounding the pool is functional and pleasant. If you want to add greenery and do some hardscaping, this is the point at which these decisions are made. This way, it’s going to be easy to work on them once the pool has been dug and constructed.
Excavation & Plumbing
An excavator will now be tasked with cutting and digging the pool accurately. With straight, clean lines, there will be a reduction in additional work and materials that are needed. The speed with which this part of the process goes depends on the state of the ground and weather conditions.
Reinforced Pool Shell
A steel frame is then installed around the perimeter to reinforce the shell of the pool. This frame is essentially a criss-cross steel cage that ensures the structural integrity of the pool while maintaining its shape.
Setting the Floor and walls
Next, the floor and walls of the pool are set. For this part, precision is important as it will take additional time and expenses to remedy any mistakes made. With the floor and walls in place, allowances are made for electrical and piping to be done in the next stage of the process.
Installation of Electricals
If the pool is supposed to be a heated one, the wiring for this as well as any lights, pumps, and other details is done. This step calls for proper planning so that insulation is done properly to make sure that there are no chances of an electrical issue coming up. Similarly, it’s important to make allowances for future fixes, repairs, and replacements that may need to be done in the future.
Finishing the Interior
Finally, after the concrete is poured over the frame and allowed to cure for about five days, it’s time to finish the interior. Water, debris, and any concrete is cleaned out, and the surface is scraped with a shovel to prevent the possibility of an uneven surface. Fittings, drains, and pipes are then sealed with a waterproofing agent so that the pool is watertight. The adhesive is sprayed onto the surface of the concrete and a mixture of beads and pebbles is sprayed and then smoothed down. After a final cleaning of the pool’s surface, tiles are added.
FAQs
What are the key steps for installing a fiberglass pool?
The key steps for fiberglass swimming pool construction are laying out the pool, excavating, and then setting the floor, ensuring that there are no voids in its base. The pool must be kept level and then backfilled with gravel. Finally, concrete should be poured around the pool’s outer edge to set it in place.
What is a fiberglass pool?
A fiberglass pool is a single pool shell that’s pre-built from a fiberglass material with reinforcement. This shell comes covered in a protective gel coat. Fiberglass pools can be installed as either in-ground pools or above-ground pools that have a smooth finish.
What type of pools do you prefer, concrete or fiberglass?
Different people will prefer different pools, with the factors used to make the decision mainly being budget, space, maintenance, and necessary customization.
Recent Posts

Planning For A Pool In 2024
19 January 2024

Exploring the Types of Custom Pools in New Jersey
21 December 2023